Share
Pin
Tweet
Send
Share
Send
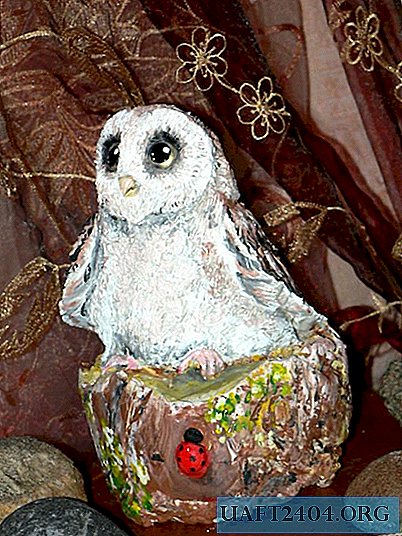
Garden figures - a luxury that not everyone can afford. Agree, in the summer season, so much is needed that it’s a pity to give three to five thousand, albeit for a beautiful, but not functional thing. Meanwhile, while long winter evenings are outside, you can spend them on making garden sculptures with your own hands. To begin with, we would suggest doing something not too bulky, for example, an owl figurine.
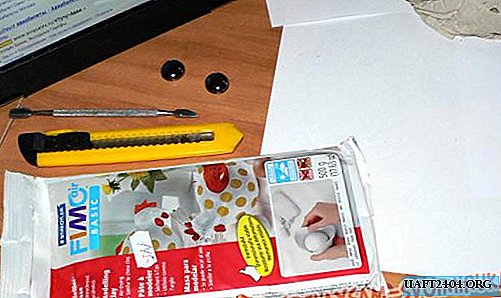
For sculpture, we need a convenient workplace, and a place for mixing the mixture, building gypsum (about 6 glasses), water, wooden skewers or thick wire, shape (5 liter bucket), plastic bag, packing polymer clay self-hardening FIMO or another (500 g ), gouache, two eyes (we have a pair of glass marbles), two art brushes (No. 5 and No. 1), matte varnish, modeling stacks (we use this function as a regular manicure pusher), black and yellow nail polish for the design of the eyes.
Pedestal stump.
Let's start with the gypsum kneading, for this we will prepare a 5 liter bucket, put a packet into it, aligning it on the walls so that it fits snugly. Separately, mix gypsum (about 4 glasses), so that it is like cottage cheese with sour cream, but homogeneous.

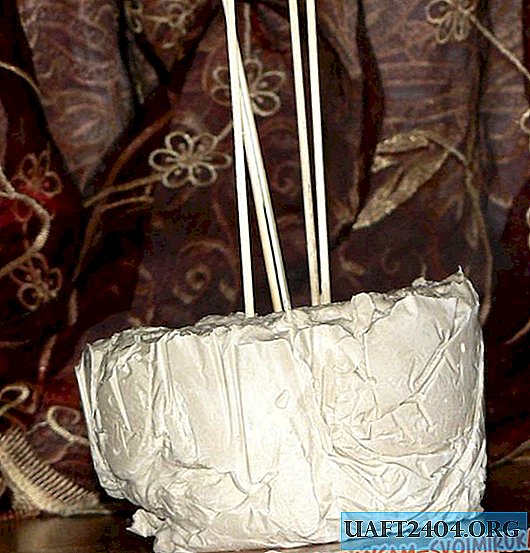
We quickly transfer it to the bucket, it fills one third of the bucket. Quickly wash the mold. We insert the skewers in the middle, a figure will be attached to them, that is, half of the skewers are buried in plaster, the second sticks out top. Hands level the surface of the gypsum, leave it to solidify for two hours.

The basis of the figures.
Carefully pull out the pedestal from the bucket, release it from the cellophane.
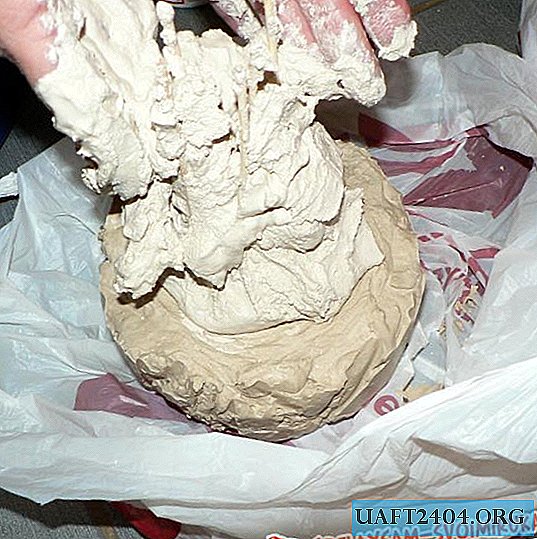
Knead the gypsum again in the same consistency, and put it on the skewers with our hands, envelop them, form the contours of the figure of a sitting owl. We wash the form, and leave the pedestal with the figure to harden for a day.

Sculpting the figures of the owlet.
We take polymer clay and tools.
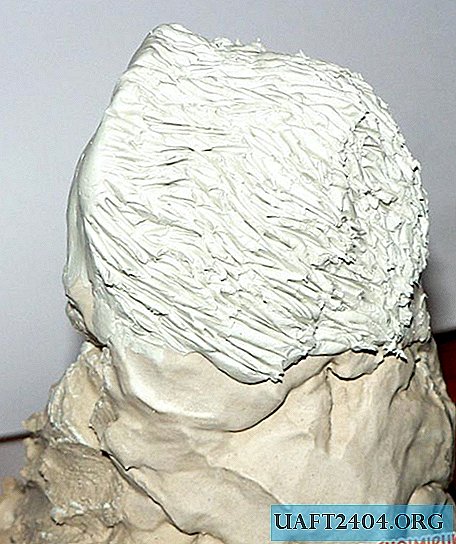
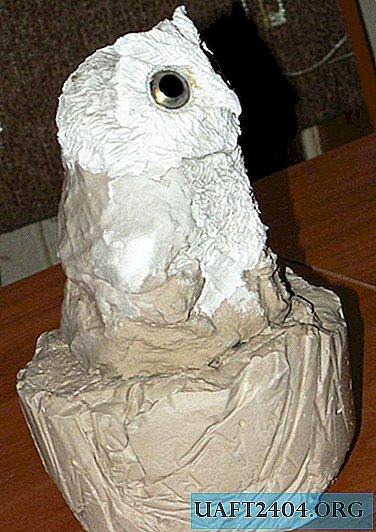
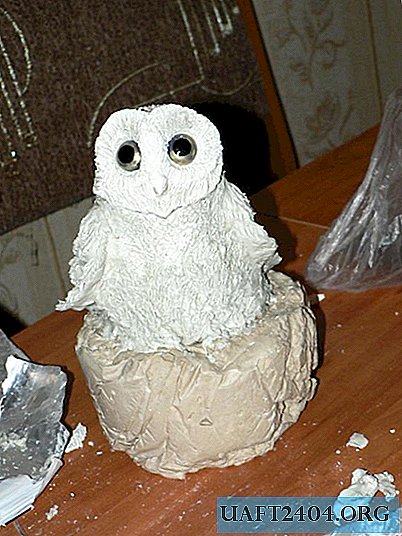
Tearing small pieces from a whole piece (we immediately wrap the remaining plastic in cellophane so that the remains do not harden ahead of time), we begin to sculpt our head and shoulders, smearing clay into a gypsum base piece by piece.

We draw feathers with a pusher, insert eyes (marble), sculpt eyebrows (if you want, we later abandoned them, so the owlet looks nicer).


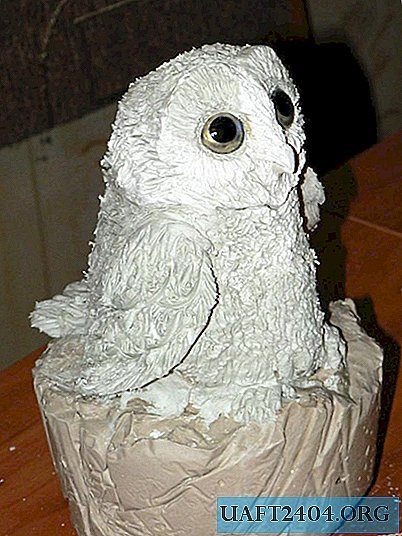
We sculpt the back, the basis of the wings.
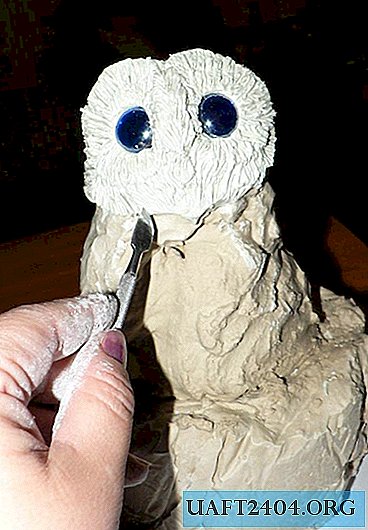

Draw the eyes with yellow and black nail polish (it is transparent and preserves the shine of the glass).

Now we begin to sculpt a tail. To make it look more natural, we sculpt it in tiers, starting from the bottom, each draw a pusher, sculpt the one on top and so on.


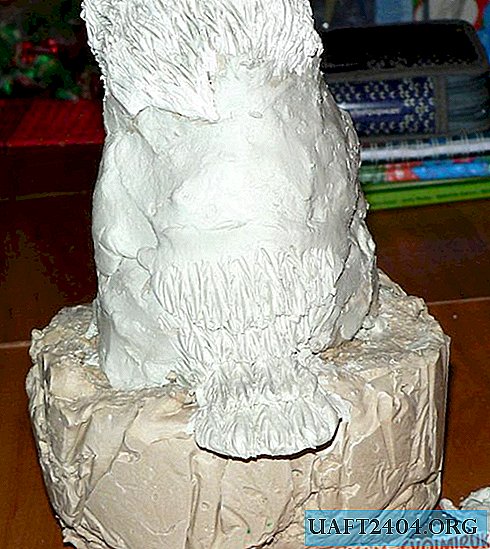
Now we form the wings, draw the feathers on the back.
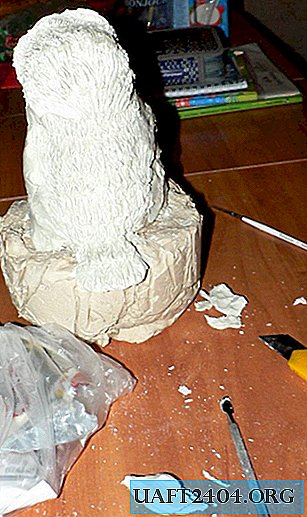

We finalize the shape of the head, remove all unnecessary, bring the work to readiness.

From the remnants of plastic, you can mold a ladybug, which we did by gluing it on a stump.

We dry the product and paint with gouache, based on pictures from the Internet.
We dry our sculpture for several days and cover it with matt varnish.
Let the owl wait for spring and take its place in your country house!


Share
Pin
Tweet
Send
Share
Send