Share
Pin
Tweet
Send
Share
Send
Why is this happening?
Mainly for two reasons:
1. incandescent lamps quickly burn out and have low efficiency,
2. Luminescent ones require special disposal as they have mercury vapor in the flask. In addition, breaking such a lamp at home, you can expose your home to the effects of poison.
There are no such problems with LED. Throw them away anywhere and break them into health, there is no danger - except for broken glass - they do not represent.
At the same time, there are a lot of companies producing these products, and choosing among them a quality product is sometimes not easy.
Yes, and the eminent brand does not guarantee complete confidence in the long uninterrupted operation of the device.
What to do if the lamp ceases to shine, and changing it under warranty does not work. You can try to repair it yourself. Its device is not complicated and does not require special tools for disassembly.
This article will describe the disassembly and repair of a standard, budget class LED lamp. In addition, one of the failure options and its elimination is given.
Of the tools you need only a screwdriver, a knife and possibly a two-handed indicator.

If there is no indicator, any "dialing" will do.
So, we begin by removing the diffuser. To do this, insert the knife blade into the gap between the glass and the plastic case and carefully move it in different directions.


The diffuser should come out of the latches, and without problems to be removed.

A board with LEDs and a rectifier opens to the eye.

A fuse is also installed on the board. To make sure that it is not burnt out, we connect the ends of the bells with its conclusions. Light or sound indication of the device will show its serviceability. If you don’t show it, you will have to replace it.

When the fuse is intact, disassemble further.
At the beginning, we unscrew the two screws that secure the board, after which it is easily removed.


Under the board is a radiator in the form of a metal bulb.

The heat transfer of the board to the radiator improves the thermal grease applied to both surfaces.
If necessary, it can be changed if it is dry. Suitable thermal grease for a computer processor is suitable.
To continue disassembling, pull the upper part of the lamp housing and it is easily removable.


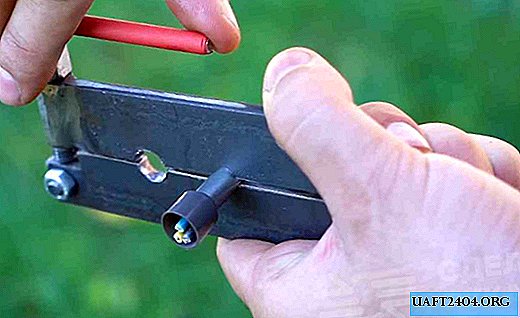
In the lower part of the case with a cartridge, you can see two metal strips, one end connected to the base, and the other with holes - where the screws go.

Thus, through the screw, voltage is transmitted from the base to the board.
The problem turned out to be that over time the contact bent back and did not come in contact with the board screw. Hence the lack of glow of the lamp.
To eliminate this malfunction, simply bend the end of the contact strip with a screwdriver or tweezers.

Of course, you can do it better, for example, by soldering wires to the board and base. Then there will definitely not be problems with the contact. But more often the first simple option is enough.
Now you can assemble the lamp in the reverse order. We put on the upper part with the radiator so that the two contacts fall into the holes.


Next, install the board and twist it.

Do not clamp tightly so as not to rip off the plastic thread.

After the screws are tightened, you can check whether it works now. To do this, we screw it, for example, into a table lamp. If everything works, put on a diffuser.


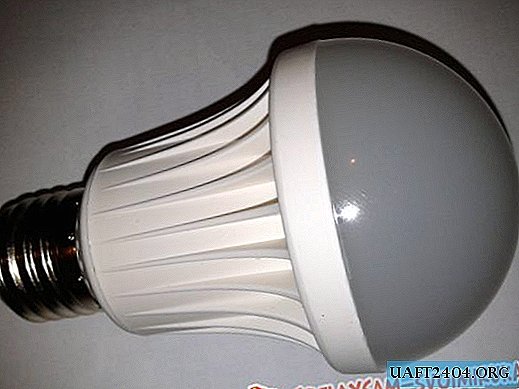
Here in the photo you can see how the lamp burns after repair.

In addition to the above failures, there may be an elementary swollen electrolytic capacitor. It naturally needs to be replaced, and it would not hurt to check the diode assembly before turning it on.
That's all. Successful repairs to you.
Share
Pin
Tweet
Send
Share
Send