Share
Pin
Tweet
Send
Share
Send
The maintenance of the aquarium in the apartment is a matter requiring a detailed approach and various knowledge. Including knowledge of lighting cans of fish (aquarium experts call the aquarium a can).

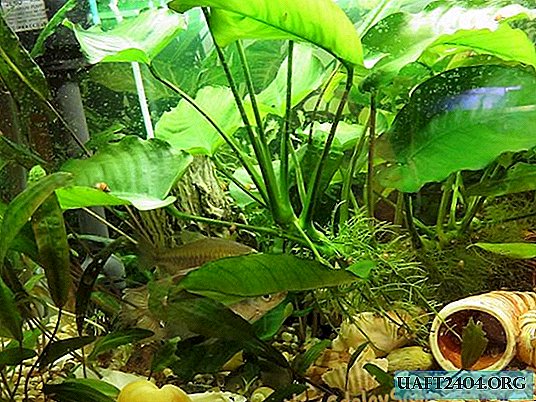
If the aquarium functions for a long time, then the lighting system may fail. And here the ability to establish light for the underwater kingdom is useful, because aquarium plants will not survive without lighting, and the aesthetic appearance of the design and the fish themselves will always be in the shade.

In our case, it was necessary to repair the lighting of the Jebo aquarium. The specificity of these aquariums is that the light unit is mounted in the lid and closed from the inside with a transparent plastic casing. The Jebo cap also contains a filtration system that is integrated in the back, i.e. the filter in these aquariums is external, inside the aquarium there is only a water intake pipe and a motor for lifting water into the filter. During operation in the lighting system, not only lamps but also starters can fail. These are removable elements, they can be replaced with similar serviceable ones. The most unpleasant thing is when connecting wires that are hidden inside the cover and inaccessible for manipulations, and external plastic parts fail. The plastic used for them is thin, and, over time, from constant heating when lighting the aquarium, it simply crumbles and crumbles like a shell from an egg.

In such cases, repairing the native lighting system is no longer possible, so it makes sense to completely replace the light unit.

For such a reconstruction of the aquarium cover, it is necessary to choose a lamp with a T5 tube lamp. For exact data, see the marking of the lighting for the aquarium. Choose a warm light. The lamp may have its own switch. The most important dimensions. The luminaire must intervene compactly in the size designated in the Jebo cover.
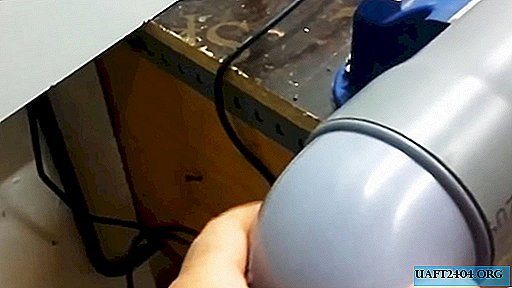
We start by parsing the light block of the Jebo cover. We completely dismantle it: remove the plastic casing, freeing it from metal clamps, then unwind the panel on which there are native lamp holders.
Next, we cut the wires that go to the plug, we clean the ends of the stranded copper wire.

We return to the purchased lamp. He also cuts the wire to the plug. The switch must be left! Because The cover switch keys are now non-functional and on-off will be done through the lamp switch.

Now you need to provide a wire connection. It is convenient to use thermal crimping for additional fixation and sealing of the joint. For shrinkage of thermal insulation we use an ordinary hair dryer. You can also heat the junction above the candle flame, but a hairdryer is much more convenient.

We twist the protected ends of the wires, observe the colors of insulation, connect the wires with insulation of the same colors. The sequence of actions is as follows: we choose the thermal insulation of the appropriate size to be worn on one of the wires, twist the bare ends, push the heat shrink and blow hot air from the hair dryer at maximum temperature.

As a result, the heat-shrink polymer compresses the junction, protecting it from external influences and strengthening. Be sure to check the operation of the lamp! If the wires are connected incorrectly, then the light may not turn on, if the insulation is broken, then a short circuit will occur. In these cases, you will have to redo the connection of the wires.
The next stage is the placement of the lamp in the lid. In an aquarium type Jebo mounts with screw connections and metal springs. We fasten the lamp through the provided holes to the aquarium cover. We pass the wire through the technological hole into another compartment of the aquarium cover and output it together with the wire from the aerator filter to the outlet.

We install the lid on the aquarium and check the operation of the lamp.

Thus, the lighting in the aquarium is restored.

Share
Pin
Tweet
Send
Share
Send