Share
Pin
Tweet
Send
Share
Send
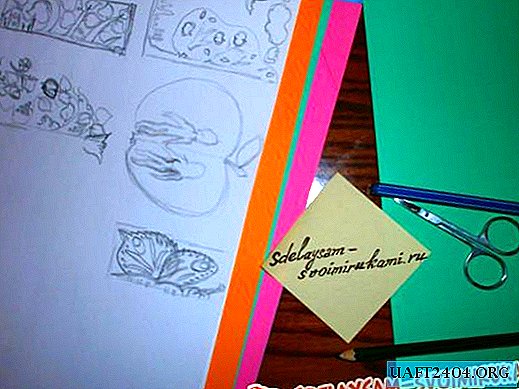
So, let's start and for the master class we take:
- Binding cardboard format A5 two sheets;
- Cotton fabric bright quality blue and pink with flowers, it is better to take Korea or Germany;
- Synthetic winterizer;
- Scrapbooking paper in mint purple
- Color printed pages for our pregnancy diary. Pages can be searched on the Internet or purchased electronically from the Internet, and then printed on their own. Basically, the set of such pages includes pages: I found out that I’m pregnant, pictures of ultrasound, photos, records by week and month, note pages, name selection, list of things, medical examination, etc .;
- The cut-out napkin is blue, the openwork mint frame;
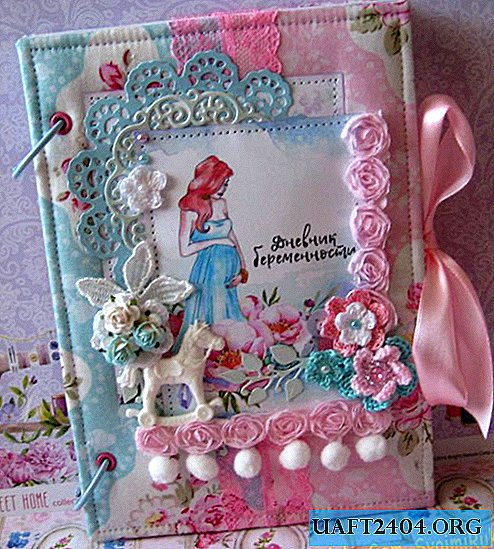
- Picture with a pregnant girl and the inscription "Diary of pregnancy";
- Pink lace 4 cm wide;
- Light pink satin ribbon 25 mm wide;
- White ribbon with pompons:
- Chiffon light pink ribbon with roses;
- Embroidered white flowers;
- Knitted flowers are pink, white and mint;
- Middle and half beads for flowers;
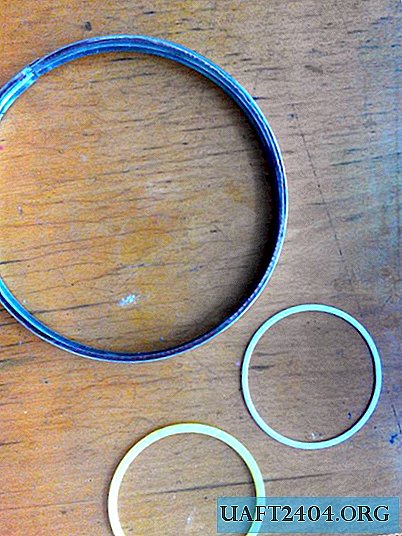
- Blue rings 40 mm in diameter, pink eyelets and installer for eyelets;
- Plastic white horse;
- White paper and mint roses;
- Glue "Glass effect";
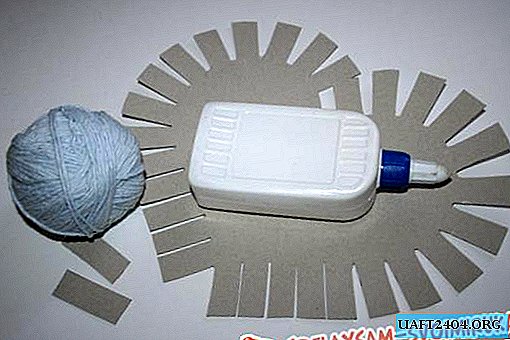
- Glue stick, glue gun, double-sided tape;
- Ruler, scissors, pencil.

We take binding blanks of cardboard, they go with a size of 14.5 * 20.5 cm. We paste strips of double-sided tape.


We glue the synthetic winterizer. Now we take two fabrics.


We cut the fabric two cuts on each side, iron it.


We will sew lace between the fabrics.


We sew the machine with the machine, in the center between them we sew the lace. Now we put the binding blank with synthetic winterizer down, smear the corners, wrap it and glue it.


Cloth covered both parts. Glue the strip strips in the center.


Sew both blanks of the cover along the edge. Now we take a scrapbook paper and cut out from it two rectangles 14 by 20 cm, as well as two pockets 14 cm wide.


Sew pockets. Now on the cover we will sew the picture, card and cutting.


We flash everything on a typewriter.


Now we glue the bookends from the scrapbook paper into the covers and put them under the press so that the glue is well fixed. In the meantime, let's deal with the sheets. We spread them in the right order.


Hole punch on the covers of the hole and put the eyelets with the help of the installer.


Now we punch and all the leaves and collect our diary on the rings.


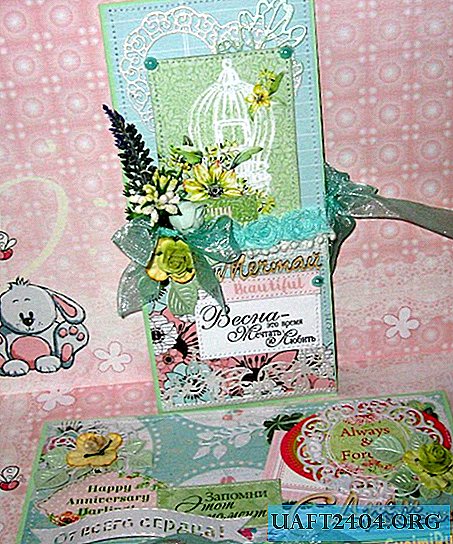
We glue the decorations on the cover and our diary is completely ready. It turns out here we have such a beautiful notebook for notes and the most intimate. Grateful for your attention and good luck to everyone.


Share
Pin
Tweet
Send
Share
Send