Share
Pin
Tweet
Send
Share
Send
A striking example is the light summer blouse for the baby, which can be sewn in just 30 minutes.
The blouse pattern can be re-edited from the magazine dedicated to children's fashion, or printed, previously copied from a specialized site.
For sewing such a product, it is best to use thin, possibly natural fabrics (linen, cotton, a mixture of cotton and linen in one fabric). Then the blouse will be comfortable to wear, as well as easy to care for.

The details of the blouse in question are as follows:
- Shelf - 1 whole piece;
- Back - 2 parts (with middle seam);
- Sleeve - 2 parts;
- Neck processing strip - 1 part.
The last detail lies in the process of sewing a blouse.

First you need to process the middle seam. It must be pounded at a distance of a centimeter from the cut, overcast on the overlock and ironed.
Then you need to process the side seams of the blouse, - sew them 1 cm, overcast on the overlock and iron to the side of the back.

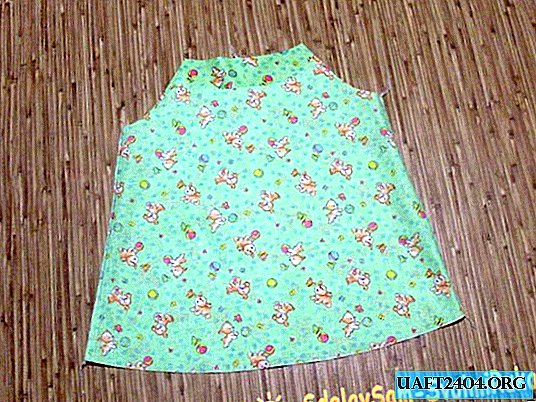
Next, chop off the blouse on the base. To do this, it must be folded in half (the wrong side should be inside), combine and pin all external sections, as well as side seams, with pins.
Next, you need to outline the bottom line of the blouse, as shown in the photo. Align the bottom of the blouse along this line (trim with scissors).

Then you need to iron the bottom of the blouse 2 cm to the wrong side, and then another 1 cm, bending the bottom allowance to half the width.
A pre-pressed bottom of the product will be much easier to hem on a typewriter, especially if it has a rounded shape.

The bottom of the blouse needs to be hemmed on a typewriter.

Then you can proceed to the preparation of the sleeves, - sew, overcast and iron their lower sections.

The bottom of the sleeves must be ironed similarly to the bottom of the blouse.

An elastic band will be inserted into the hem of the sleeves. The bottom of the sleeves should be hemmed similarly to the bottom of the blouse, but not far from the bottom of their seams, you will need to leave a small unstitched section in order to insert the elastic.
Prepared sleeves should be sewn into the open armholes of a blouse. For convenience, they can first be pounded or pinned with pins. The sleeve sewing in seam is 1-1.2 cm. The machining allowances after the sewing in need to be overcast and ironed on the sleeve.

After the sleeves are sewn in, you should measure the length of the resulting neck of the blouse. To this figure you need to add 5 cm to the stock.
From the blouse fabric, it is necessary to cut out a strip that is equal in length to the obtained figure, and in width - to the width of the elastic plus 2.5 cm. The neck of the blouse will be processed with this strip.
It needs to be ironed in length. One end face of it must also be ironed by turning 1.5 cm inward.

The strip should be stitched to the neck of the blouse, starting the line with the ironed end edge attached to the middle seam of the back.
The second end edge should be similarly bent inward. If necessary, the excess strip length must be cut off.
The ends of the strip should be sewn butt to each other.
The stitching seam must be processed on the overlock and ironed on the product.


In the wings of the sleeves and necks, insert a narrow linen gum. The ends can be sewn by hand, laying one on top of another 1 cm.
If necessary, the blouse can be ironed.
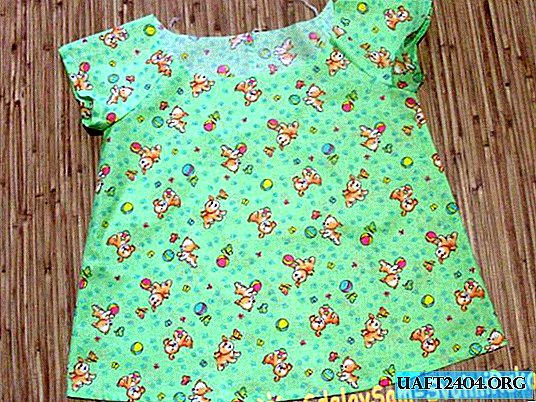
Easy summer new thing for the little beauty is completely ready.
Share
Pin
Tweet
Send
Share
Send