Share
Pin
Tweet
Send
Share
Send
Its advantages:
- A soft light that does not hurt the eyes.
- Low power consumption.
- Turn the lamp on and off, you can control the color and brightness from the remote control.
- A modern style that fits anywhere.
- In addition to control and brightness, there is a smooth color change mode and a dynamic switching mode, quickly and slowly.
In general, not a lamp, but a find!
The heart of the lamp is a Chinese garland with a controller and a remote control. Plus the power supply that comes with the kit.
Pretty inexpensive, bought here - Aliexpress
If you have big budget problems, you can take a simple white LED strip and power it from the power supply.
Other materials:
The remaining materials that I used to make the lamp are not scarce and available in any hardware store.
1. Wooden corners 4 pieces - who finished the clapboard will understand what it is about, if not - ask the seller.
2. Wooden slats 4 pieces - there should be no question.
3. Two types of fabric: 1) transparent with a pattern, for effect. The type of organza the curtains are made of. 2) On denser, for dispersion, fabric like chintsevy. I confess right away - in fabrics and sewing I'm a complete zero. I just went to the sewing store and chose what I want to look like ... I don’t remember what is called exactly.
Of course, you can limit yourself to one dense one, but I just decided to stand out.
4. Plastic corners 3 pieces - any construction.
5. Small nails.
Lamp manufacturing
We collect all the materials we pass. I ordered an LED strip in China and while she was walking I began to make a lamp frame, cut fabrics along the frame.

The first thing you need is to decide on the size. I took a height of one and a half meters. Given this, I saw off 4 wooden corners. The main bearing parts of the lamp are ready.

Now we determine the width - I took 30 cm. We begin to hammer together with small nails. We do everything carefully so that nothing is cracked. If it suddenly cracked, we take PVA glue and glue it.

One side is ready. We stuff corners sawn into it minus the thickness of the side ones.


Everything needs to be done proportionally. Previously, everything should be marked out with a simple pencil. Do not forget about the legs of the lamp.
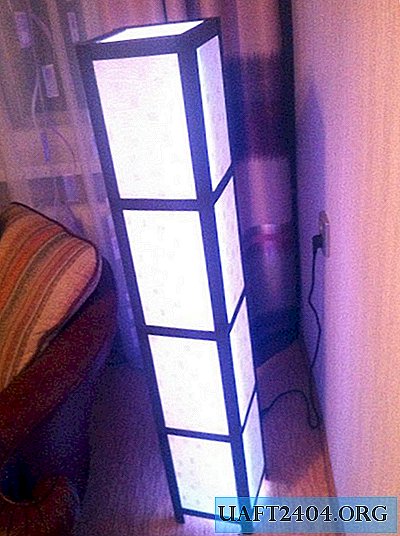
We assemble the frame - everything is ready. The biggest thing done. Here is what happened in the end.

Now take the LED strip and glue it on the corners.

The height of the lamp is 1.5 meters. I took the tape 3 meters, that is, it goes along one corner and diagonally in a different way. If you want more brightness, take the ribbons so that it is enough for all 4 corners.
LED strip sticks very well to the tree.

Now we alternately wrap with layers of fabric. First one, then the second. For fixing we use a furniture stapler. Cut off all protruding parts. All this is done very simply and quickly.

Next, we take the plastic corners. Take the color you like - the choice is now large. I thought a dark corner would harmonize well with the white color of the lamp and took it.

We cut the corners and first glue the top and bottom. Then, we cut the corner along and glue the side strips.


Well, at the end we glue the corners on the corners of the lamp. In the role of glue, you can use glue for ceiling tiles or glue such as liquid nails.

All check. Oh yes: the controller is mounted at the bottom, the infrared remote control sensor is also displayed at the bottom.
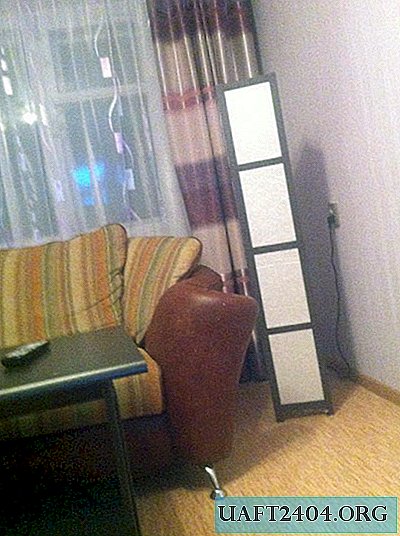


The thing is just awesome! It shines brightly, beautifully and consumes very little electricity.
I am very glad to this lamp. I just love him!
The function of smooth color change perfectly calms the nerves after a hard day's work.
Make the same lamp and enjoy! All the best.
Share
Pin
Tweet
Send
Share
Send