Share
Pin
Tweet
Send
Share
Send
In this workshop I will show you how to make a fully autonomous garage power system. Although the garage has a stationary electric network, but I decided to refuse it, because there are too many interruptions in its work ... Often there is no light for debt.
One of the main advantages of a solar power plant is its complete autonomy and independence. Considering that I have not been in the garage for a whole day, the capacity of my system is enough for all needs.
I used a powerful 100W solar panel, so the battery is able to charge even in cloudy weather. Of course, a 10W solar panel would be enough, but I decided to take it with a margin, in case I suddenly had to increase the power of the entire system.
What does the solar system provide?
- - LED light in the garage. Considering the current consumed by LED strips (no more than 2 A), the continuous glow time will be somewhere around 25 hours, which is twice as much as necessary, given the average night time of 12 hours.
- - A network with three 220 V sockets with a load capacity of 400 watts. An inverter is used to convert current. The output is a stable sinusoidal voltage. Plus, the inverter has two USB inputs for powering mobile devices, with a current of up to 3.1 A.
- - The light turns on automatically when the gate is raised, which is very convenient, especially at night.
All elements of an autonomous power supply system were purchased, with the exception of junction boxes, pipes for wires, etc.
I give a list with links to the store:
The 100 W solar panel is ready, you can certainly assemble it yourself, but I bought - aliexpress
Charging controller - aliexpress
A 12 V 100 Ah battery in the nearest car shop.
Battery terminals - aliexpress
400w inverter - aliexpress
Reed switch with magnet - aliexpress
LED strip - aliexpress
Solar Power Scheme

The solar panel and battery are connected to the controller. The controller controls the charging of the battery, gives optimal current and does not allow to completely discharge. LED strips and inverters are connected to the controller output.
To make the light turn on automatically, I used a reed switch. Since LED strips consume a current of about 2 amperes, they can not be switched by a reed switch, you will need to add a relay that will take on all the load.
With the scheme, I think there will be no questions.
A few words about installation

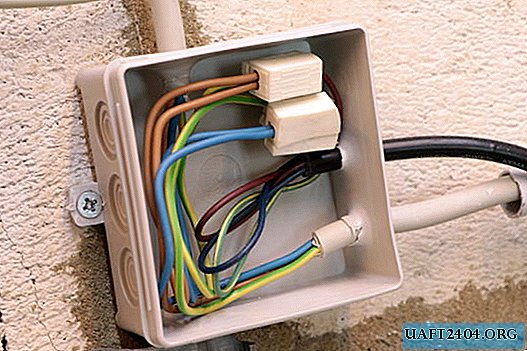


The entire system is sorted by standard. Wires are packed pipes, connectors in junction boxes.


The photo shows how a reed switch is mounted with a movable magnet on the gate itself.


LED strips are simply stretched and fastened in special clips.
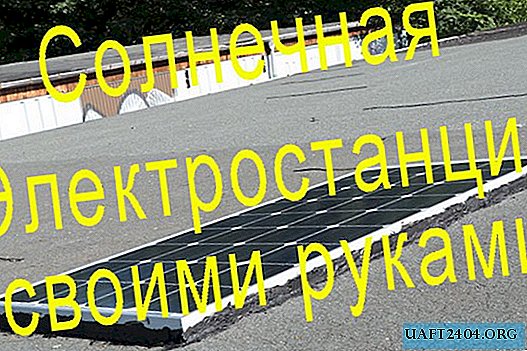
I would also like to talk about the installation of a solar panel. A hole is drilled in the roof into which a piece of pipe is inserted. To exclude any leakage of water, a piece sticks out of the roof from above at a small distance. We seal and coat it with liquid bitumen or tar. We connect the panel, we pass wires through this tube. We lay the panel horizontally and coat the edges with liquid bitumen as well. Everything turned out hermetically. The roof has a slight slope, and in any case, water will slide off it.

Once again I will say that the system is completely autonomous and does not need maintenance. If it is only necessary to periodically check the battery.
The result after several weeks of operation
The solar power plant has proven itself perfectly. It can be made for a summer residence, a barn, etc. In general, where there is no electricity supply. You yourself can make a power plant at any capacity and no longer depend on anyone.
It is very healthy not to depend on anyone.
Share
Pin
Tweet
Send
Share
Send