Share
Pin
Tweet
Send
Share
Send

I made myself a charger for four lithium-ion batteries. Someone will think now: well done and done, there are plenty of such on the Internet. And I want to say right away that my design is capable of charging both one battery and four at once. All batteries are charged independently of each other.
This makes it possible to simultaneously charge batteries from different devices and with a different initial charge.
I made a charger for 18650 batteries, which I use in a flashlight, powerbanks, laptop, etc.
The scheme consists of ready-made modules and is assembled very quickly and simply.
Will need
- Charge controller with microUSB TP4056 - 4 pcs.
- Connector PLS pin 2.54.
- Button with fixation - 4 pcs.
- Paper clips.
- Printed circuit board.
- Battery 18650.
Making a charger for a different number of batteries
First, make the battery compartment. To do this, we take a universal mounting plate with a large number of holes and ordinary stationery clips.

Bite off the staples at such corners.
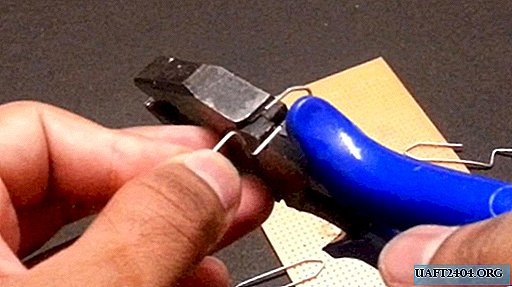
We insert into the board, after trying on the length of the batteries you need. Because such a charger can be made not only for 18650 batteries.

We solder part of the paper clips from the bottom of the board.

Then we take charge controllers and place them on the remaining place of the board, preferably opposite each battery.

The charging controller will be mounted on these legs made from the PLS connector.

Solder the module on top and on the bottom of the board. The current to the module and the charge current to the batteries will run along these legs.

Four sections are ready.

Next, for switching charging places, we will install buttons or a toggle switch.

The whole thing is connected like this:
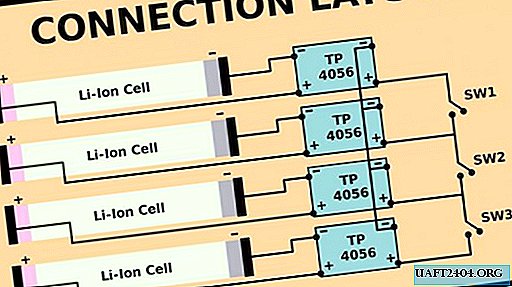
You ask - why are the buttons only three and not four? And I will answer - since one module will always work, because one battery will always be charged, otherwise it makes no sense to stick the charger at all.
We solder conductive paths.
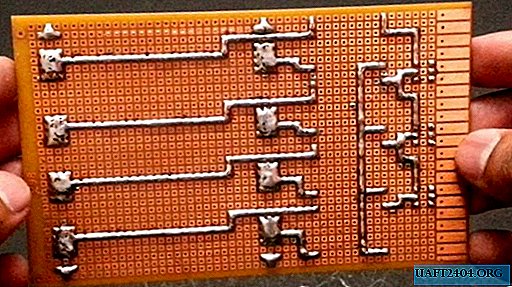
The result is that with the buttons you can connect a place for charging from 1 to 4 batteries.

An LED is installed on the charge module, which indicates that the battery that is charging from it is charged or not.
I assembled the entire device in half an hour. It is powered by a 5-volt power supply (adapter), by the way, it also needs to be selected wisely so that it pulls charging all four batteries at once. Also, the entire circuit can be powered from a USB computer.
We connect the adapter to the first module, and then turn on the necessary buttons and the voltage from the first module will go to other places, depending on the switches turned on.
Share
Pin
Tweet
Send
Share
Send