Share
Pin
Tweet
Send
Share
Send
Today I will tell you how I made a potbelly stove for my workshop, so that you could work in it in the winter, but at the same time not to wind the electricity with oil heaters.

For these purposes, I got 3 discs from the truck. One of them was smaller in diameter, so it was decided to put it under an ash pan.

Necessary materials and tools
In addition to disks, you will need:
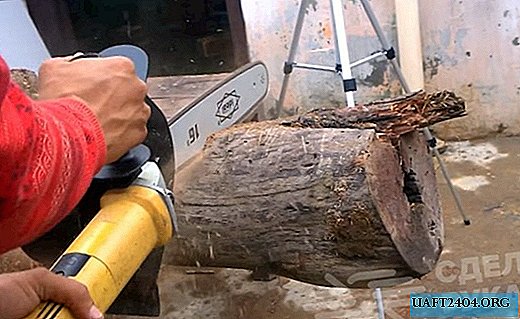
- Grinder with metal discs.
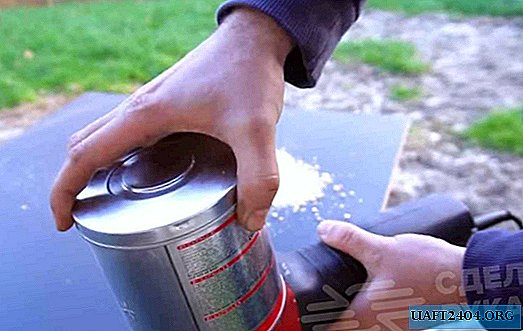
- Sander or drill with grinding attachment.
- Gas cutting torch or electric welding.
- A sheet of metal with a thickness of at least 10 mm from which blanks for various auxiliary elements will be cut.
- Reinforcing bars or strips of metal with a thickness of 10 mm or more.
- Thick-walled steel pipe for the construction of the chimney exit.
- Heat resistant primer or paint.
Making a furnace from car wheels
Step 1.
An ash pan should be located in the lower disk so that ash can be removed. In addition, the ash pan serves as an air intake so that the fuel burns well. To do this, using a grinder, I cut a rectangular door measuring 120 × 250 mm.

Step 2
Then he connected the two lower discs with ordinary bolts and a nut. They laid on them a grate welded from metal plates, which will serve as grates. Also for these purposes, you can use reinforcing bars.

Step 3
To make the combustion chamber a little larger, I did the following:
- From a sheet 10 mm thick I cut a strip with a width of 130 mm.
- Next, you need to bend this strip along the diameter of the rim of the upper disks. I have a small press, so I had to cut the strip into three parts.
- When the plates were bent along the diameter of the rim of the disks, I welded them together by electric welding.
- Then welded the resulting ring between the two upper discs.
The result was a rather voluminous firebox, into which a lot of wood would fit.

Step 4
From a 5 mm steel strip welded a metal box for an ashpit. With the length, you need to guess that the box closes tightly, since with large slots there will be too intense burning and the fuel will quickly burn through. As a handle, you can weld any metal rod of any length.

Step 5
Then he proceeded to the device of the upper plate. I decided to make it sliding so that at the same time it would function as a door for loading fuel. For this, the upper part of the disk was cut with a gas cutter, but left two native holes and then drilled another one, for mounting the movable part. He also made a semicircular recess for the diameter of the chimney. He cut the edges of the cut with a grinding wheel so that the plate fits snugly.

Step 6
I cut two halves of the top plate from a metal sheet and drilled holes in them. Then he polished them a little and screwed one of the halves, which is planned to be stationary.

To make the moving part easy to walk, I had to cut off a little and round its edge, since the sharp corner did not allow the door to open.

Step 7
In a motionlessly fixed top plate, I cut a hole under the chimney pipe. It turned out to be slightly larger (I did not calculate the width of the half, I had to make it a little wider), so I had to choose a little from the moving part. He welded the pipe, and welded a handle to the movable part, so that it was convenient to open the damper.

Step 8
So that all the heat does not fly out into the pipe, you need to make a chimney damper, which will regulate the draft.

I cut a round billet of metal, turned it so that it fit freely into the pipe. Then I drilled a through hole in the pipe into which the rod will be inserted to rotate the damper.


I placed all this near the exit from the pipe so that you could reach the electrode to connect the rod and damper. To prevent the flapper from “tumbling”, I set a stop: now it opens only in one direction.

Step 9
When the potbelly stove was ready, I cleaned the rust from the outside to give it a marketable appearance, after which I applied a fire-resistant primer using a spray gun. It turned out elegantly.

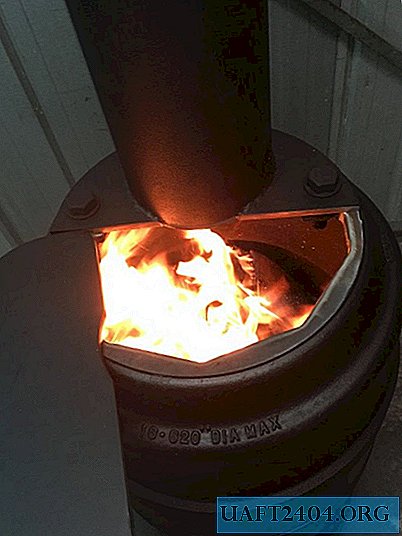
Start potbelly stove
After complete drying, he began the first ignition of the furnace and its burning. To do this, he pulled the structure onto the street and melted it with firewood. He warmed up a potbelly stove gradually, laying firewood in small portions. At first the furnace smoked, but after a good warming up it stopped. Now, after complete cooling, it can be installed in the workshop, connected to an external chimney and used for your own pleasure.
Original article in English
Share
Pin
Tweet
Send
Share
Send