Share
Pin
Tweet
Send
Share
Send
A broken knife handle, or a blunt blade, of course, is not the end of the world, but anyway, the event is rather not pleasant, and in order to avoid this unpleasant moment in the most inopportune moment (for example, when going for mushrooms, or fishing), constantly monitor the condition of the knife. Edit the blade, wipe it so that it does not fade or rust. Just do not forget about the handle. If it is staggering on the blade, or cracked, then it is better not to wait for it to completely fall off, but to replace it in advance. The work ahead is not dusty (in terms of the fact that you don’t need to grind anything on the machine) and not long. All that we need from the “tools” is our own hands!
Will need
- Composite glue (such as "cold welding").
- Sawdust (preferably very small).
- Seconds glue.
- Water.

I chose this particular material not by accident, because at the beginning of mixing it is very plastic, which allows you to fit it individually under any arm (palm).
Making a knife handle
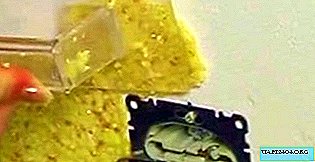
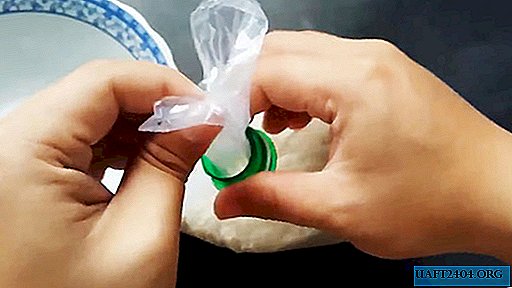
To get started, we will prepare composite cold welding.

This glue is produced in plastic cylindrical tubes, pieces of 9 centimeters long. It is necessary to cut off five centimeters of glue from a common piece (this is slightly more than half), moisten your hands with water, and proceed with mixing.

As you mix, the glue will become very soft and plastic. And that means it's time to add sawdust.

I remind you again: the sawdust should be as small as possible. Almost like dust! The finer the structure of sawdust, the less noticeable they will be on the handle, after the adhesive has hardened.

You can, of course, add metal sawdust that settles near the emery machine after working with metal, but I think this will not affect the weight of the knife handle very well. Although, if you make the handle not for a throwing knife, then, probably, balancing does not matter much.
So, after we thoroughly mixed cold welding with sawdust, bringing it to a homogeneous mass, we envelop it with the pin of the knife blade and give it the desired shape.

If the mass is too plastic, you can wait ten to fifteen minutes, so that it dries out a bit and begins to keep the given shape. We fashion the desired shape, whatever you like. Then, having achieved the shape of the handle you need, we wait another fifteen to twenty minutes, remove the blade from the handle, drop a few drops of second glue into the hole from the blade and insert the blade back.

Compress tightly so that cold welding and the blade pin from the inside have the largest possible contact area. We wipe out the remaining remnants of the second glue. You can, if you wish, also stick the guard and the top of the handle, however, this is an individual matter for everyone. Now we clamp the blade in a vice, with the handle up, and leave it for six to eight hours. Better until the next morning!

After the designated time, you can handle the handle with zero sandpaper and varnish.
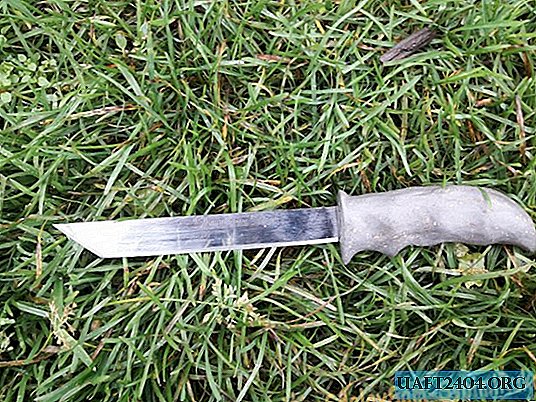
Now you can not worry, and not wait for trouble, that the blade, not today or tomorrow, will fly off the damaged handle! The resulting handle is practically not subject to wear, and is also not subject to decay and fungus, like a wooden one. In addition, to break it, you have to really try! She will serve you for many years.
Share
Pin
Tweet
Send
Share
Send