Share
Pin
Tweet
Send
Share
Send
To make such a charger, you will need any adapter charge for a cell phone with an output voltage of 5 volts, which will serve as a power source and housing. After disassembling the case of the “electronic cigarette”, a small electronic circuit board will appear, approximately the same type as shown in the figure.

There is a micro-USB connector on this board, and two wires to the battery come out from it - plus (red) and minus (white or black). These wires should be carefully soldered and instead of them soldered a two-wire cable of the required length to connect, in the future, rechargeable batteries.
The telephone “charging” case should be opened and the electronic board removed from it, as shown in the figure.

The boards from other "charges" may have a different appearance and size, but this does not matter, since they are the same in function and in their parameters. We remove the cable with the connector from this board and instead solder the micro-USB connector with short wires to connect it to the board we removed from the "electronic cigarette". Such a connector can be taken, for example, from the same “charge” for cell phones. So we will connect the telephone “charging” output to the “electronic cigarette” charger board without the need to solder small parts, which is rather difficult to do at home. And instead of the two wires that used to go to the “electronic cigarette” battery, you need to solder the cable we need is long, as mentioned above. At the end of the cable, you can solder any suitable connector for connecting rechargeable batteries (you can solder several different connectors for connecting batteries with different contacts in parallel).
In cases of telephone “charges” there is usually enough space to put a small board from an “electronic cigarette” during assembly (if you do not take too compact “charges”), therefore we place this board where there is free space for it. It does not need to be fixed in any way, it is only important to exclude possible touching parts of both boards together, for which you can use electrical tape, sealant, pieces of cardboard or any other insulating materials. It is important to take into account that there is an LED indicator on the board from the “electronic cigarette”, which visually displays the status of the entire charger - inclusion in the network (three blue flashes), charging process (lights up in red) and end of charge (the LED goes out). In order to control the glow of this LED, a small "window" should be made in the case - a hole that can be covered with a piece of transparent plastic (or left just open, with some ventilation of the boards being provided). This hole must be made opposite the place where the LED will be located after assembling the entire device.
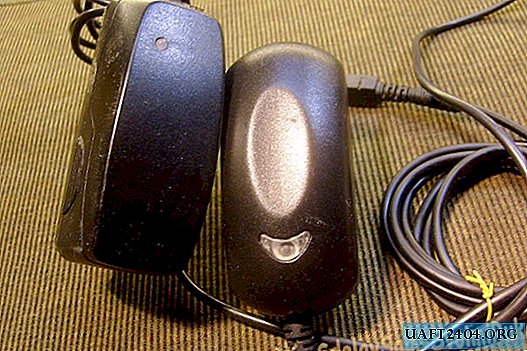
So we get a good charger for any batteries with a voltage of 3.6 (or 3.7) volts with small dimensions and the function of complete control of the charge process. The appearance of the finished charger is shown in the figure.

Share
Pin
Tweet
Send
Share
Send