Share
Pin
Tweet
Send
Share
Send
For this craft you will need: PVA glue, Dragon glue, corrections, Christmas tinsel (you can use pieces of old leftovers), colored paper trimmings or felt-tip pens, ceiling tiles or cardboard.
I found two different corrections.
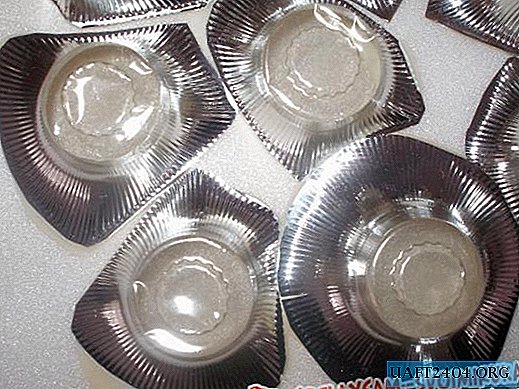

Feel free to cut them into separate pieces. After that, take one ceiling tile and start laying out the snake. If not at hand, use cardboard. The snake can be laid out in any form. In my version, it is a wide part of the head, a meandering body and a twisted tail.
When you see that there are enough cut particles and you get something that looks like a snake, start sticking the particles to the tile. PVA glue may well combine these materials. It should be glued gradually and slowly so that the particles do not move. The glue layer must be made thick. It should look something like this:

Leave the snake to dry for several hours. To make it fun, use New Year's tinsel.

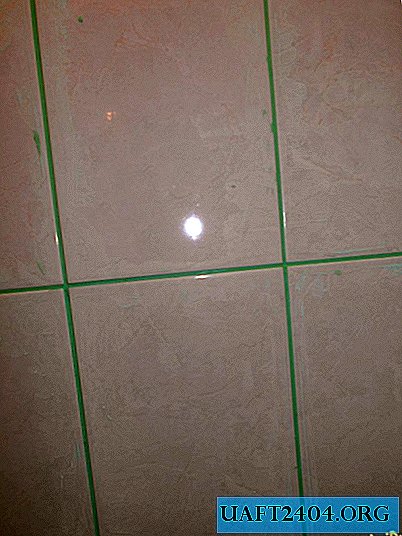
Lay out the tinsel along the contour on both sides of the snake. You can choose the color of your choice. More suitable colors will be: blue, green, silver or golden. To attach the tinsel, use the Dragon glue. It can be applied in drops at a small distance from each other.
Next, perform the final touch. For naturalness, stick green eyes from colored paper. I used the remnants of color self-adhesive. The pupil can be made into a small black circle of paper or drawn with a felt-tip pen. For persuasiveness, cut or finish the tongue red. The snake is ready!


Share
Pin
Tweet
Send
Share
Send