Share
Pin
Tweet
Send
Share
Send
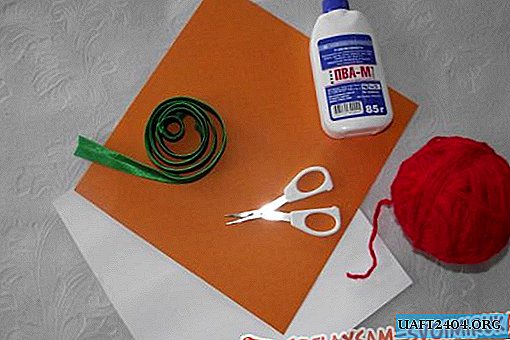
Materials for crafts:
• White and orange cardboard
• For making stars: red colored paper or a colored shopping bag with a star pattern

• Green satin ribbon for edging
• Red woolen threads
• Red felt-tip pen
• PVA glue or "moment" transparent
• scissors
• Ruler
• Pencil
How to do:
1. Cut a 20x20 cm square out of white cardboard. This will be the base of the postcard.
2. Turn the orange cardboard over and draw a star on the reverse side, drawing lines parallel to the edges of the star, retreating about 1 cm and moving in a spiral 4 circles. The finished star will be at the extreme points about 16-17 cm wide.

3. Carefully cut the star along the contour and in a spiral with small scissors, without cutting in the places indicated by the arrows.


4. We make the basis. We glue the green satin ribbon around the perimeter of the white square, carefully cut the ends of the ribbon.

The use of the “moment” glue will be more successful, since it dries faster when working with fabric.
5. Now you need to stick the cut star to the base. To do this, we glue with glue along the extreme perimeter on the back of the orange star and glue in the middle of the white base of the card.


6. Decorate the card. We cut out red stars from red colored paper or from a bag, glue them on a card on a white background, inside the craft and in the middle of the orange star.

Glue the red woolen thread along the top and bottom edges of the card over the green ribbons.
7. We write a congratulation inside the star with a red felt-tip pen.

8. Circle the outline of the outer and inner stars with a red felt-tip pen. The craft is ready.
The kid who completed the work will be very proud of the result, and perhaps he will try to create another “masterpiece” again, now by March 8th.


Share
Pin
Tweet
Send
Share
Send

