Share
Pin
Tweet
Send
Share
Send
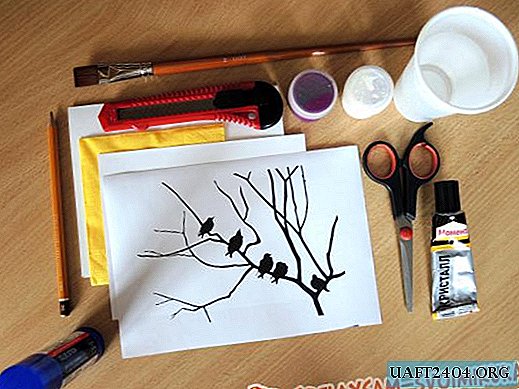
So, for the manufacture of pendants, we need the following set of items:
2 sheets of cardboard thick (one white, the second - any);
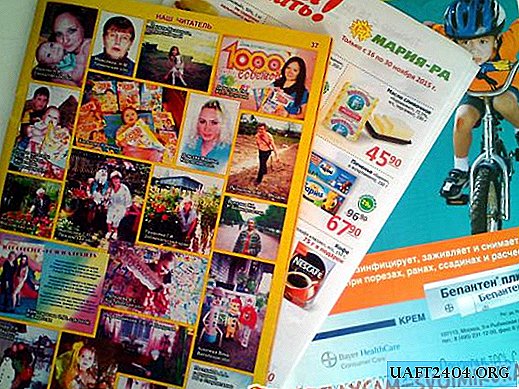
ordinary table napkins with pictures of any subject;
strong threads of two contrasting, but combining colors;
PVA glue;
scissors;
ruler;
pencil;
tassel.

Operating procedure:
From a white sheet of cardboard we cut out a circle. Its diameter should not exceed the size of the picture on a napkin. On the second sheet of cardboard we draw a circle with a slightly larger diameter of the cut out circle and divide it using a pencil with a ruler into 24 equal parts. Put the cut white in the center of the drawn circle, make marks on its edges about 4 mm long, and cut them with scissors (marks).
Cut the picture from a napkin. It should be slightly smaller than a circle. Then, using the deculage technique, we put it on a circle, dip a brush into the glue and start gluing a napkin directly on top of the cardboard. It sticks easily due to the fact that it gets wet very quickly.
When working with a napkin, some nuances should be taken into account:
you can’t touch the wet napkin with your hands and try to displace it - it will tear instantly (if this still happened, you will have to take a new napkin);
work with a brush strictly in the direction from the center to the edge;
stroking with a brush should be the entire surface of the picture, preventing the formation of bubbles under the napkin;
the formation of small folds is not scary - they will not be visible after the cloth dries.
At the end of work with glue, let the picture dry.
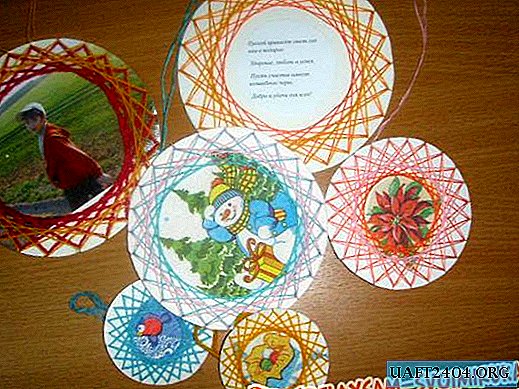
Then, having decided where the loop for the pendant will be located, insert the thread into the slot (1). The tip for the eyelet is left on the wrong side of the suspension. Next, skipping 5 cuts located at the edges of the circle, insert the thread (2). We draw the thread from the wrong side of the circle towards the slot (1), skipping 4 cuts, and thread into the slot (3). And so on. While our thread walks in a circle, she will visit each section twice. We tie a neat little knot (unforgettable about the aesthetic side of the craft) of two threads at the place where it is supposed to have a loop for the pendant. We wrap the second thread of contrasting color, adhering to the same principle, reducing the number of slots passed by one. That is, if we wound the first thread (green) through 5 and 4 slots, then the second (pink) - through 4 and 3. We knot the ends of the second thread in a knot. The suspension is ready.
The wrong side of the finished pendant can be supplemented with congratulations or wishes, verses. This is how the fantasy tells.


Enjoy your work!
Share
Pin
Tweet
Send
Share
Send