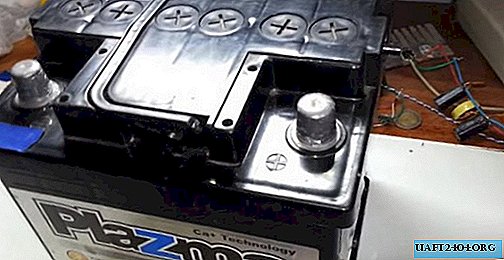
In this review, the author shows in detail how to assemble a simple and at the same time reliable pneumatic system for a compressor in a garage or home workshop.
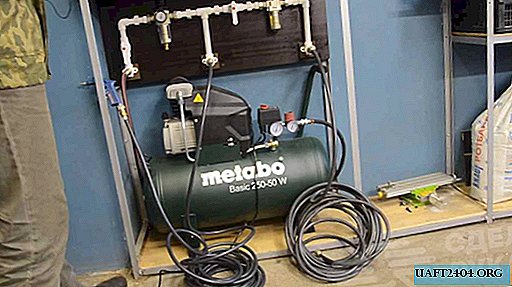
The author decided to fix the air line on the wall under the desktop, where the compressor itself is located.
To do this, you will first need to attach wooden blocks to the wall, and screw a sheet of plywood to them. You can also use OSB or particleboard.

Installation of the air line itself is most conveniently done on the table, so first it is better to mount the entire system, and then screw the panel to the bars.

Pneumatic system assembly
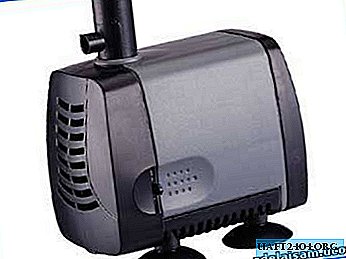
The first link in the pneumatic system will be the connection point of the compressor to the air line. Further, the author decided to install a crane - it is needed in order to further check the tightness of the system.
After the tap there is an angle of 90 degrees, then comes the first adapter, which will fit the air and oil filters. After the filter, there is an adapter again, and after it - a tee.

From this tee will go the first exit to the air hose. The author plans to use this hose only for pumping up wheels and purging parts or something else.

Also, after the tee, the author decided to install a tap so that the oil from the lubricator does not pull back onto the hose.

After the crane there is an adapter, then - a lubricator. After it comes another adapter, an angle of 90 degrees and a second outlet to the hose. This hose will already be designed to connect a pneumatic tool.

The main stages of work
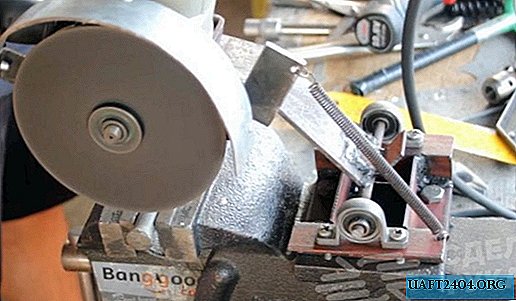
First of all, it will be necessary to assemble the entire air line into a single whole.
To do this, the author uses an adjustable wrench with a fum tape and a soldering iron for pipes (welding iron). The finished result in the photo below.

Next, we check the pneumatic system for leaks. If everything is fine, then we fasten the trunk to the panel of plywood.
For ease of maintenance of the air-oil filter and lubricator, you will need to make wooden spacers (or, for example, from the same plywood).

At the last stage, it remains only to fix the plywood panel with the air line on the wall under the table. In your case, you can fix the system in the place where it will be convenient for you.

For details on how to assemble the pneumatic system for the compressor with your own hands, see the video on our website.