Each owner, probably somewhere in the garage, in the house or just on the balcony, has an old rusty hammer without a handle, which your hands do not reach. And the desire to return him to the working order is postponed from year to year.

In this video, the master demonstrates how to bring an old hammer back to life, not just cleaning it up and equipping it with an ordinary wooden handle, but making an aluminum handle for yourself. A very interesting idea. Although, of course, not everyone has the opportunity to melt aluminum.
Making patterns
Having prepared a profile of the future handle from a piece of plastic (you can use plywood, fiberboard, etc.), the master cuts a workpiece from a coarse-grained foam (about 3-4 cm thick).

Further, with the help of an office knife and emery, he finishes the part to the desired size and shape (the size should correspond to the footprint of the hammer).
Melting and casting
In a small metal container, the master melts aluminum cans. In parallel with this process, a recess is made in another container (basin) with sand, where a hammer is placed with the workpiece inserted.

The sand around the mold is densely compacted (this will prevent aluminum from spreading and give the future product its intended shape). Mortars from the same foam are placed perpendicularly to the handle, which will allow pouring the mold.
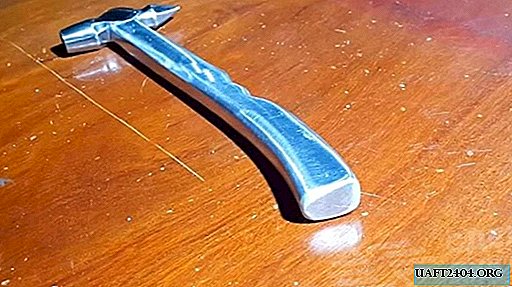
Having cleared the aluminum from the slag, the master proceeds to pour. After cooling, there is a process of cleaning, removing excess sag and polishing.

If you are one of those hosts described at the beginning, you will probably agree that this method is very easy to implement and is able to give the old hammer not just a new, working look, but make it your favorite tool.