This home-made simulator is a more affordable alternative to factory inversion tables. For its manufacture, inexpensive materials were used. Moreover, the build quality is quite reliable. And the design itself is highly durable.

This simulator is designed for inversion therapy at home, the meaning of which is to hang upside down. To make a homemade simulator table, you will need round and shaped pipes of different diameters.
The main stages of work
First of all, it is necessary to weld the supporting frame of the structure from a round pipe with a diameter of 32 mm. Round handles made of a pipe with a diameter of 20 mm are welded to it. Hinges must be welded to the top of the bed. Next, the rotary table frame is welded.

For its manufacture, a profile pipe with dimensions of 30x30 mm is used. It is also necessary to make a movable frame from the profile with sides 25x25 mm. The presence of a movable frame makes it possible to adjust the inversion table, depending on the height of the person.
Fastening legs to the table
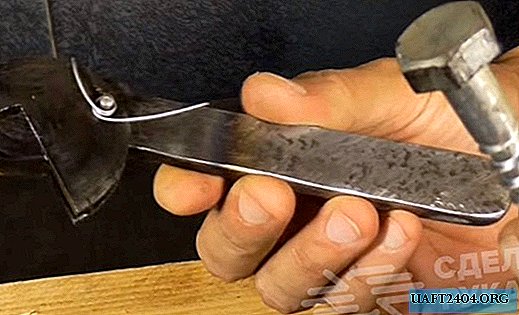
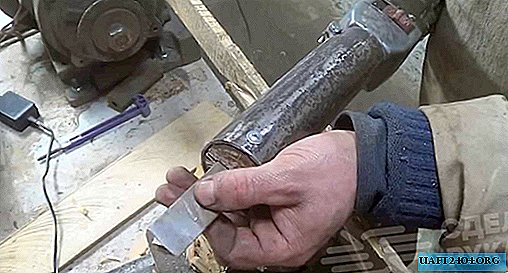
As a mechanism for fixing the rollers of the inversion simulator, which are pressed to the legs, you can use the usual hand brake from the car. Since the handle is slightly curved, it will need to be straightened first.

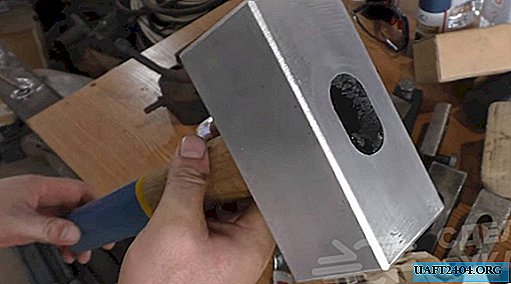
To weld a steel pipe with a diameter of 15 mm to the handbrake, on which soft rollers are put on, you need to make a metal plate in the form of a bracket. To attach the hand brake to the lower frame of the turntable, you will need to use two parts cut from a sheet of metal 5-6 mm thick.
The detailed process of making an inversion table with your own hands can be seen in the video on our website.