Share
Pin
Tweet
Send
Share
Send
Once I made a door with a pattern glowing in the dark for an opening between the entrance hall and the living room. At first everything was fine, but a few flaws were found at the door.
Firstly, after the tree dried, it bent slightly (I thought a sandwich made of glued wood would prevent this, but alas ... I was wrong ...)
In addition, there was only one layer of organic glass. The problem is that if the glass gets dirty, the dirt also starts to glow. This also applies to fingerprints. As luck would have it, both guests and my family strive to tear down glass ...
In the end, faced with these problems, I decided to make a new door.
This time I decided to take cheap boards so that the door was straight and stable. In addition, I used four layers of glass - two outer 3 mm thick of polished glass and two inner 3 mm thick of plexiglass, on which the picture is engraved. I had to use plexiglass because it conducts light better than ordinary glass.
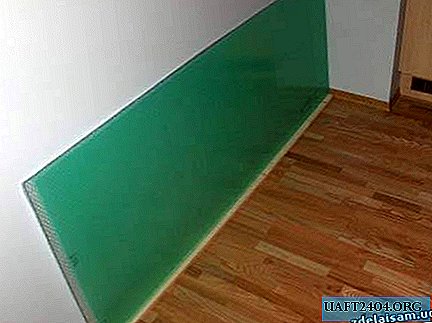
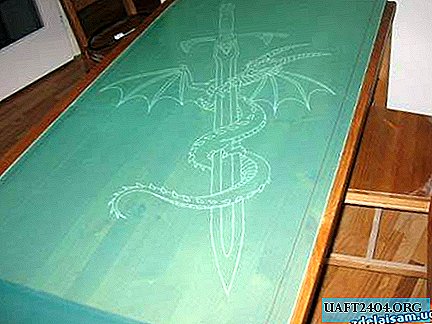
These are four sheets of glass (it was not easy to get them home, but that's another story). By the way, they are green because they are covered with protective plastic.

This is the first piece of cheap wood cut in the right shape. In fact, there’s nothing interesting - you are sawing, sawing ... Besides, I had to use a milling machine to cut 2 mm from all boards: I bought 22 mm thick boards and 40 mm door thickness. Damn a lot of fuss. In addition, it was necessary to cut out grooves for glasses. I did not photograph this process, unfortunately, but on the other hand, there is nothing interesting in it.

All boards are already cut in the right shape. In two boards in the middle, besides, grooves are sawn through. As you can see, in the middle layer of cheap boards, larger chips are used. In more detail I will discuss this later ...

This is the bottom of the door. Since the door is quite heavy, I was afraid that ordinary wood screws could not stand it, so I cut out small grooves between two layers of wooden boards and glued three nuts and M5 gaskets into them (A4 stainless steel - for sure). Below is a photograph of the grooves for two 6 mm nuts and two threaded rods. They serve as a support for glass. Glass is fed through the bottom of the door (it would be easier on the top, but this is not possible due to the large structural strength of the frame). Under the glass is a board and two threaded rods. Between them is also a piece of wood - to strengthen the structure and distribute the weight.
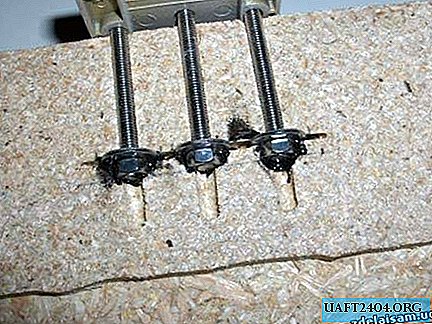
Close-up shot of nuts and gaskets for a loop. The hinge itself and the screws are already screwed to ensure that the nuts are glued in place.

Everything is glued and filled with filler.

Close-up shot of grooves for glass. I had to use filler to level the surface, because in the middle the density of the boards is less. In addition, I carefully sawed the edge with a milling machine. I hoped that the paint would be enough to fill all the bumps and make the tree smooth ... alas, it didn’t work out. Here, too, had to use a filler (photos, again, no ...).

LEDs! To be precise - 120 pieces, 60 blue and 60 white. They will highlight the glass.
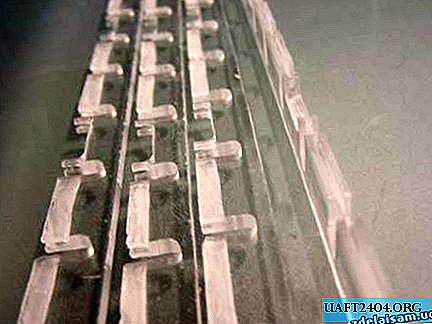
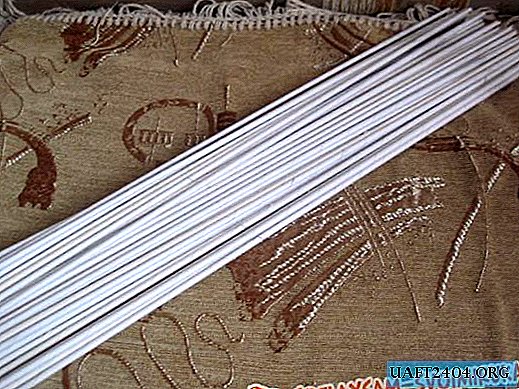
LED holders made of 3 mm thick Plexiglas strips measuring 1 x 62 cm. I cut a hole for each LED and for each resistor (one resistor for three LEDs). In addition, I had to cut a groove for the cord. It will be located above and under the glass, under the weight of one sheet of plexiglass.
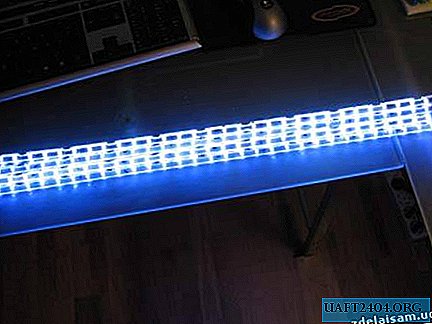
Glowing!

Close-up shot of strips with LEDs - looks like an art photo. White seems bluish - forgot to adjust the white balance on the camera ...
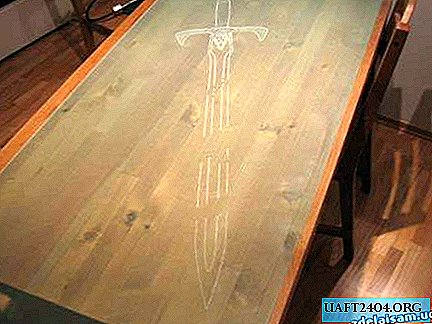
This is the first layer of glass with a pattern engraved on it (it will be blue).

... And the second layer (it will be white).
Both layers connected to each other. Engraving is located on both sheets from different sides. Ideally, it would be great to engrave the pattern on both sheets from the same side, however, in this case, the image would look fine at a right angle, but would double when viewed at an angle (the patterns would not coincide with each other by 3 mm).
Therefore, those parties on which the picture is cut are located facing each other. The problem is that in this case, the picture seems to be somewhat clearer on the one hand than on the other. True, as a result, everything was not as scary as I expected.
This is a very bad photo of the first sample of LEDs. All four sheets of glass are stacked on top of each other. The black edge visible in the picture is an electrical tape that serves as a gasket / seal.
By the way, this whole structure lies on another door - not on the one I am replacing.

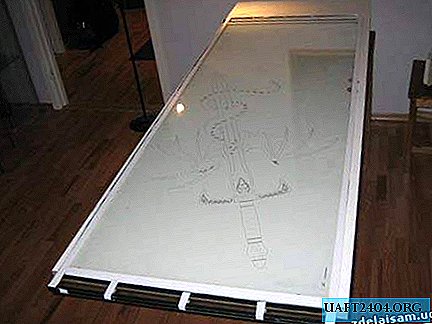
Here you can see how the light is distributed on the glass. The outer glass does not transmit light at all, and plexiglass transmits two different colors. Light scatters much less than I expected. In fact, the blue color is much cleaner, it’s just that my camera was not able to capture the clear blue glow of the LEDs.
This is a ready-made sandwich. The white film ensures that the glass adheres tightly to the wooden frame of the door.
Unfortunately, I was not able to completely clean the glass. If you look at an angle, dirt is noticeable on it. But this, fortunately, is not fatal.
It turned out that the “sandwich” was even too dense - I had to put a lot of pressure on the glass to squeeze it into the frame (and so much grease that any night club would envy). As a result, I managed to push the glass into the frame, but whether it will be able to be pulled out, time will tell. I hope I still never have to take it out.

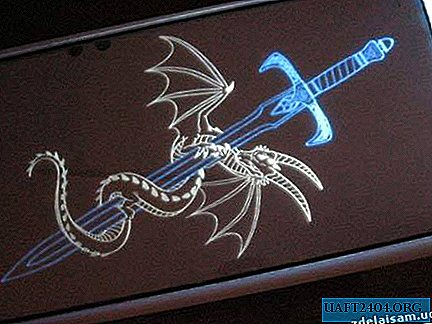
Close-up shot of the picture.

Please note: blue and white are slightly overlapping. In the photo, blue seems very heterogeneous, but in fact, it looks much better. It happened because white is shown here from the "right" side, and blue from the "inside".

Source: Rlocman.ru
Share
Pin
Tweet
Send
Share
Send