Share
Pin
Tweet
Send
Share
Send
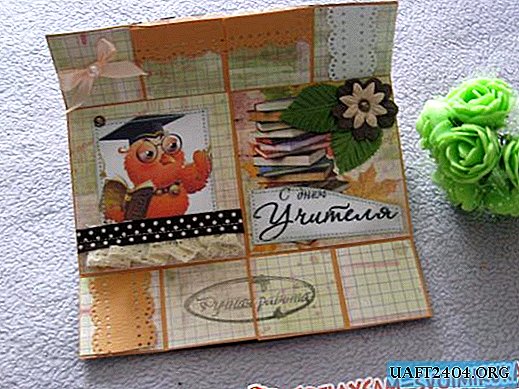
For the manufacture of panels from postcards, it is better to use postcards with the image of the landscape, flowers, various objects. It is undesirable to take images with people or animals.
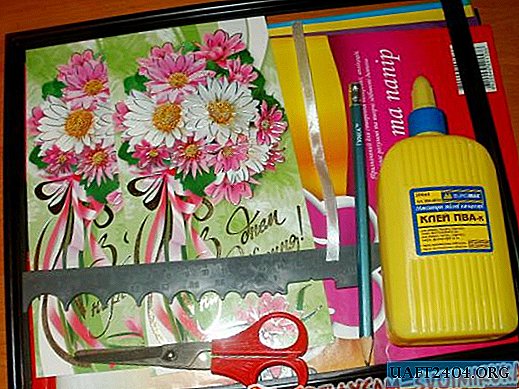
Materials and tools:
• two identical cards;
• PVA glue";
• cardboard;
• Photo frame;
• ruler;
• pencil;
• narrow tape;
• colored paper;
• scissors.
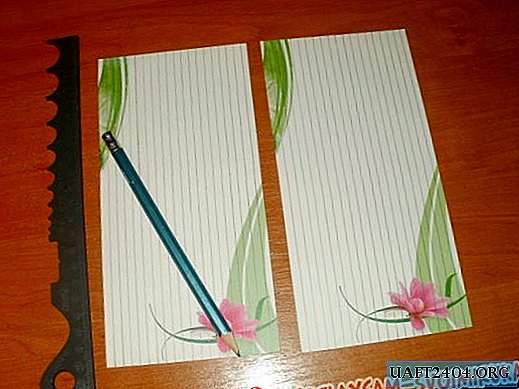
1. First, make markup on postcards. We turn the first card over and draw a line under the ruler with a pencil under the ruler. The distance between them is 5 mm. Strips can be made wider, in this work, widths from 5 mm to 10 mm are allowed. It is necessary that the postcard has increased in width, so we draw stripes vertically. If you want the postcard to become longer, then you need to make horizontal stripes. Having drawn the first card, we similarly mark up the second one.
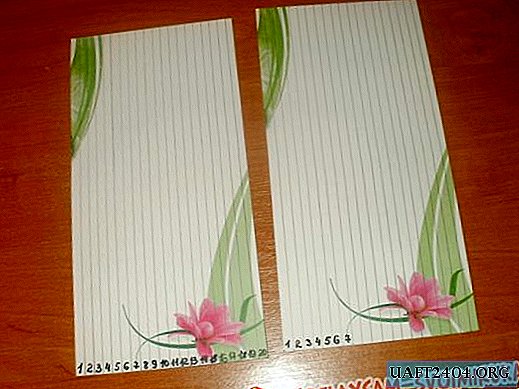
2. Pencil number the stripes. First, on the first card, write the numbers 1, 2, 3, 4, and so on to the last line. Then we put the same numbers on the second card. Figures begin to write on the left side of the cards.
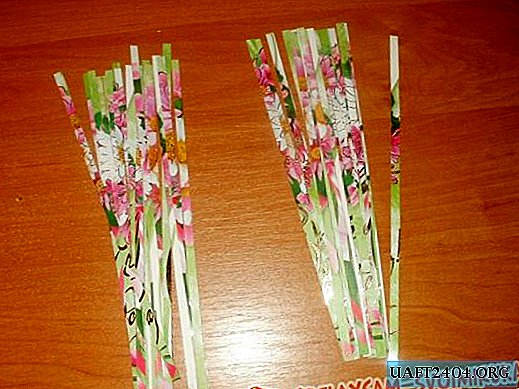
3. Carefully and accurately cut the postcards along the lines with scissors. (If you don’t cut it evenly, then a panel with slots will come out.) Cut the sliced stripes into two piles so as not to mix.
4. Now we lay out the stripes. First we put strip No. 1 from the first card and strip No. 1 from the second card. Then we spread No. 2 and 2, No. 3 and 3, and to the last issue.
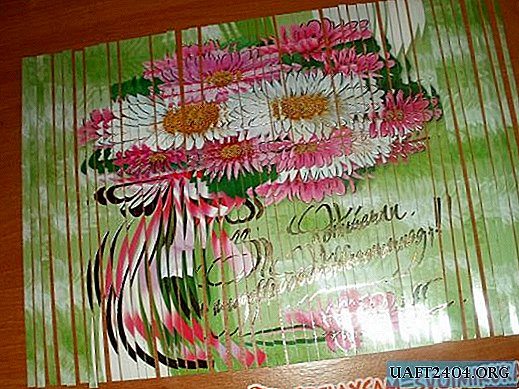
5. We look at the panel and, if necessary, remove excess strips. In this case, you need to remove a couple of strips along the edges of the bouquet.

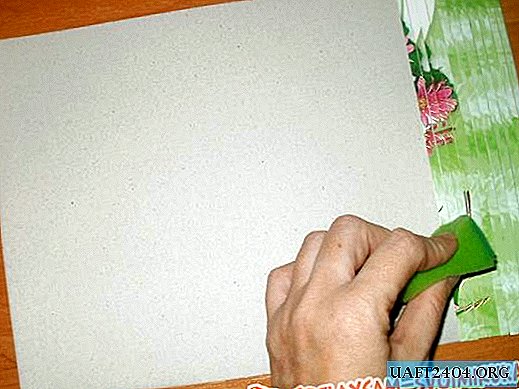
6. Proceed to sticking the strips. We take cardboard of the appropriate size and glue on it in order, starting from the front pages. We make sure that the strips lie flat, do not go beyond the edge, and there is no gap between them.

7. Apply glue to cardboard, as wide as two strips. Then we apply a strip, we press. Be sure to wipe the glue from the strips with a wet sponge, otherwise the dried glue will be visible and ruin the appearance of the panel.
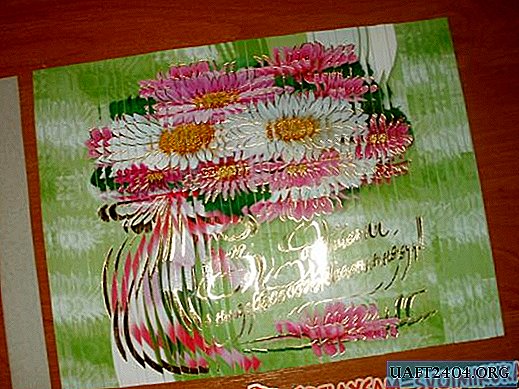
8. Glue all the strips to the end. We cut off the excess cardboard. The result was a double postcard. You can use three or four postcards to create a panel, then it will come out much more.
9. To keep the panel even, we put the work done under the press until it dries completely.

10. We insert the finished panel into the photo frame. You can use any frame: wooden, plastic, metal or another.

11. You can do without a frame for photos. It’s not difficult to make a frame out of paper itself. Cut out the elements for the frame from yellow paper and paste them around the edges of the panel. From a narrow tape or thread we make a loop, attach it with glue (or tape) to the frame. Such a panel can be put on a shelf, or you can decorate a wall with it.
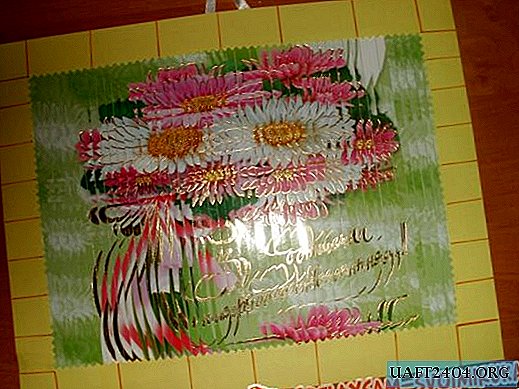
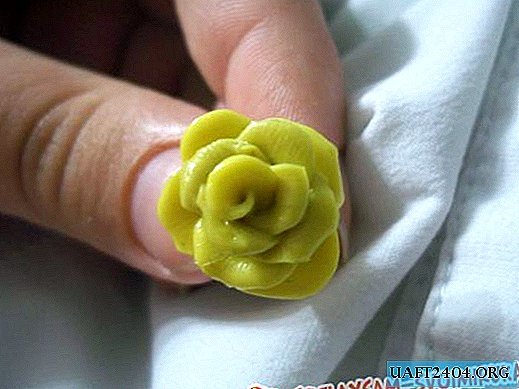
In this way panels are made of two identical cards with the 3D effect. In this technique, you can make panels on any subject.
Share
Pin
Tweet
Send
Share
Send