Share
Pin
Tweet
Send
Share
Send
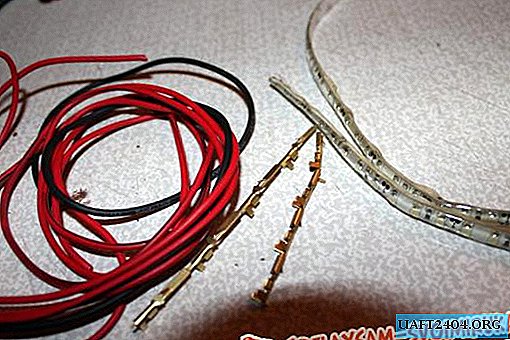
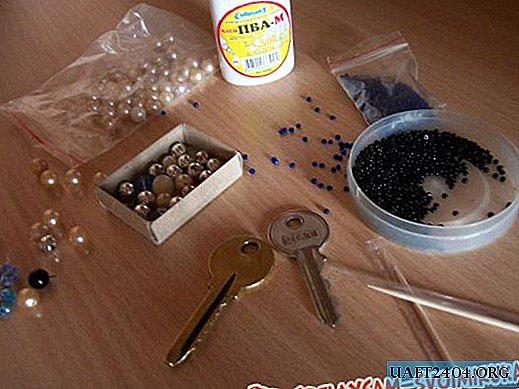
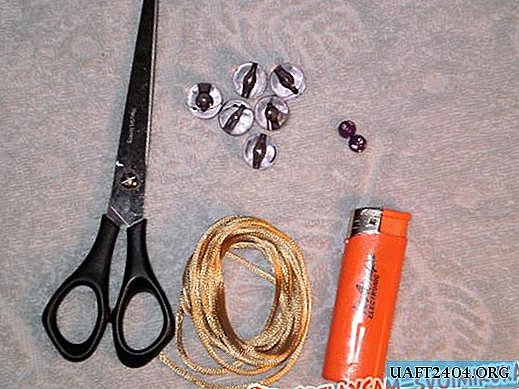
To implement my plan, I will need:
6 large beads;
2 small beads;
scissors;
lace for macrame;
lighter;
1 hour of free time.
First of all, you need to cut the lace into three segments: one should be two girths of your wrist, and the other two should be 50-60 cm long.

We tie them into a knot, leaving ponytails about 8 centimeters long.

For convenience, it is best to mount the assembly on the surface. I do this with a regular sewing pin, but you can also use tape. The segments should be so that the short one is in the middle, and two long ones along the edges. Now we start weaving. Shambhala knots consist of two parts. For the first half, you need to do the following movements: the right lace should be threaded under the center and put on top of the left, and the left should be carried over the middle and passed through the loop formed by the right.

Pulling the ends of the long cords in different directions, tighten the loop. The second part is not harder to do. Now start with the left cord. All actions are performed in the same order.

So only one knot is performed. To start the bracelet you need to weave 5-6 knots of this type.

Now it's the lighter turn. With its help, you need to singe the tip of the middle segment of the cord, in order to string the beads.


We move the first bead to the nodule and make one full nodule.


Next, we promote the second bead and repeat the procedure. Thus, we braid all the beads prepared for the bracelet.

After braiding the last bead, you need to weave another 4-5 knots, as in the beginning.

Now we cut off the excess pieces of the cord, but only from the extreme segments, since the remnants of the middle will serve as the basis for the fastener.

In order to prevent the bracelet from opening, it is better to melt the edges with a lighter.

This is what the bracelet should look like at this stage.

Next, we put small beads on the remaining ends of the cord.


Now you need to tie small knots so that the beads do not fly off.

We begin to do the last step - the clasp. To do this, align the ends of the bracelet and extend under them a piece of cord about 15 centimeters long.

Next, we tie a regular knot so that the edges of the new lace are at the edges.

The fastener is made thanks to all the same macramé knots. Doing too many nodes is not worth it, 5-6 is enough.

And by analogy, we melt all unnecessary segments.

This is what a bracelet on a hand looks like.


And so on your own.


Share
Pin
Tweet
Send
Share
Send