Share
Pin
Tweet
Send
Share
Send
What is needed:
• Ladle and saucepan, preferably steel, not aluminum and not enameled (it is easy to remove paraffin residues from steel).
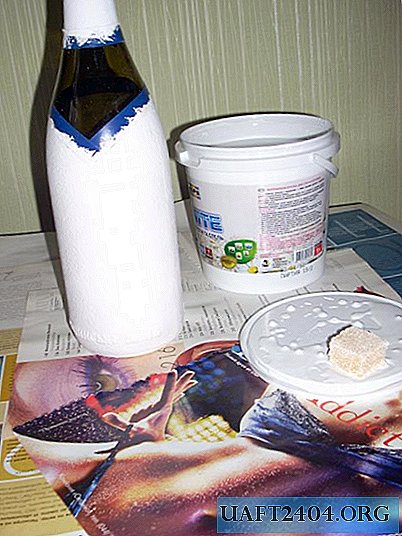
• Small paraffin candles or cinders of white color. After melting, they can be painted in any color.
• Oil paints in tubes, or food colors.
• Branches from any tree, on which there are many embossed buds and small knots - so coral with its rough texture and processes from the very beginning will form more naturally than, say, on a smooth twig.

Working process
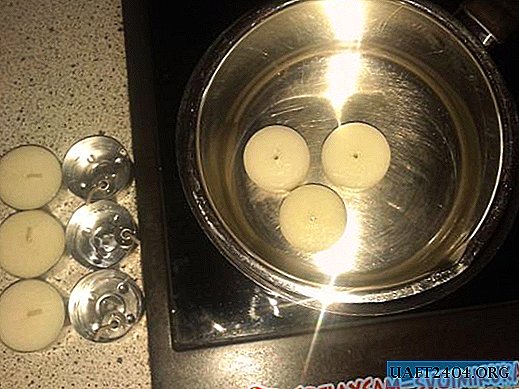
Small candles in aluminum trays, free from the wick and from the pallet. These candles are very convenient in that a short wick is easily pulled out of the candle and does not interfere with work. Cinder candles of white color are also an option, but then it will be necessary to catch the wick threads from paraffin during melting. Paraffin must not be melted on an open fire or on a hob. Its vapors are highly flammable, in addition, paraffin melted at high temperature becomes too liquid and does not stay on a twig. So it is best to melt candles in a water bath: it is safe and creates a temperature of the liquid that is comfortable for work. We fill the saucepan with water, check if it is too much by inserting a ladle of paraffin into the filled saucepan. Excess water spills out. You can proceed. Once the candles are more than half melted, you can remove the ladle from the water bath and start “growing coral. First, add a small drop of paint and knead a little. I had it first with ultramarine paint (for one branch), and then light green ( for the second branch). I made the red branch of the coral in a separate saucepan. We place the branch over the container with paraffin and water-water-water-water, not forgetting to rotate the branch from time to time. At first it seems that nothing happens, that paraffin just drains, leaving but after a couple of minutes interesting stalactites and streaks begin to emerge. Coral forms, almost as it happens in nature. Only the material is different))) and the process goes hundreds of times faster!

We continue to water the twig, even when the paraffin begins to solidify, forming ice crystals. Thus, we obtain a characteristic rough surface with island processes, in contrast to the initial smooth swaths. The whole process of "growing" takes 5-7 minutes.


We leave the coral branch ready to cool by sticking it in a bottle or vase and proceed to the next branch, adding brighter paint to the paraffin. I made turquoise coral, bluish green and pinkish red. From small twigs, you can make compositions using shells, pebbles and glass balls for the aquarium.


Bright corals seem to glow from the inside. It is hard to believe that they are not real, but artificial, "grown" in their own kitchen from the remnants of paraffin candles! Give it a try! Making coral is a great aesthetic pleasure!
Tip: Remains of paraffin must not be poured into the sink or the toilet. Let them congeal, then heat slightly and remove completely. Paraffin is still useful for other crafts!
Share
Pin
Tweet
Send
Share
Send