Share
Pin
Tweet
Send
Share
Send
For her, they needed:
- acrylic threads for the body;
- purple for mane;
- white for the muzzle;
- black and blue for the eye, quite a bit;
- padding pad for stuffing;
- hook number 3;
- scissors;
- needle.
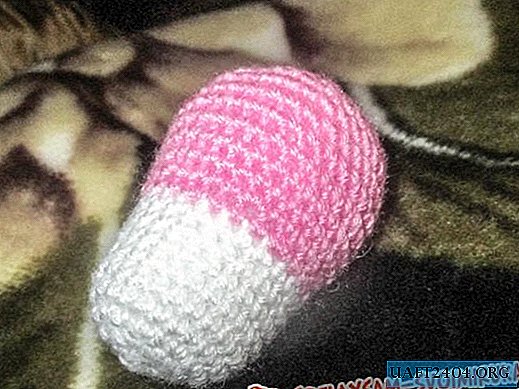
The whole horse is knitted with crochets. You can knit in a spiral, without emphasizing the beginning of the row, you can in even rows. But then the oblique connection will be visible on the canvas. First we knit a muzzle. We start with the amigurumi loop, we knit 6 single crochet into it, connect. In each row we make an increase of 6 loops. We expand to 30, these are 3 rows of expansion and we also knit 6 rows without changes. Then we change the thread to pink and expand the fabric to 36 loops. We knit 6 rows without increasing and begin to reduce 6 loops in a row, bringing their number to 6. Fill the head with a synthetic winterizer and tighten the thread.

We knit the neck in the same way as the beginning of the muzzle, which is connected by white thread.

The body fits like a muzzle, we only expand the canvas to 36 loops (5 rows). Then we knit 20 rows without adding, and begin to decrease in the opposite order of 6 loops. Before closing the loops, fill the body and tighten the thread, leaving 15 cm in order to tie the tail.

Knit legs. We start with an amigurumi ring, into which we knit 6 loops, and then expand the canvas in 3 rows to 24 loops. Then we knit 4 rows with a white thread without changes. We cut a circle out of cardboard, put it on the base of the hoof for rigidity. Change the thread to pink and continue knitting another 20 rows. Break the thread. Leaving the end of 20 cm for sewing on the legs, and then stuff with padding polyester. We knit all legs equally.

Ears in pink fit simply. We start with 8 loops in an amigurumi ring, then in the second row we knit two in each loop. We knit 6 more rows without adding.

Sew the ears to the muzzle.

Make a tightening under the eyes. We embroider a pink mouth
We tie several stitches with a thread and a needle to make nostrils.

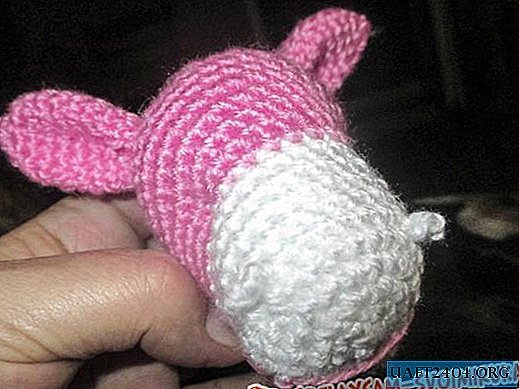
Sew the neck to the body with the closed end up.

Then sew the muzzle. Here we must try to give her the pose you want.

Sew on legs. Here they can also be sewn in with a mouth patch and just as you wish.
Now the eyes. We collect 6 loops into the ring with amigurumi with black threads. We cut off and continue to knit the second row in blue, increasing the number of loops by 2 times. With pink threads, we knit three rows of an expansion circle separately. Then we sew the pupil onto the pink field, having slightly shifted to one side of the white circle. Embroider glare on the eyes. Then, along the contour, we sew them to the muzzle in the places of the weights.

Here we have already got such a nice horse.

Now we make skeins of purple yarn in two sizes - for the tail and mane. For the tail is longer.

Visually divide each skein in half and sew along this line. We tie the tail in the center and scroll again with the thread that we left so that it was slightly raised. Sew the mane on the neck, cut the bangs and straighten. We tie a little bell from a bead on the neck.

If the horse seems too shaggy to you, then the mane can be laid out on two sides or the braid can be braided.
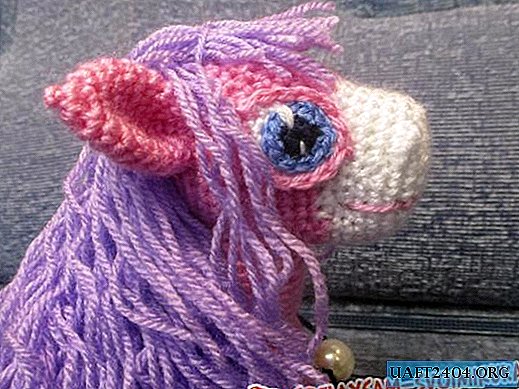
Eyes, thanks to glare, turned out lively and radiant.

Now she is ready to play with your children.

It can be presented to any child, giving him joy.
Share
Pin
Tweet
Send
Share
Send