Share
Pin
Tweet
Send
Share
Send
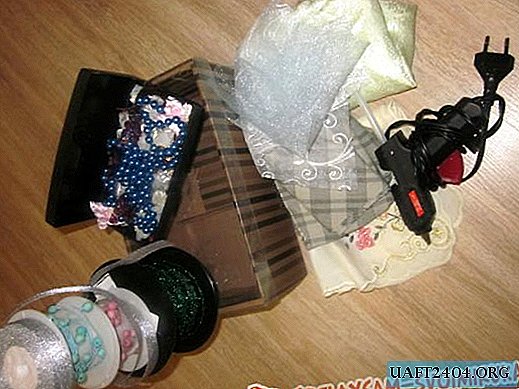
To make a ottoman, I needed:
- A bucket from under the water emulsion (medium size).
- Glue (titanium or moment).
- Scissors.
- Thick foam rubber.
- A needle.
- Fabric (several colors).
- Threads in the color of the fabric.
First, I took a bucket and removed the handle, since I did not need it. I cut off a strip of the desired length and height from the foam, greased the edges with glue and wrapped it around a bucket. Until the glue sets, fix the foam rubber with threads.
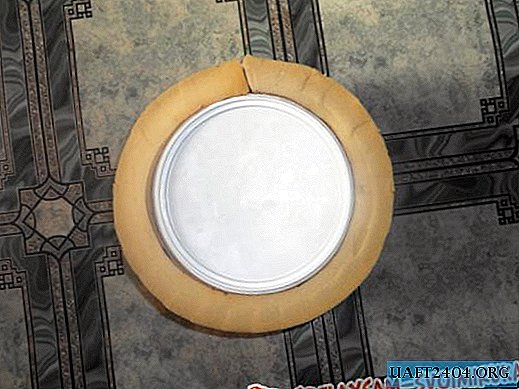
Then she cut a circle out of foam rubber, also greased the edges with glue and stuck it on the lid of the bucket.

The ottoman is ready. The next step was to sew a cover for him. I cut a circle from the fabric of the right size, taking into account allowances and a strip of the right size too. I sewed the details together. Bottom along the edge of the cover sewn elastic.

A flower made of red fabric was sewn on top of the cover and made an orange core.

Then I took an old green curtain with a pattern and cut leaves from it. I sewed the leaves on the sides of the ottoman. Along the edges above and below, I launched a curly strip of the same color.


In principle, the ottoman is already ready, but I did not like the flower, so I put a woolen thread around its edge, and I also used it on the flower itself.

I hope you enjoyed my ottoman. That's how I, without spending much time, and made money for my daughter an original and comfortable ottoman. And if you take a larger bucket, then for an adult you can make a similar ottoman. Goodbye.
Share
Pin
Tweet
Send
Share
Send