Share
Pin
Tweet
Send
Share
Send
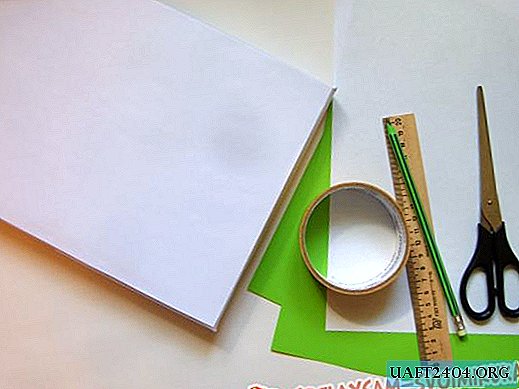
So what we need:
• gift itself (box);
• material for flowers (double-sided color or wrapping paper);
• a regular sheet of A4 paper (practice);
• ruler, pencil (marker), scissors;
• double-sided tape or thermal gun.
If you have never made flowers before, I advise you to practice on plain paper so as not to spoil the material intended for the “finishing” version.
How to make an origami flower, step by step instructions
1) Take a piece of paper and cut out a rectangle from it. The resulting workpiece is folded twice diagonally.

Turn the leaf over.

We bend two times in half.

2) Expand the rectangle back and put it with the folds up.

We take the index and thumb over the edges indicated by crosses.

We bring the index fingers to the index one, the big one to the big one, holding the paper. You should get what is in the picture.

Next, grab the back edge and combine it with the left edge, and the front with the right. It turned out a double rhombus.

3) Bend the corners to the center.

We turn the entire product from right to left, similarly bend the corners.

4) We have drawn the fold lines, now we straighten the corners back.

Raise the upper part.

Shaded areas along the previously made fold line must be “tucked” inward.


Turn the product over and repeat.

5) Raising the angle closest to you, we straighten the paper.


6) We bend 2 times the upper corner to the center and straighten it back.

We take the shaded triangles from the back and, holding the point of intersection of the lines, bend towards the center.

Bend the folded triangle to the left.

7) From right to left, turn the product over, repeat step 6. The result is the following: figure.


8) We take on the designated angles and pull them towards ourselves. We look.

Repeat step 6.

In the figure we see the result.

9) We put the product with the corners up and gradually disconnect the ribs.


10) In pairs, we take up short “rays” and gently (so as not to tear) we stretch them to the sides, simultaneously sealing the middle of the product with the index finger.

11) Turn the product over with the resulting stand down.

We take the flower in the right hand so that the middle finger rests on the compacted area from step 10, and the thumb lay on top in the center of the product. We put the middle finger of the left hand at the bottom of one of the petals. With the left hand thumb, draw from the carbon edge of the petal to the base, pushing the edges of the paper apart. After that, slightly bend the petal, holding its base with the middle and thumb. And so with all 4 petals.

So you learned how to make origami flower. Now it remains to cut out the required number of squares, fold them and glue them on the gift with tape or using a heat gun. You can decorate the flowers with sparkles or beads, and attach other decorative elements to the gift itself so that the flowers do not look lonely.
I took three large squares: 21x21, 19x19, 15x15. And 8 small ones, 9x9 in size.


And finally: it is advisable not to make too small squares, since it will be very difficult to fold them carefully.
Share
Pin
Tweet
Send
Share
Send