Share
Pin
Tweet
Send
Share
Send
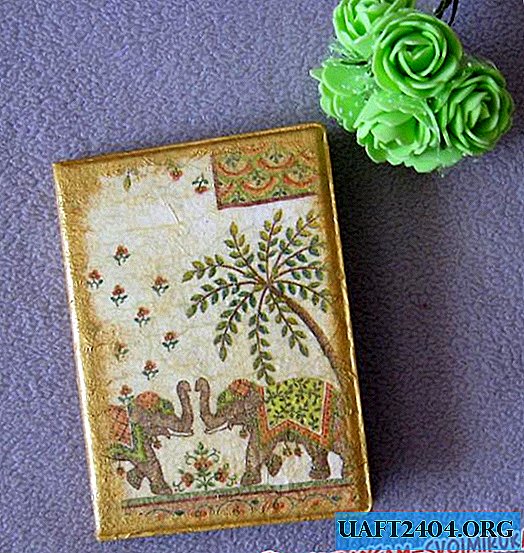
This master class will help us master the decoupage technique for cover decor for automotive documents. For this we will need:
• Matte leatherette cover for auto documents;
• Napkin for decoupage on an Egyptian theme with elephants, size 21x21 cm;
• Brush for decoupage;
• White acrylic paint;
• Foam sponge;
• Glossy varnish for decoupage;
• Capacity for paint;
• PVA glue;
• Gold acrylic paint;
• scissors;
• Package and oilcloth for the table;
• Simple napkins;
• Hair dryer, for quick drying of the product.

First, prepare the table. To do this, cover its surface with oilcloth. We unfold the napkin and put it on the table. Pour white paint into the container and dilute it with about 15-20% water, mix well. We unfold the cover and put it on a napkin.
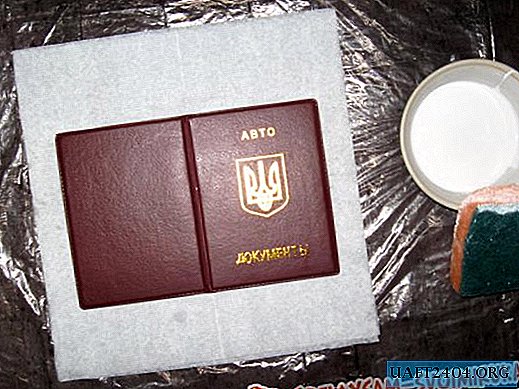

We sponge a foam sponge into the paint and begin to paint with the first layer of paint. Dry until completely dry with a hair dryer. The first layer will be pretty plain, there will be many gaps, so do not be alarmed. We paint the second layer, it is already more saturated, we dry it. We paint with the third layer, and if necessary, we need to look at the coloring, then the fourth. Dry the cover completely. Carefully cover the cover halfway. On the edge, the paint begins to crumble, do not worry, it is necessary. We remove the remains of white paint on the edge. We remove the crumbling paint, put the cover on a clean bag and tint it where necessary.


We prepare the mixture with glue. I wash the capacity after paint and pour in it in a ratio of 1: 1 PVA glue and water. Stir the mixture well with your finger.


Carefully remove the top layer from the napkin; there are only three of them in the napkin.


We cut off neatly the parts we need that are needed for the cover. We apply them to the cover.


We dip the sponge into the prepared mixture and, with very soft and careful movements, we begin to glue the napkin. We try to start work from the middle, and we do it carefully so as not to break the napkin. Suddenly torn, carefully glue immediately. Dry the surface completely. Put the cover on a dry, clean napkin.


We cut off a piece of sponge and paint the edge of the cover half-closed with gold paint.


Then we go along the edge around the entire cover. The layer is dry, paint the second.


The final stage is the varnish coating. We apply glossy varnish with either a brush or a sponge. Dry each layer, and a total of 4-5.


The cover is dry and ready to use. Thank you all and do good health!

Share
Pin
Tweet
Send
Share
Send

