Share
Pin
Tweet
Send
Share
Send
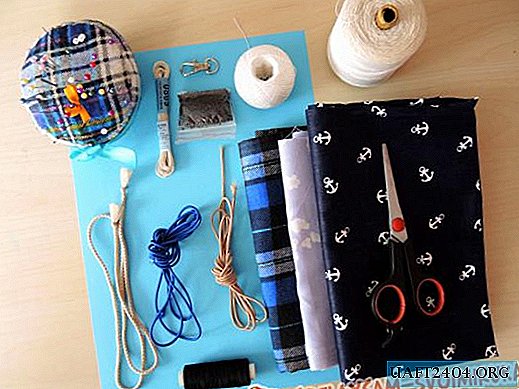
We will need:
- Flexible wire (thick - for the trunk and thin - for twigs).
- Plastic bottles, green.
- Scissors.
- A candle.
- Lighter.
- Woolen threads of green or brown.
- The potty.
- Plaster or another mixture.
- Vata.
- Glue.
- Artificial snow.
- Christmas decorations.
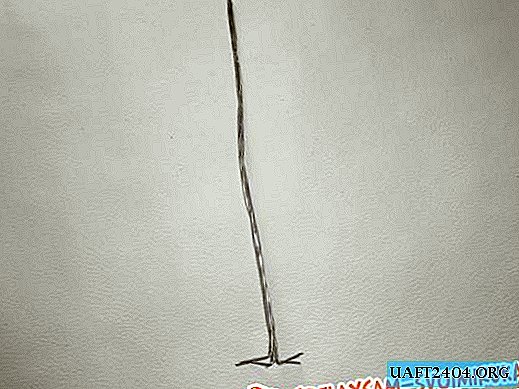
First of all, we should deal with the barrel of the future crafts. Take several identical pieces of wire, twist them together. On the one hand, we bend the ends of the wire, insert it into the pot and fill it with a solution of gypsum. This will be the trunk.

We leave the pot for a while, let the gypsum dry. And in the meantime, we will manufacture branches for the Christmas tree. First, make needles. We take a plastic bottle of green color, cut off the bottom and neck of it. Then we cut the remaining part into strips of equal width. The wider the strips, the longer the needles will be. There is nothing to worry about if the strips are not quite even. This then will not be noticeable.

And now we cut each strip so that we get a fringe. It will be needles. The smaller you cut the fringe, the more beautiful the branches of the Christmas tree will be.

After we have made a sufficient number of strips with needles, we can proceed to the manufacture of branches. We take one strip of fringe, in one corner we make a small hole. Then we take the wire (thin), cut the length of the desired length and put it into the hole, then bend the wire in half, twist the ends together. See how it should turn out.

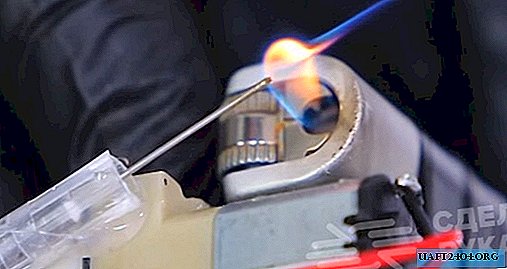
Now we begin to carefully wind the fringe onto the wire, smooth the edge slightly melting above the candle for a better fit to the wire.


Part of the wire is left without needles, then we will then wind it on the trunk of the Christmas tree. Here is a twig.

You can leave such a twig, or you can slightly under the needles to melt above the candle. This is as you like best, I melted the needles under.

Thus, we make branches of different lengths. As you already understood, the length of the twig is determined by a piece of wire. Just take the length longer or shorter as you need.

You need to determine how many branches for one Christmas tree you yourself. It all depends on the height of the tree. I get a low Christmas tree, the branches on it will be in four rows. The first row, starting from the crown, I have four branches, the next row will already consist of five branches, then six branches and so on. As a result, you can easily calculate how many branches you need and do everything at once, so as not to be distracted later. Twigs made and the trunk is firmly sitting in a pot? Then it's time to collect the tree. We begin to collect it from above. First we attach the crown, it should be the shortest. The bare ends of the wire are tightly bent around the trunk.

Then in the same way we fix the branches longer.

So we attach all the branches, just do them at different levels.

The Christmas tree is almost ready, but the trunk looks ugly. We will fix it with the help of threads. We wrap the trunk with woolen threads. Thus, we will not only give it an aesthetic appearance, but also add thickness where necessary. The end of the thread is fixed with ordinary glue. You need to start wrapping with threads from the crown.

Inside the pot, we glue cotton wool, thereby simulating snow.

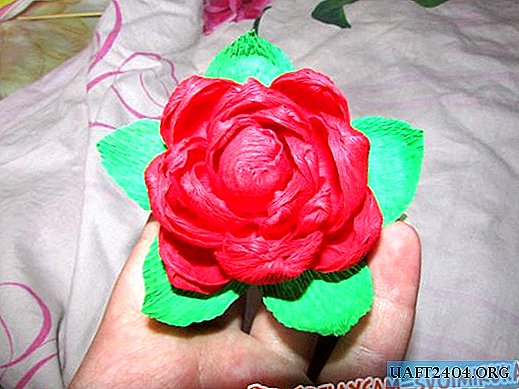
The Christmas tree is ready.

It can be decorated with artificial snow and Christmas tree decorations.

That's how we made you a Christmas decoration for the house from unnecessary things.
Goodbye, see you soon.
Share
Pin
Tweet
Send
Share
Send