Share
Pin
Tweet
Send
Share
Send
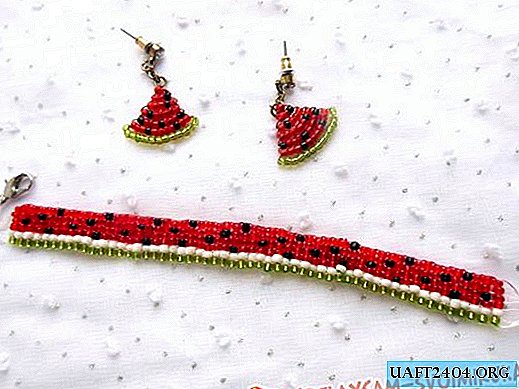
This "watermelon family" was created for such an occasion. Earrings and an unusual contrasting bracelet will not only complement your image or emphasize the color of the beach attire, but will also bring even more brightness, positive and warmth to every summer day.
Creating a bracelet requires a little preparatory work. After all, first you need to make a machine on which, in fact, we have to weave this bracelet.
And it will take quite a few materials for its manufacture:
• cut-off of a plastic bottle (its middle part);
• any board, preferably with identical sides and not very long (a shelf from an old cabinet, sitting from an unusable chair, etc. will do);
• nails;
• hammer;
• scissors.

Plastic mode for narrow, but rather long stripes. Then we fold these blanks in half (in length), thereby making them stronger.


Next, we fix the plastic parts on two opposite sides of the board, nailing each with nails.


Now we make notches with manicure scissors, that is, we cut plastic every 3-4 mm.

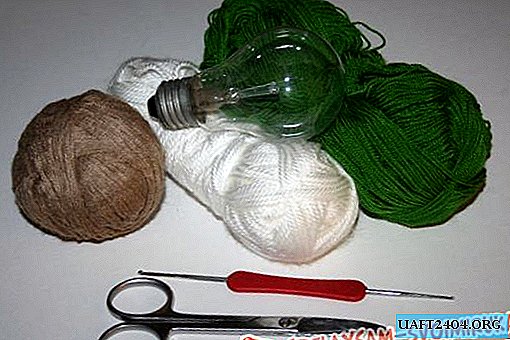
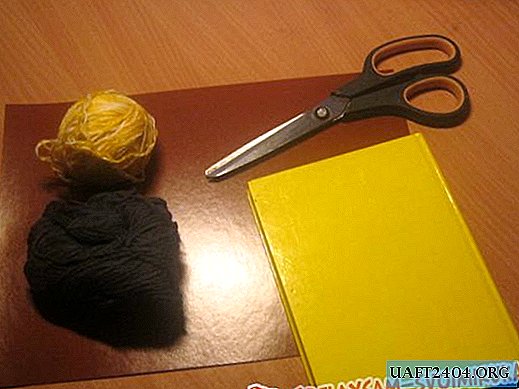
The next step is the preparation of materials for weaving a bracelet. Namely:
• small beads of the required colors (green, white, black, red);
• a thin needle with a small eye;
• strong silk thread for sewing (No. 30);
• scheme.

It is better to print it, so that it is convenient to mark each row passed (cross out, for example).

Now we stretch the threads, threading them into loops opposite each other. For this scheme, you need to pull 7 threads so that each of the 6 beads is fixed on both sides.

Then, the working thread must be tied to the first tension. We retreat 8-10 cm from the plastic edge and fasten the thread.

Do not worry if the threads are stretched disproportionately or that some rows have a different width. All of them will be aligned after fixing the first row of beads (will take their size).

String the beads according to the scheme from top to bottom.

Hold the needle under tension and insert the beads into the narrow space between each two “strings”.

But to fix it by re-passing the thread through a tightly set row. Only the stretch should be under this thread, otherwise we just pull it back and the beads will fall off.


We replace the working thread as well as at the very beginning (we attach to the string), we hide only the nodes and short ends between the rows.

At the end, we trim the stretch, tie knots at the ends of the bracelet, and fasten the clasp.


For earrings we do not use fishing line or thread, but we already take copper wire. It will help the slices to keep the desired shape.

The scheme is extremely simple and understandable, only 7 rows and the slice is ready!

String 14 green beads on a piece of wire 10-15 cm and arrange in the middle.

The next rows are first strung on one side of the wire, after which we thread the other end in the opposite direction.

Then tighten the copper ends and get a tightly set row.

At the end, we twist both parts of the wire, cut and bend this tail to the wrong side. We fasten the clasp between the beads.


Now we just enjoy the brightness and originality of our new jewelry and wear it with pleasure!

Share
Pin
Tweet
Send
Share
Send