Share
Pin
Tweet
Send
Share
Send
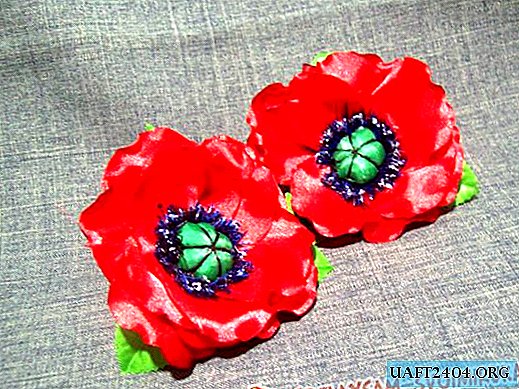
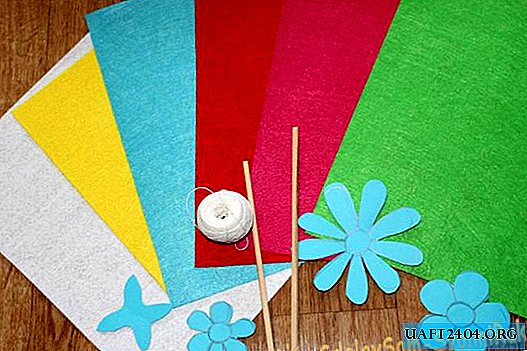
For work, prepare:
- red satin ribbon 5 cm wide.
- two spools of thread for sewing black and blue.
- a little green ribbon of 2.5 cm.
- a needle with a thread.
- lighter.
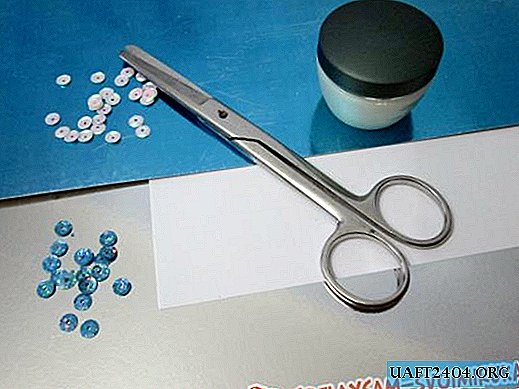
- scissors.
- six leaves.
- Moment glue.
- two elastic bands for hair.
- a piece of dense fabric.
- corrector for paper.
- a little synthetic winterizer or cotton wool.
And start with the red ribbon. Cut the squares into 5 cm 22 pieces.

From these blanks you need to make flower petals. You need to round the top two corners of each square, and the bottom should be cut at an angle, from the middle up.

Then you should treat all sections with a lighter. It must be brought up carefully so as not to melt the tape too much. And then, we will give the same petals a new shape with the same lighter. It is necessary to make a wavy edge along the rounded side of the petals. We bring the flame under the tape for a second and remove it. And at this place with your fingers we make a movement as a gap. Two fingers lower the fabric, and next to the other we direct the tape up. The result is a small wave along the edge of the petal. And on one workpiece, three such twists must be performed.

We process all the petals carefully.

Now take the green color of the Lena and cut into two squares, and then round the corners and process the edges with a lighter.

In addition, two more mugs of thick paper or cardboard are required. They are easy to cut out from 1 cm squares.

From green circles we will make a poppy box. First, with a black thread needle, we pass small stitches along the edge of the circle and tighten the workpiece a little. And we fill the resulting deepening with a synthetic winterizer or a piece of cotton wool.

And on top of the filler we have a tight circle. Only then we tighten the thread on the tape and fasten it well. Then, on top of the resulting ball, we make several windings, until the effect of slices is like that of an orange. Only you need to make intersections in the middle of the resulting box of poppies. And the bottom of this part will be flat due to the tight circle.

Now we need stamens, which we will make of threads. We take two coils of blue and black and just wrap it on two fingers of our hand. We make 30 revolutions and remove the beam without cutting it. Such blanks need to be made 4 pieces.

Now you need to lay two bunches for one poppy, positioning so that there is a common middle.

Further, the bottom of the green poppy box is well lubricated with glue and applied in the middle of the folded threads. Glue all the threads tightly. And when all this dries well, you can cut the folded threads and trim them in a circle near the poppy seed box.

Now back to the flower petals. We take 5 pieces and arrange them in a row, slightly applying one petal to another. Then we pass with a needle and thread into small stitches along the bottom of the petals.

And then we connect the first and last elements and tighten the thread. It turns a petal circle of 5 parts. The second row of the flower will be of 6 petals. Our poppy consists of two rows.

It remains only to collect the flower. Take a large circle, glue a small one on it. Then in the middle we fix the box with stamens. And we have two poppies.

Let's proceed to the mount for the elastic. We take a dense red fabric and cut out 2 circles with a diameter of 2 cm for one flower.

Further on one blank we make two parallel cuts in the middle at a distance of 0.8 cm. Then we cut a small strip of the same fabric, the width of the resulting cut. Now attach the hair elastic to the circle. Through the first cut we pass the strip from the wrong side. Wrap a strip of gum and thread it into the second cut. It turns out the two ends of the strip on the inside.

Then the excess edges should be cut off and glued to the circle well. And we fix both blanks with the wrong side together. It turns out the basis for attaching a flower with an elastic band and we have two of them.

Now we take ready-made leaves or cut out ribbons from green. We attach 3 leaves to each base.

And then we glue poppies on top of the leaves.

And there remained a small touch - this is a corrector to tint the edges of the stamens. On this simple decoration is ready.

Good luck to all!
Share
Pin
Tweet
Send
Share
Send

