Share
Pin
Tweet
Send
Share
Send
Consider today a master class on the manufacture of such cards.
So, for work you should prepare: cardboard, white fabric, threads of different colors, different buttons, Moment glue, yarn.
Work will take about 8 hours. But what a tremendous pleasure you will get in her process!
So, we consider all the steps in sequence.
Step one. Flowers
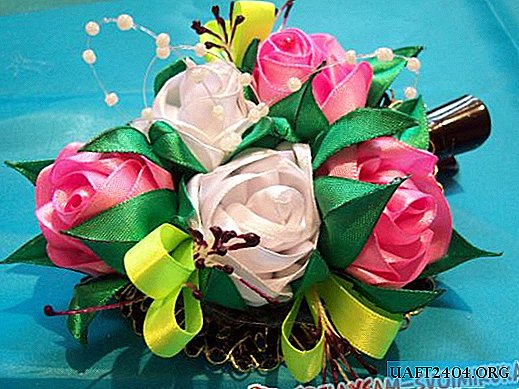
Before we make the card itself, we need to make pretty flowers out of yarn that will become its decoration. To do this, take the yarn and make it such a pompom. This is the bud of our future flower.


Then we take out a small piece of copper or aluminum wire and wrap it with green thread.

Now we sew the stem to the bud itself, we can admire the finished flower.

Then we make two more such flowers.

That's all - our flowers are ready.
Step Two "Body" postcards
Then we need to take a piece of cardboard and cut it to the size that will be needed. Also cut a piece of fabric of the right size.

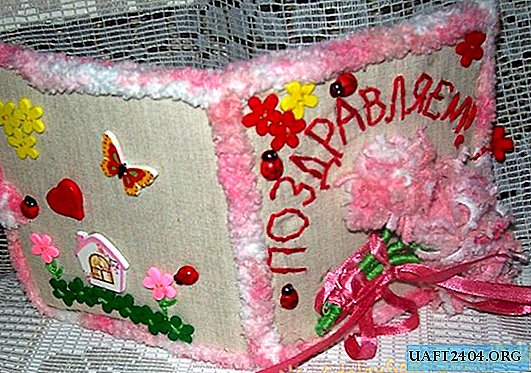
Now that the fabric is cut out, you need to embroider any inscription on the front of the cover. We embroidered with red threads the words "Congratulations!" However, the inscription can be any.

After the inscription is ready, glue the fabric to the cardboard with tape.

Next, we begin to work with another part of the fabric. On it we will embroider what our heart desires. We will embroider a tree of love, the sun, clouds, grass and so on. But let's start with the outline of the tree. We embroider it with brown threads, you can use either woolen yarn or ordinary threads for embroidery. Next, embroider the sun itself, its rays and clouds with grass.


Then we take buttons of all colors and begin to sew them to the fabric. It turns out quite a pretty tree of love, we glue a button-bird to it. We make clouds of threads, glue flowers, butterflies, ladybugs.

Step Three Latest jewelry
Now we return to that part of the card where the words "Congratulations!" Were written With the help of buttons we decorate this part. Buttons can be used any: in the form of flowers, hearts, houses and more.

Now the time has come to attach the flowers on the card itself. They need to be attached using tapes or any other restraining devices.

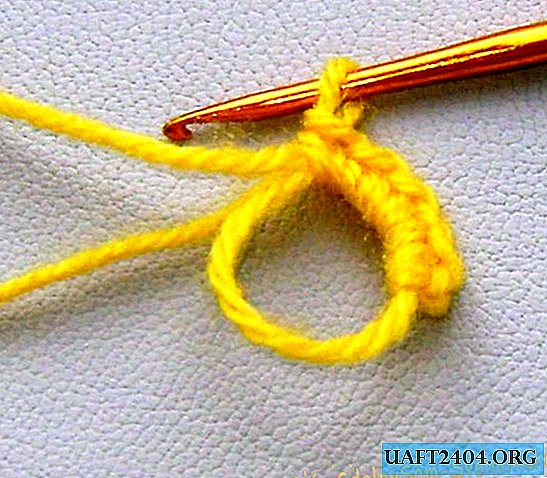
Now we need to make the edges of our postcard beautiful, for this we knit a column of air loops and sew the resulting thread to the ends of the postcard.
We do the same on the other side of our postcard.


Now our postcard is ready. So she turned out pretty.

And so she looks inside. This is a rear view.


And here is another front view.
Share
Pin
Tweet
Send
Share
Send