Share
Pin
Tweet
Send
Share
Send
In everyday time, people often use gadgets (smartphones, tablets, etc.), but when we go somewhere on the road, we constantly need to charge our phone. This problem will be solved by Power Bank which can be manufactured in an hour and a half from the available components.
Materials and tools
Instruments:
- Soldering iron (solder, flux).
- Nippers.
- Stationery knife.
- Glue.
- Soda.
Materials:
- Body.
- Batteries (18650) - 2 pcs.
- Charge controller tp4056.
- DC - DC boost converter.
- USB (mother).
- Switch.
- LED and 100 ohm resistor.

Power Bank Scheme
I collected this Power Bank according to such a scheme.

DIY Power Bank
First of all, I started making batteries for the future Power Bank, I made contacts from a copper bus. Battery capacity is about 2000 mAh.

Next, I connected the two batteries in parallel with each other using segments from the bus, but note that it is not advisable to solder the batteries, you need to do this with a powerful soldering iron and very quickly so that they do not have time to heat up.

When connecting the batteries, the voltage on both should be the same (4.2 volts), but it is best to charge them separately, and then solder them into the battery.

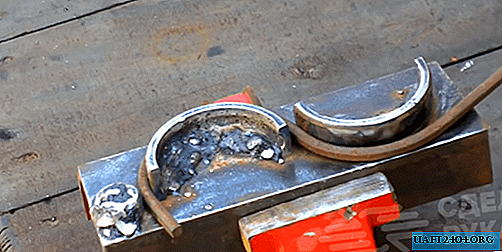
As the case, I used the old doorbell, from which I first pulled out all the electronics, and I removed unnecessary protruding elements with the help of pliers.

Next, I installed USB in the place where the ringer switch was previously built in, using super glue and soda.

By the same method, I installed a switch next to USB.

I soldered the battery minus to the minus from the converter, it is advisable to take the wires of a thick section, because the currents here will be from 1 to 3 amperes, depending on what you charge.

In the same way, I soldered the positive wire, connected the breaker to the gap.

Next, I tuned the converter to the desired voltage, this voltage should fluctuate in 5.2 to 5.5 volts. When setting up, the batteries must be fully charged.

Using a soldering iron, I made a hole for the charging controller.

I glued the controller itself to super glue and soda, why soda, and because glue and soda form a strong polymer.

I will install the batteries using double-sided tape.

I installed the converter next to the controller, and also glued it to glue and soda.

Then I soldered the wires to the output of the converter, and soldered them to USB to the extreme contacts, the contacts that are in the middle I closed them together, this is necessary so that the phone does not take Power Bank as a computer and does not charge with a current of 500 mAh.

I soldered the plus wire from the controller to one contact of the switch, and the negative to the input of the converter.

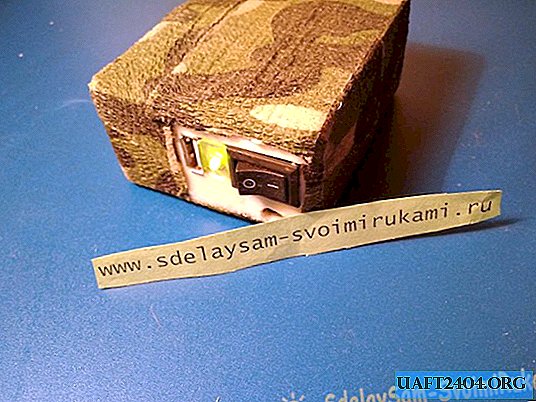
From a piece of plastic, I cut out a diffuser for the LED and installed between the switch and usb.


As an indication of the operation of Power Bank, I used a green LED, which I pasted into the diffuser.

It is impossible to connect the LED directly, because it instantly burns, and I connected it through a resistor, to 100 Ohms, using thin wires I connected to the minus and plus.

It doesn’t shine badly for indication, it can be said that PERFECT.

For reliability, I poured the contacts of the LED with thermo-glue.

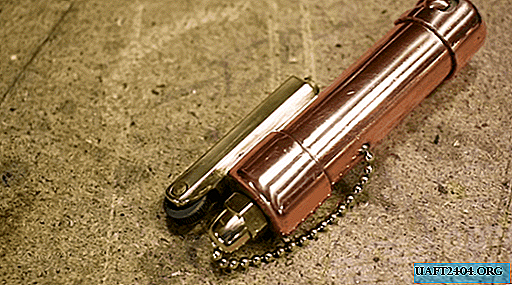
Result
Well, that’s all, Power Bank is ready for further use.

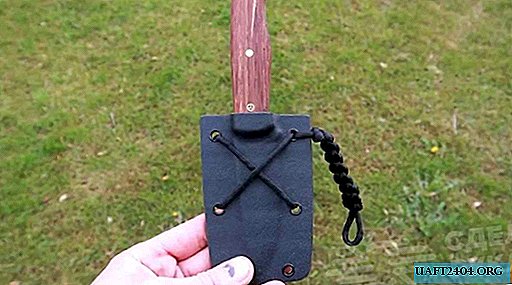
Power Bank itself can be painted or pasted over with artificial leather, but I acted differently, using a self-adhesive camouflage tape I pasted over the case, which does not look bad at all.

Share
Pin
Tweet
Send
Share
Send