Share
Pin
Tweet
Send
Share
Send
Hello friends! Today I want to tell you another simple and effective way to extend the life of my old battery. We all know very well that an acid-lead battery is not an eternal thing. And even if you carefully monitor him, sooner or later he will still begin to fail. The reason for this is the sulfation of the plates, as a result of which the battery loses its capacity and is no longer able to perform the specified functions.
I want to clarify that the method described below is only suitable for sulfated batteries. It is not suitable for batteries with closed or inflated jars, with showered plates, etc.
Clear signs of plate sulphation
The most obvious sign is that the battery does not hold the load. That is, when measuring voltage at the terminals, the voltmeter shows a fully charged battery, and when the load is connected, the voltage sags significantly.
The second sign is fast self-discharge. For example, you did not use the car of day 3. Come to the garage and try to start. And the battery is very discharged, that even the electronics do not show their values.

All these phenomena do not occur immediately, but come gradually, usually after 3-5 years of battery operation.
Car Battery Recovery
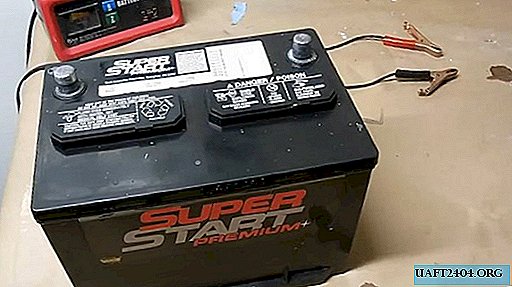
The first step is to measure the initial voltage.

Next, we test the load fork.

I have long noticed an increase in self-discharge, so today it is generally discharged.
It will not be superfluous to check the density of the electrolyte.

After the battery is diagnosed and diagnosed, we proceed to recovery.
Using a hydrometer, drain the electrolyte from above as much as possible. As you can see, its color is dark.

Now turn the battery over and drain the leftovers into a bucket. This must be done with extreme caution and the housing should be rotated when draining so that the row of can openings is horizontal. This must be done so that the outgoing jets of electrolyte do not become interconnected.

Well, here he is completely black with a lot of impurities.

Now you need to find the capacity for the battery. I took the basin.

Using running water, wash all the cans with plain water. Fill to the top.

And merge.

Thus, we remove the remaining electrolyte and black plaque.
Next, take baking soda, you will need 400-500 grams.

We breed it with 5 liters of ordinary water in a canister. And mix well.

Pour into each compartment to the brim.

Everything begins to seethe. Add to the compartments, where a lot of soda solution spilled.

Let's wait 15 minutes until the reaction is complete. And drain the solution.

Then again, thoroughly rinse all the cans with tap water.
We drain a little longer so that there is a minimum of excess water.
I’ll fill the previously drained electrolyte back — a new one is not needed. But for this it needs to be filtered. I use a synthetic napkin as a filter.

I place it in a funnel.

And gradually I filter all the previously drained electrolyte.

Then gradually pour it back into the banks.

We wait until the bubbles come out, add if necessary. Wipe everything dry top and close the lids.

We measure the voltage. It is practically unchanged.

We charge for an hour.

The battery is charging. The current during the charge is evidence of this. The tension has grown.

The load fork test proves this.

Now we put the battery on a full charge cycle.
Over time, the battery is fully charged and fully operational.
A bit of process theory
There is no focus in this method, pure chemistry. The fact is that the sulfate located on the plates reacts with the soda solution and is etched. That's all.
Of course, the method does not give a 100% guarantee that the battery will return to life, but you can still try.
I strongly recommend carrying out all actions with goggles and gloves!
Bye everyone.
Share
Pin
Tweet
Send
Share
Send