Share
Pin
Tweet
Send
Share
Send

Will need
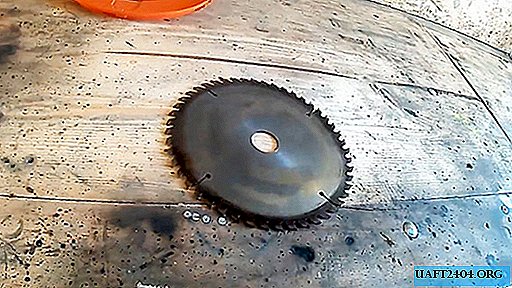
This homemade product is noteworthy in that it is used for its manufacture. Namely, an unnecessary disk for sawing wood, with a diameter of 18-25 cm. These are used for circulars, small universal machines and grinders (angle grinders). The presence of winning tricks on it is not necessary.
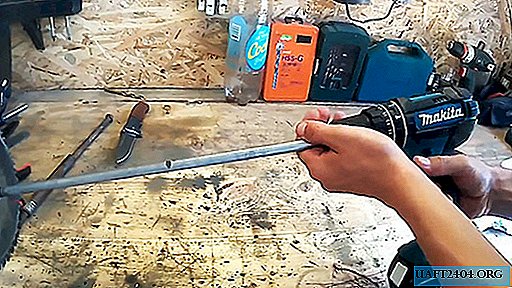
The stem or, more precisely, the shaft for the garden drill is designed to be fixed in a standard drill or screwdriver chuck, so its thickness should not exceed 13 mm. A calibrated bar or threaded coupler is suitable. You will also need several scraps of metal pipes falling into one another. We will fasten all the details by electric welding. So let's get started!
Step-by-step instructions for making a garden drill
We mark the disk into two identical parts. On this line with a grinder (angle grinder) we make a through slot from the center to the edge.

The metal of the disk is elastic, and even if it is clamped in a vice and try to bend with a lever, it is unlikely to succeed.

It is necessary to heat the slot area with a gas burner, since the heated metal is easier to deform.

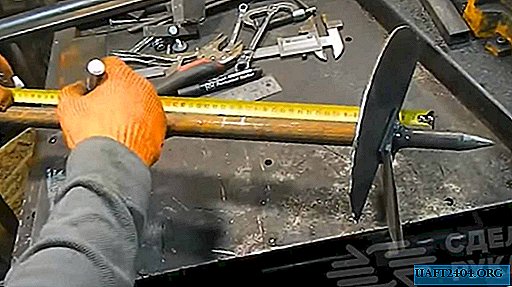
We bend the disk slightly by hand, giving it the shape of a drill.


Wood sawing discs have a center hole. Usually it is 16-32 mm. The diameter of our rod is smaller, so we need to solve the problem of fixing the drill on it. From the scraps of metal pipes we select such that they fit one into the other, and make short sleeves 4-5 cm long from them.


We put the sleeves in the center of the disk, and put it on the support so that it is strictly in horizontal projection. We weld their connection with electric welding.


Then you can insert the stem inside the sleeve, and also scald it by slightly extending the end from the disk by 5-6 cm.

Having cooled the welding spot in a bucket of water, we clamp the fixture in a vise and sharpen its end with a grinder. He will be guiding while drilling.

For more productive work of the tool, we sharpen the drill. We are finalizing it with a file.

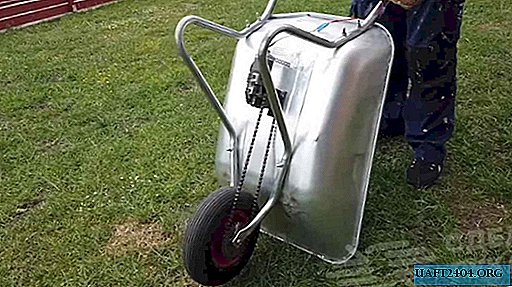
That's all, our garden drill is ready!
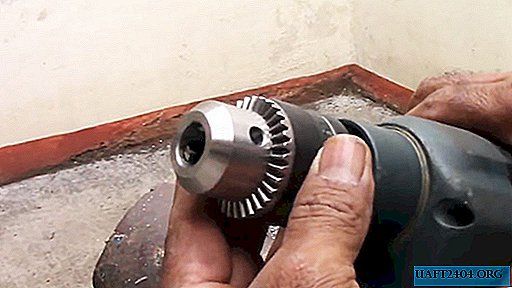
We insert the rod into the chuck, select the slowest gear on the screwdriver gearbox.
And we go to our garden for drilling holes.
Now, without any unnecessary problems, you can transplant any seedlings, etc.
Practical tips
If you decide to work with such a device manually, you will need to weld a transverse handle, about 30-40 cm long, to it for a good lever.
For a drill it is not necessary to use a disk for sawing a tree. Who does not have such unnecessary in the household, you can cut a circle out of ordinary metal. In this case, it does not even need to be heated with a burner.
Well, in conclusion, if such a tool is painted to protect it from corrosion and rust, it will last you more than a dozen years, because there is practically nothing to break into it.
Share
Pin
Tweet
Send
Share
Send