Share
Pin
Tweet
Send
Share
Send
Will need
To make the box we need:
- -Two alder planks with a width of 750 mm, a length of 115 mm, a height of -20 mm.
- -Kap alder (you can use any other species of wood that has an unusual pattern).
- -PVA glue.
- -Lac.
Instruments:
- -Hacksaw.
- Milling cutter.
- - Clamps.
- -Back paper (different from smallest to largest), file.
- - Chisel, knife.
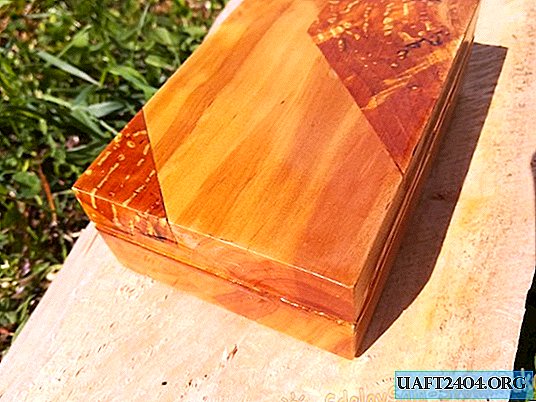
Making an alder and capa box
1) To make the lid, take one of the planks and mark the notches for wooden inserts on it with a pencil. The recesses can have a different shape, it all depends on your imagination.

2) To fix the workpiece we use clamps and trim boards. Using a milling cutter, a hacksaw and a knife, we select the excess wood and smooth the surface with sandpaper and a file for the best gluing.


3) The next step is to make inserts and glue them. To do this, saw off a couple of flat boards from the cap and cut out the inserts from them and grind it.


We put glue on the inserts and clamp the cover with clamps.

At the same time, in order to avoid possible dents and scratches, small gaskets should be placed on both sides of the clamp and the cover.

4) Next, we make the base of the box itself. To do this, on the second board, draw the walls of the casket with a thickness of 8 mm and remove the excess wood with a milling cutter (straight or rounded milling cutter). Leave the bottom 5 mm thick. With large emery paper, we finally align the bottom and round off the inner edges.
5) In order for the box to close, we will make a protrusion in its cover. With a hacksaw
we get cuts of the same depth (3-6 mm). We remove the excess with a chisel and a file.


6) We process the box with large sandpaper, removing the protruding parts of the inserts.
At the grinding stage, special attention should be paid to the tray, because its structure can be revealed only with high-quality and long-term grinding.

7) When the product is completely polished, it can be coated with any varnish, oil or a special coating on wood.

It takes very little time to make this box. It has a simple design and therefore can serve you for many years. Such a unique thing, made by yourself, will be a great gift for any person for different occasions.

Alexey Maksimovich Fedotov St. Petersburg.

Share
Pin
Tweet
Send
Share
Send