Share
Pin
Tweet
Send
Share
Send
The laptop was idle for a while and after turning on the battery refused to charge - the situation, I think, is familiar to many. There may be other cases that result in a failure of the built-in battery.
Why is this happening? - The most common reason for this is the electronic blocking of the charge process. The fact is that all the batteries in the laptop are charged in a serial circuit. The balance protection controller controls the process of even distribution of energy between battery sections. That is, before starting charging, the controller diagnoses each cell. And if he discovers too deep a discharge of one of the sections (or a big difference between the groups) - he will not turn on the charging process, since his algorithm will rightly understand that he will not be able to drop the difference.

Dismantling and diagnostics
Remove the battery from the laptop. Nothing complicated here.


Paste the sticker. Under it, the elements are already visible.


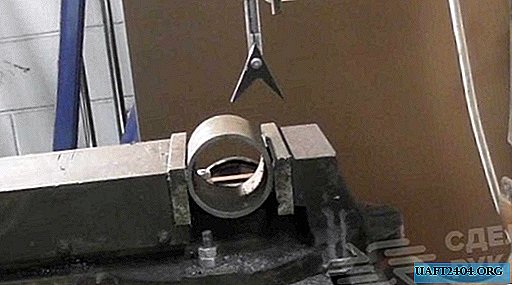
Next, you need to separate the case. Pry it with a screwdriver and snap it open.

Naturally, the analysis of the battery of your laptop will be different.

We remove the elements with the controller from the bottom of the case.

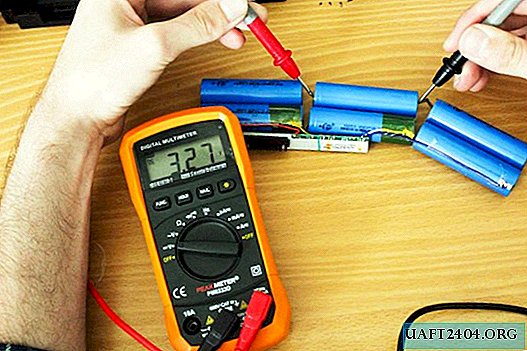
As you can see: three groups of elements. Each section has two elements connected in parallel. The total voltage of the entire unit is 11.1 V. Therefore, if you divide this voltage into 3 sections, you get 3.7 V.
We measure each pair in turn.

3.72 in the first group.

3.27 in the second.

And 3.70 in the third.
Test result: drawdown in the second group is clearly visible. Because of her, the controller refuses to turn on the charging of the entire battery.
Laptop battery recovery
What will we do? - We will manually charge the lagging cell to bring it flush with the other two.
For recovery, you need a power supply. You need to take the transformer unit (or another charger), since the pulse can enter the protection or fail.

Cut off the plug and strip the wires.

We measure the output voltage of the block.

A little more than 11 V. But so much is not necessary of course, a 4-5 V source is enough.
And so, observing the polarity we connect the output to the cell.

Of course, you can’t charge the elements in this way, so we will just equalize the voltage. You need to connect for a period of no more than 10-20 seconds. And after each time, measure the voltage.

After the first charge, the voltage increased to 3.3 V. There is progress.
Repeat the procedure.

Already 3.65 V.
The third time we connect.

And here the result is achieved - 3.72 V
Assembly and inspection
Now install the elements back into the case.


We snap latches.

We put a label on it and insert it into the laptop.

Turn on.

Charging has gone.

Now it only remains to wait until the battery is completely discharged.
Agree: not a complicated repair at all. In the end, I would like to relieve myself of responsibility and remind you that if you suddenly want to repeat the restoration in my way, then you will do all the actions at your own risk. Good luck
Original article in English
Share
Pin
Tweet
Send
Share
Send