Share
Pin
Tweet
Send
Share
Send
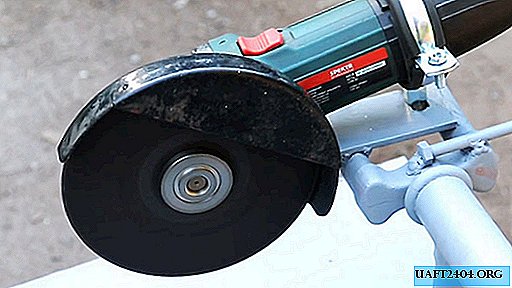
It is quite difficult to cut tiles or bricks in compliance with the accuracy of the cut, if you hold the grinder only with your hands. Manual cutting of thin and viscous materials at the slightest deviation of equipment from the direction of cut can cause jamming and breakage of the disc.
In order to do without the purchase of a separate machine in such cases, it is enough to make a device that will rigidly and accurately hold the grinder in a predetermined position.
Will need
In addition to the grinder, which we can use for the manufacture of individual parts of our homemade products, we will need:
- hotel parts from an old bicycle;
- steel corner;
- profile pipe;
- a metal sheet;
- bolts, nuts and studs;
- tensile spring;
- spray paint can, etc.

From equipment and tools, along with angle grinders, we need:
- welding machine;
- drill or drilling machine;
- wrenches and screwdriver;
- marker and measuring devices, etc.
Manufacturing procedure
We wipe the old bicycle - we put it in order. We remove the wheels - they will not be useful to us. Remove the steering wheel with the steering column and steering wheel.

Lubricate with oil and unscrew the nut to hold the bearing and pull the plug out of the frame crown.

From the steering wheel we cut off the “horns” and the feathers of the fork at the break bosses.


We cut out the steering tube from the frame with a part of the horizontal and inclined tube.

We bring these nodes in order with a grinder, sandpaper and cloth napkins.
We cut off part of the shelf from the corner, cleaning it with a grinding wheel, and performing the necessary marking. In the cut strip, we outline the centers of two holes, drill holes and round one side.


We weld the plate to the base of the feathers, resting it with a flat end in one feather and laying on the second. Turn the plug over and weld the plate to it on the other side.

We cut off the desired piece from the sheet of metal according to the marking and process the ends. We perform 4 equal blanks from the profile pipe and weld them at the corners of the metal sheet according to the markings.

We strengthen the legs in pairs on the narrow side of the sheet, welding the bridges from the reinforcement between them closer to the supporting heels.
We turn over the construction by 180 degrees and get a table on four legs with a metal worktop.

We weld a steering tube to the countertop with a part of the horizontal and inclined tube of the frame in the center of the narrow side closer to the end.

We move the steering column flush in the steering gear holder and fix it in place with a nut. We clean the plug stem and install a new upper bearing, after lubricating it. Insert the fork rod with the bearing into the crown of the frame until it stops. We also install a new lubricated bearing on the rod protruding from the other side of the stem and tighten it with a flat washer with thread and a control nut. We insert into the holes of the nuts the steering column with the steering wheel, in the holder of which the central part of the steering wheel is fixed, shifted to one side. Tighten all the nuts to the stop.

In two equal equal-length corners of the same length, we drill two holes on one shelf and the corresponding holes in the metal of the countertop. We fix them with bolts and nuts so that they provide a cut at 90 and 45 degrees. We cut a through groove in the countertop of the required length directly under the disc of the grinder fixed in the rack.

We weld a nut to the end of the countertop from the side of the complex unit.

Then we weld a stud with a screwed nut over the crown of the fork, setting the free end in its center.

We cover the entire structure with nitro paint from an aerosol spray can.

We put on a soft handle (flu) on the free end of the central part of the steering wheel.

We fix the spring to the nut on the countertop and to the end of the stud and screw the second nut onto the end of the stud so that the spring does not fly off.

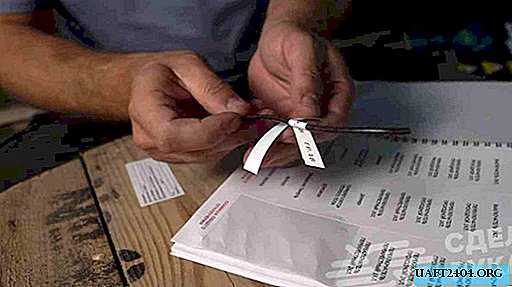
We pass the plug with the grinder cord through the clamp, which we tighten in the center of the angle grinder.
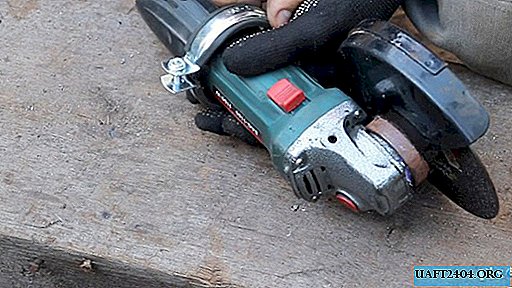
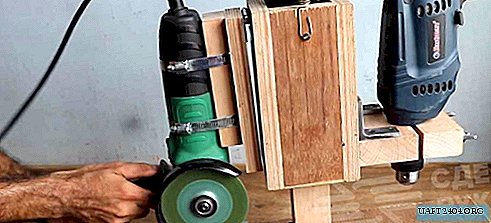
We fix the grinder with two bolts to the threaded hole in the body and to the clamp nut through a plate with holes welded to the feathers of the fork.


Test grinder with stand
Now you can, by moving the lever for the flu, it is easy to change the position of the grinder relative to the desktop, after which, thanks to the spring of the angle grinder, it returns to its original position.
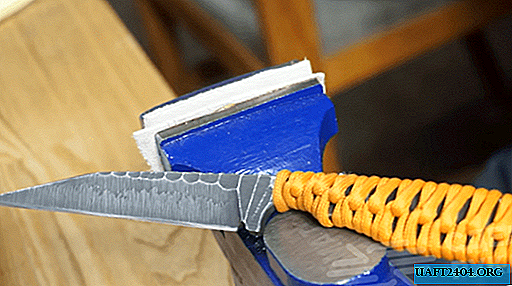
We apply voltage to the instrument and check it in action. Using a corner-guide directly fixed to the table, we cut long lashes (pipes, corners, channels, etc.).

We apply a square to the cut and make sure that it is made exactly at 90 degrees.

If the length meter needs to be cut at an angle of 45 degrees, we use the second corner as a guide.


Folding them along the cutting line, and applying a goniometer to the inner corner, we make sure that it is exactly 90 degrees.

Share
Pin
Tweet
Send
Share
Send