Share
Pin
Tweet
Send
Share
Send
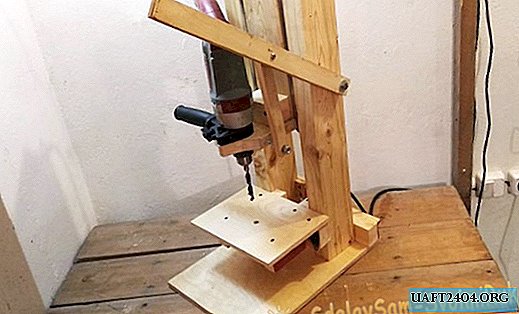
Not everyone can afford to buy a drilling machine in the garage for amateur use, because for self-made ones I offer my step-by-step instructions for making a wooden stand for a drill, a bonus is the possibility of processing using a grinding drum.
Necessary materials:
- Wooden beam - 90x45 and 50x50 mm.
- Pieces of plywood 10 mm thick.
- Furniture ball guides of full extension 300 mm - 2 pcs.
- Spring (acquired a suitable spring in the car shop, two springs had to be used to set the length).
- Fasteners.
Step-by-step instructions for making a wooden stand for a drill
1. We mark and fix movable elements of ball guides on a beam 90x45.
The length of the beam should correspond to the length of the guides (in my case, this is 30 cm).

2. For racks we apply a bar of a similar section - you will need two segments of 70 cm each. On the racks we fix the counterparts of the guides with the help of wood screws.

3. Connect the parts together and check the ride.

4. To the bottom ends of the racks we fix the base of plywood with dimensions of 290x500 mm. For rigidity, we attach a bar 50x50 mm from the back of the future drilling machine.


5. Check the perpendicularity of the base and racks using a square.
Do not ignore this stage - the more accurate the assembly at each step, the easier it will be to adjust the perpendicularity of the drill axis to the base at the last stage.
6. We reinforce the upper part of the rack with a plywood pad of 10 mm, the size of the pad is 90x204 mm.

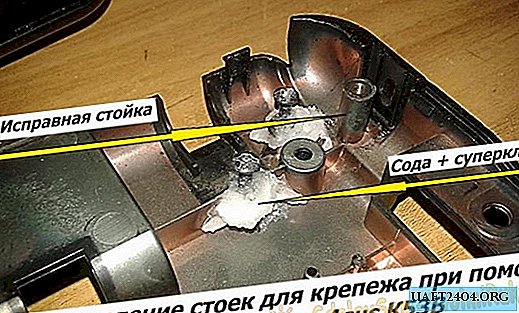
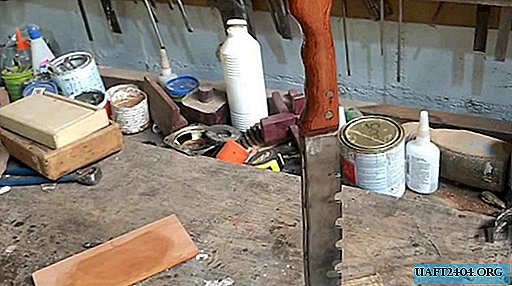
7. To fix the drill on the slider, I used the old handle that I found from another drill (you can use the standard handle if you do not use it).
Mark the outline. We cut off the excess (which will not affect the rigidity and will only interfere with the work). We make a hole for a drill several millimeters in diameter larger than the hole in the handle.

I fixed the handle on a piece of the board 20x90x300 mm using self-tapping screws.

8. We fix the bar with the handle to the slider using 5 screws.

9. To fix the slider in the upper position, we use springs - with the help of two hooks and two springs we obtain a reliable return of the slider to its original state even with a heavy drill.

10. Again we check perpendicularity.

11. To adjust the angle and give rigidity, we fix a bar of 50x50x90 mm to the slider.


If necessary, adjust the angle of fastening of the elements of the slider with each other.
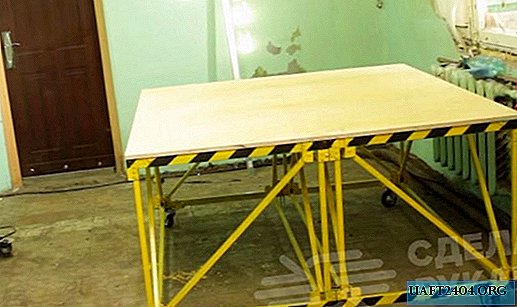
12. We manufacture a movable table with the ability to adjust the height of the table.
Necessary materials for the table:

Ready table (or rather part of it):

Mount the table on a rack:

13. To drive the slider, we make handles from wooden blocks.

For installation, I used the fasteners that were at hand — M6, M10 bolts, M8 plumbing pin, washers and nuts in it.


14. Stand for a drill from improvised materials is ready.

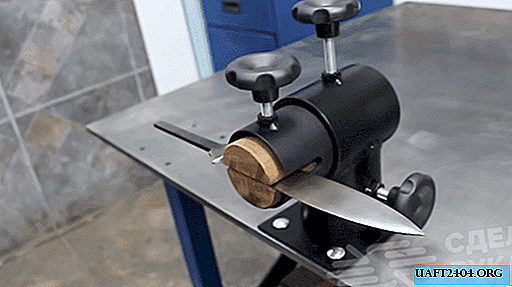
To be able to grind, I made a small grinding drum.

The manufacturing process of the drum, as well as the stand for the drill in action, can be seen in the video:
Share
Pin
Tweet
Send
Share
Send