Share
Pin
Tweet
Send
Share
Send
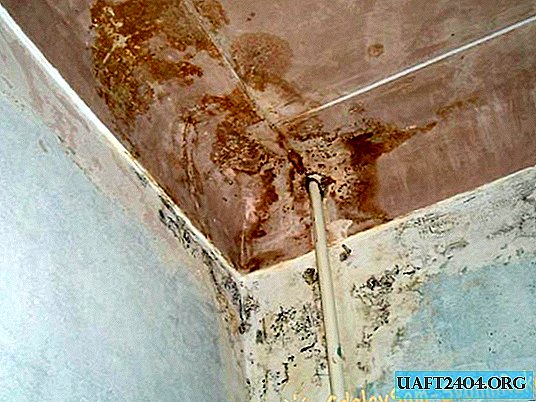
First, all six layers of wallpaper and the lowest layer, consisting of 1980 newspapers, had to be removed from the walls.
To facilitate the work, various liquids were used to remove old wallpaper.
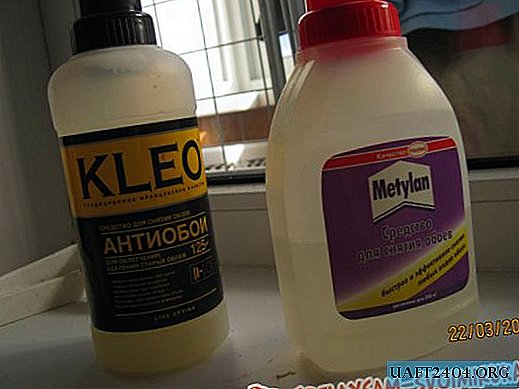
But still, the main work had to be done with hands and a sharp spatula.

By the end of the first day, the walls were cleared of the legacy of the "dark era".

Further, in order to protect the walls from fungus, mold and other problems, it was decided to use deep penetration antiseptic.

All walls had to be carefully treated with this impregnation.

The noticeably freshened walls were well dried. For the further decoration of the walls, we acquired high-quality Finnish putty.

The putty is mixed with cold water in the proportions specified by the manufacturer.

Next, the solution is applied to the walls with a wide steel spatula.

Plastered walls must be dried.
For fast and inexpensive ceiling finishes, German “Format” ceiling tiles with graphic relief were chosen.

The gluing of the plates began from the center of the ceiling.

Three hours later, the ceiling was already pleasing to the eye with its fresh peppy look.

Around the perimeter, the ceiling was trimmed with a skirting board. The joints of the skirting board with the wall and ceiling were carefully plastered with the same mortar that was used to decorate the walls.

Before gluing, all wallpapers were cut.

For high-quality wallpaper bonding, you need to choose the right glue, in this case the wallpaper was non-woven, so the glue was chosen for this type of wallpaper.

The glue was dissolved in cold water, in accordance with the instructions.

Before gluing the first sheet, it is necessary to draw a line on the wall, following the plumb line.

Glue the first sheet on the drawn line, leaving a small margin on top.

The soft rubber roller will allow you to paste wallpapers beautifully and beautifully.

Excess wallpaper is cut with a sharp mechanical knife. The room has become modern bright and beautiful.

The walls in the hallway were also cleaned of old coatings, primed and carefully plastered.
For the ceiling, the “Format” tile was also chosen, but with a different texture.

For wall decoration, we decided to use a "liquid wallpaper" of golden color with the addition of gold glitter.

After drying, the walls looked just fine and were warm and pleasant to the touch.

A commercial linoleum with a polar oak pattern was laid on the floor, and the perimeter was trimmed with skirting to match the doors.

A week passed and the apartment changed beyond recognition. Continuation for the kitchen and bathroom is expected next month.
Share
Pin
Tweet
Send
Share
Send