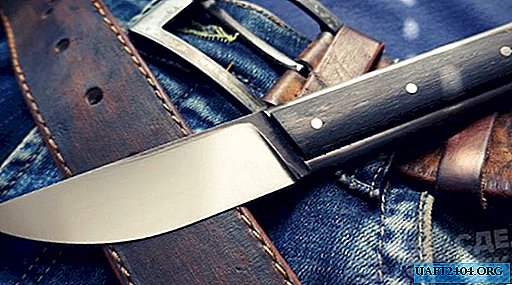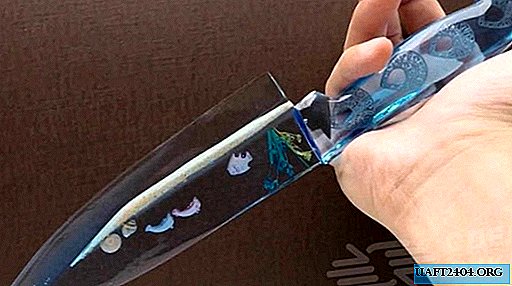
For the manufacture of the original kitchen knife you will need a special UV epoxy resin, which quickly hardens under the influence of sunlight or directed ultraviolet rays.

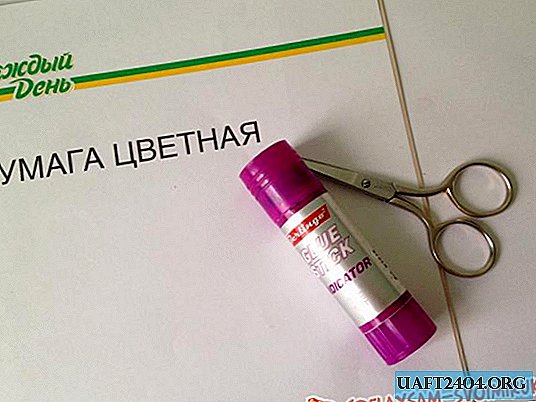
The first step is to select a knife that we will copy. In the shape of the blade, you need to cut two rubber pads that are glued to the blade using double-sided tape. In this case, only the blades must be insulated, the handle is not necessary.
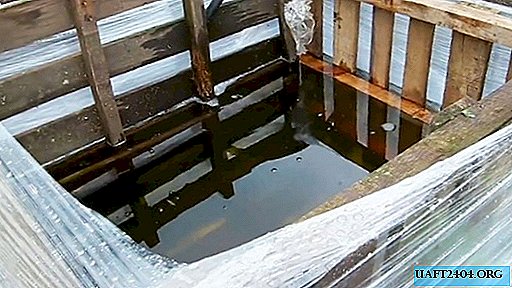
Then the author makes a mold for pouring epoxy resin from sheets of polyvinyl chloride, which lend themselves perfectly to thermal deformation. First, the knife is “packed” between two sheets of PVC film, then air is pumped out, and the surface is heated by a building hairdryer. Thus, the film fits the knife, acquiring the desired shape.

The main stages of work
Then the master pours the UV epoxy into the container and warms it to a temperature of 50-60 degrees to prevent the formation of small bubbles and make it more liquid. A nozzle nozzle is put on the bottle, after which the author proceeds to fill the mold.

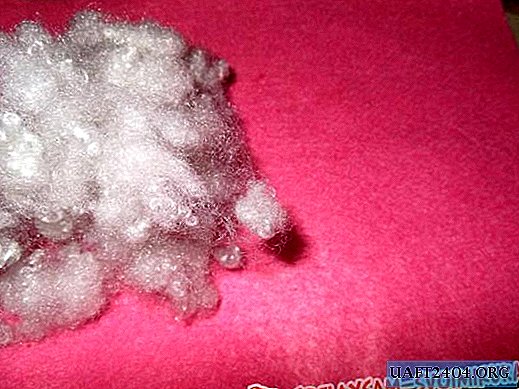
At first about ¼ of the whole form is poured, the epoxy is warming up again, and then it is necessary to “light” it with a flashlight with a UV emitter. Then subsequent layers are poured. Inside the form itself, the master adds sand and inserts various decorative elements.

At the next stage, the master had to tinker a bit to remove the plastic form (it stuck to the epoxy resin). With the help of a hairdryer and improvised tools, he still managed to free the workpiece.

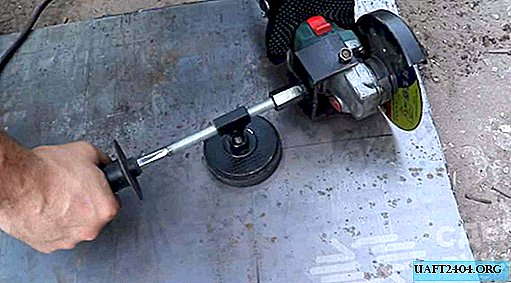
Then the master proceeds to sharpen the knife, using water grindstones of various grain sizes for this. For details on how to make your own original kitchen knife from UV epoxy, we recommend that you watch in the video on our website.