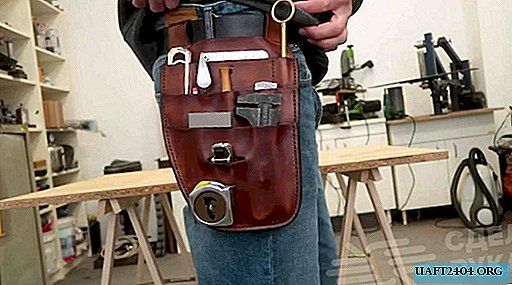
The problem of carrying and transporting a hand tool and various small things necessary for work can be solved very simply. It’s enough to make a leather tool pouch.

First of all, the author cuts a piece of the right size from a roll of leather. Next, you need to cut off the excess and make loops (belt loops "ears") for the belt.
After that, at the place of gluing with the help of a punch, the author makes holes for the thread, and flashes it. Previously, you can make grooves so that the thread does not protrude.

The main stages of work
At the next stage, the author cuts another piece of skin, but of a smaller size, and glues it to the first. The result was a pocket pouch. Can be left as is or divided into 2-3 compartments.

Next, the author cuts and glues two more pieces of leather, and as a result, he gets a pouch with three pockets. The edges must be carefully trimmed and the ends of the skin sanded.

At the last stage, there will only be a groove and holes for the thread along the contour of the pouch. Then the author flashes all the pockets.

The result is a practical, lightweight and durable leather tool pouch. For a detailed process on how to make such a pouch, see this video.