From several photo frames, a plastic scissors (this is a shallow dish with partitions) and soft curlers you can make a roomy, functional and very convenient organizer for storing jewelry.

For the base of the organizer, you will need six photo frames measuring 10 * 15 cm. We take out and set aside the glass and back walls from hardboard. It will also be necessary to remove the “paws” that are designed to fix the glass.
We glue the photo frames in pairs to get one long narrow frame. In this case, wood glue is used. To make the connection stronger, you can additionally fix the frames with steel brackets on both sides. In total, four staples will be required for one glued pair of photo frames.

The process of manufacturing the basics of the organizer
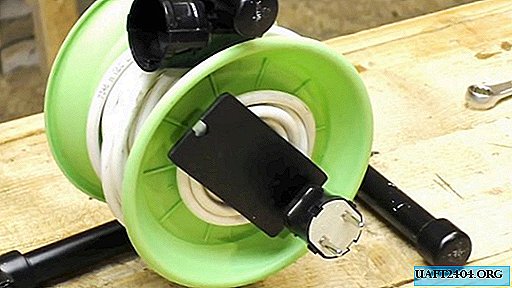
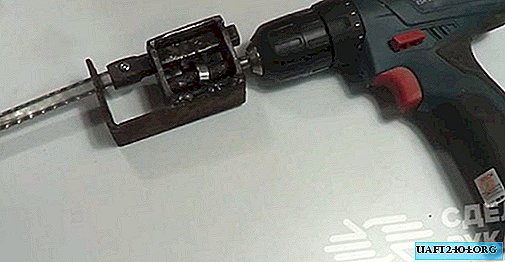
To connect glued photo frames to each other, the author uses a round wooden stick. As a base, you can use a plywood blank for watches with a diameter of 28 cm. After the glue dries, we glue the frames to the base and additionally fix it on the screws.

Next, you need another circle of plywood. We attach it to the base of the organizer using a metal turntable. Thus, the base with photo frames will rotate around its axis.

Next, you will need to make shelves from scissors. The dish must be cut with an office knife into three parts. Then we fasten the shelves in three tiers, resting them on self-tapping screws, and fix with hot glue. Then you can start painting the base.

The final touch - and you're done
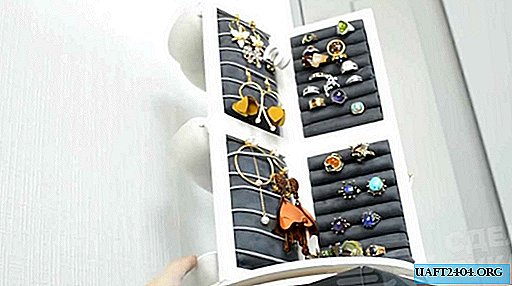
To make the holder for the rings, you can use soft curlers. And for starters, you will need to disassemble them into their component parts.
Next, we cut the soft rollers from the curlers in size, then glue them on the back wall of the hardboard photo frame. In this case, you need to make two such holders.

Then we take the fabric (it is best to use elastic and soft). We glue the edge of the fabric to the edge of the back frame, and then alternately apply hot-melt adhesive to each fold between the rollers and lay the fabric there.

For various types of jewelry you will need a few additional elements. How to make them, you can see in this video. Like and write reviews in the comments.