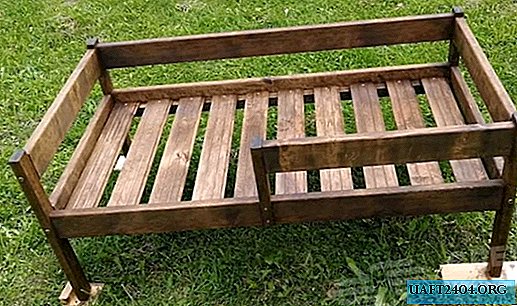
To independently make a wooden crib for a small child, it is not at all necessary to be a professional in this field. To do this, you can do basic skills and a minimal set of tools. And the first thing you need to get quality materials - for example, boards and bars made of alder. Then proceed to the assembly of the frame.
The main stages of work
Please note that we will make a crib without drawings - we will build on the size of the mattress (in this case they are 120x60 cm). Accordingly, the length and width of the crib frame may vary, depending on the height of the child.
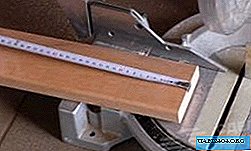
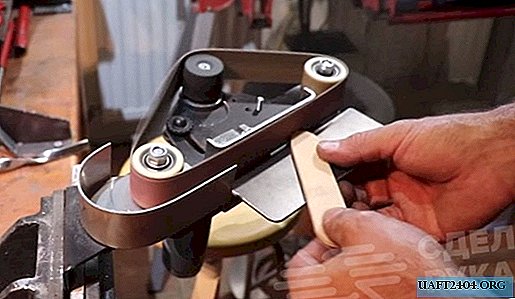
For tsarg we will use a board with dimensions 90x27 mm - measure from it 120 cm and cut off three identical blanks. For greater accuracy, it is better to use a miter saw. However, you can also saw off with the usual manual hacksaw on wood.
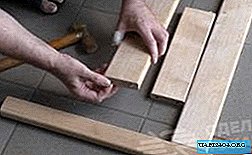
The slats for the crib on which the mattress will lie can be made of alder lining. In total, ten workpieces 60 cm long will need to be sawn. After all the necessary workpieces are sawn, you can begin to assemble the frame.
Crib assembly process
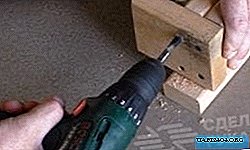
First, we mark out the places for dowels in the blanks using a joiner's core, after which we drill holes using an electric drill. Prepared dowels "sit" on the PVA glue. To assemble the frame of the crib, you will need furniture ties 90 mm long that hold better than ordinary screws and do not spoil the appearance of the product.
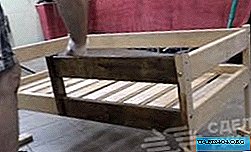
A wooden block 30x40 mm is screwed onto the lower side drawer - lamellas will be rigidly attached to it. After the frame is assembled, it remains only to paint it. It is best to use for this purpose not paint, but mineral impregnation for oil-based wood.