Share
Pin
Tweet
Send
Share
Send
Preparation for work
You need to start your stained glass window starting from the image (or imagination), that is, the first thing you decide on the picture is to find on the Internet, draw or copy from a book. It can even be a photo that you converted to a contour image.
Next, we go to an art store for stained glass paints. They are water and alcohol based, this determines how the finished product will respond to wet cleaning. Also, it is worth mentioning that we need two types of paint: thick contour and liquid, transparent to fill and simulate the effect of glass. The contour is standardly black, but there are also silver, gold ... In this work we will use black. We determine the colors in advance, for example, I draw them in my picture. What colors I used you will see in the following illustrations on the right.
You can be offered paints in a tube that are simply squeezed out, or in a jar for applying with a brush. In my opinion, those in the tube are, for starters, more convenient.
The last thing we need is the actual working surface - glass of a certain shape and size (cut to the image format). The easiest way to start working with glass is small and flat. Before applying the paint, thoroughly wash the surface with soap and water and wipe it dry so that there are no stains and the paint is better.
Execution of work
1. The selected image should be on opaque paper, and the outline should be clearly visible, you can optionally circle the gel pen.
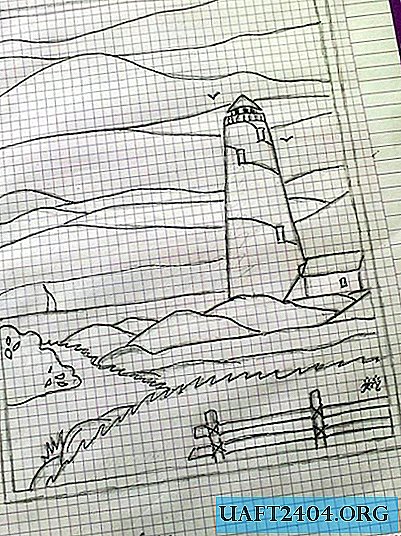

We put glass on top of the picture and fix it, or try to follow the course of work so that it does not move. We transfer the outline of the picture to the glass, trying to make the lines uniform in thickness. If you made a mistake somewhere, it’s not scary, because you can always erase paint from glass. For this I use a match, a screwdriver or a thin wand, the end of which I wrap with a napkin, and I remove the unsuccessful strokes with it.

2. When the circuit is ready, let it dry for 2-4 hours.

3. Now you can fill the space between the contour lines with liquid paint. It’s best to start doing this from above so that you don’t accidentally hook on what you have already drawn. And at this stage it does not matter if the paint gets in the wrong place . Since the contour has already dried up, you can safely dab with a napkin those places where the paint is poorly laid or you have mixed up the color.

4. A fully filled stained-glass window should dry for about another day in a horizontal position. Some people prefer to additionally open the top with varnish. If you also want to do this, be sure to ask the consultant in the store what varnish is suitable for this type of paint.
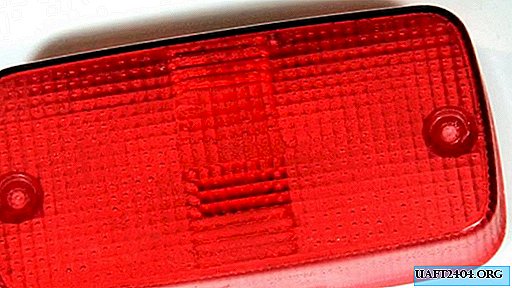
Well, my Beacon is ready and flaunts on my wall. Good luck in your creative endeavors!
Share
Pin
Tweet
Send
Share
Send