Share
Pin
Tweet
Send
Share
Send
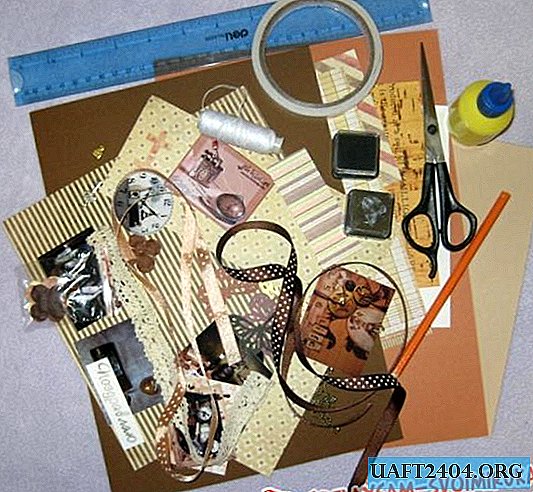
What we take for this master class:
• Dark brown pastel paper in A4 format;
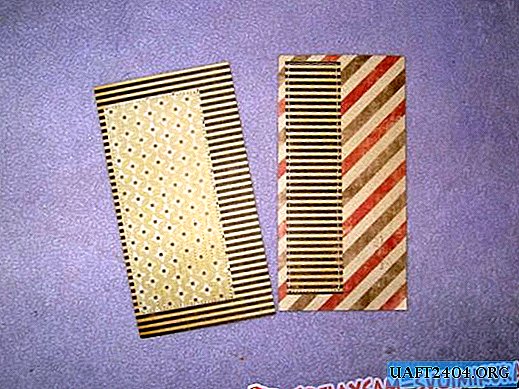
• Scrapbooking paper in three shades and different sizes on men's subjects in beige and brown tones;
• Two color pictures on male subjects, one round and the second rectangular;
• Metal pendant silver key;
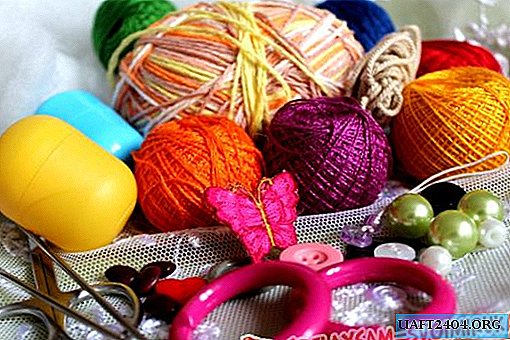
• Brown semi-pearls with a diameter of 4 mm;
• The half-bead is three-colored with a diameter of 8 mm;
• The stamped inscription "Congratulations" and a gold ink pad;
• Brown hydrangea flower 2.5 cm in diameter;
• Rep brown ribbon in white polka dots, diameter 1 cm;
• Satin brown ribbon in white hearts, diameter 1 cm;
• Metal corner of dark gold;
• Double-sided tape;
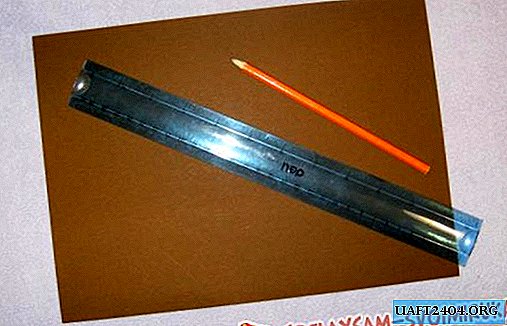
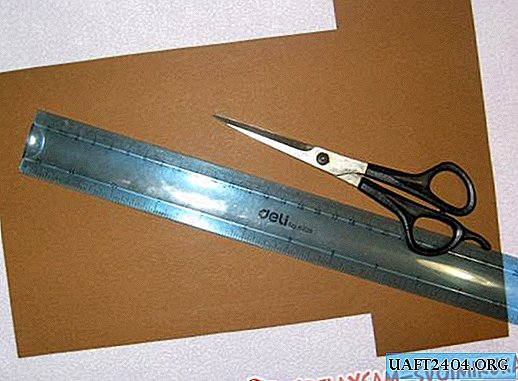
• scissors;
• Pencil;
• PVA glue;
• Rubber;
• Ruler;
• glue gun;
• Sewing machine.
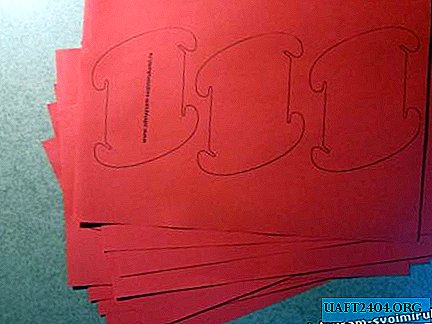
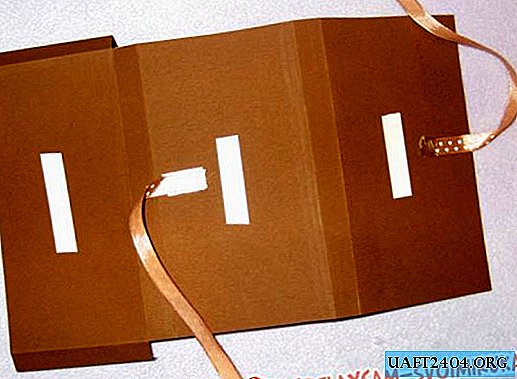
Turn over a sheet of pastel paper, measure 21 cm in length on the left, and step back 2.8 cm from the top and bottom. Use extra slices above and below the cuts and measure another 8.5 cm in length from the remaining paper over the entire width of the sheet. This will be the inside of the card. We cut the excess. The width of the indentation is above and below where 2.8 cm is divided by 1.4. We draw the bending lines and get a double twist, with which we get a box. The height of the postcard box we get 15.5 cm and a width of 9 cm. We make all the lines for bending and make them scissors and a ruler, or a special stick.
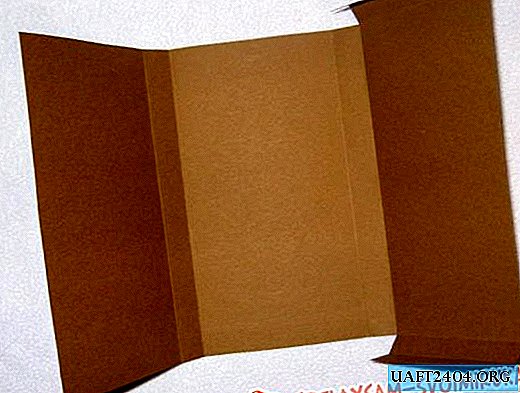
We bend and fold along the bending lines. Now take the scrapbook paper. One sheet is 20 * 20 cm in size, and the other two are of arbitrary size.
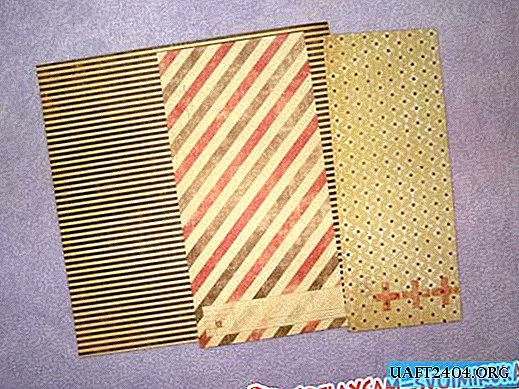
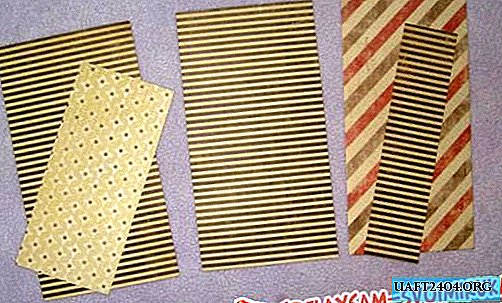
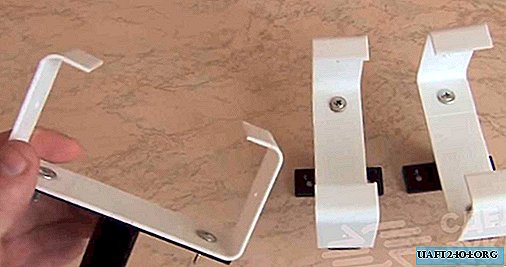
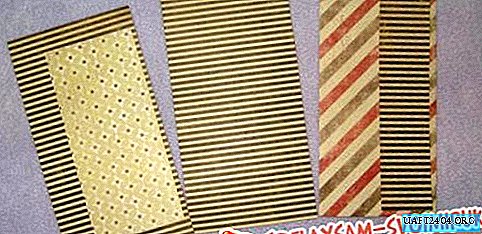
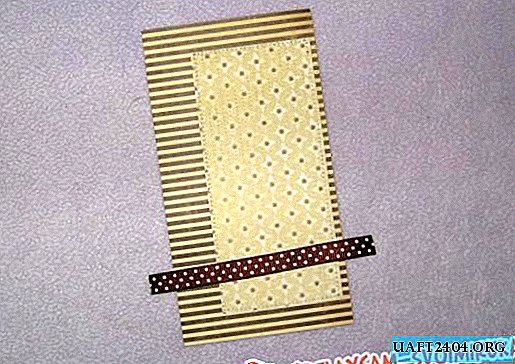
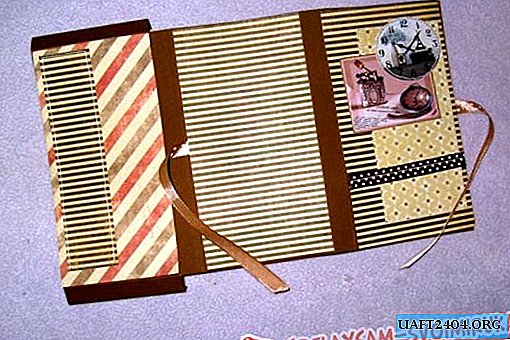
From a large sheet of paper we measure and cut two rectangles of 8.5 * 15 cm. From the remainder of this sheet, cut a rectangle of 3 * 13 cm. From the second sheet of scrapbook paper, cut the blank 8 * 15 cm, and from the third 5.5 * 12.5. We glue small blanks with double-sided tape on large ones, as in the photo.
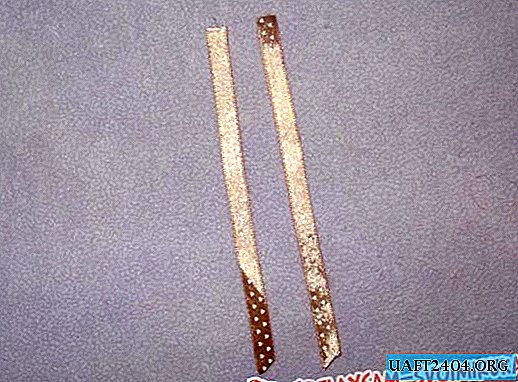
We measure out two pieces of 10 cm from the brown satin ribbon, we process the edges with fire. Glue these segments in front and behind the cards at the same level.
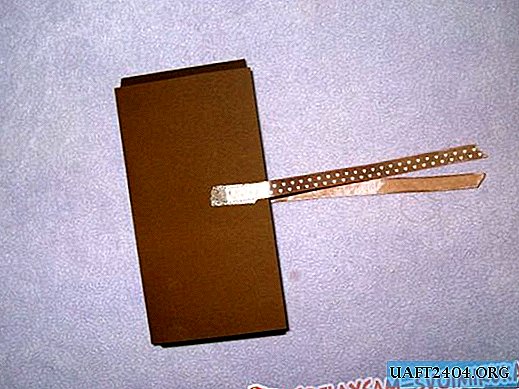
Sew two-color rectangles on a sewing machine. To one rectangle, which will be on the front, we apply a brown polka dot ribbon about 10 cm long.
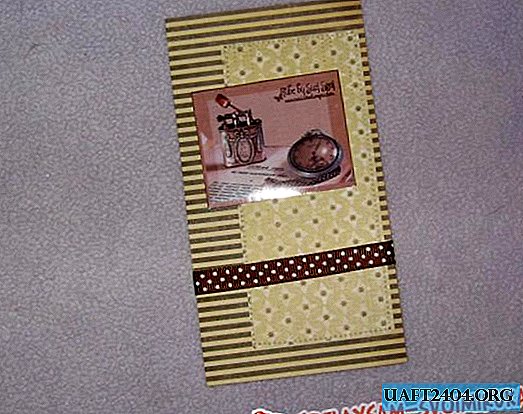
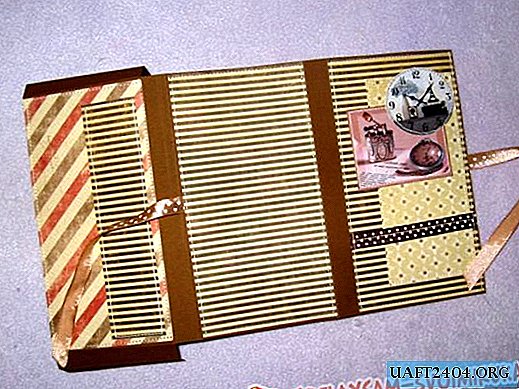
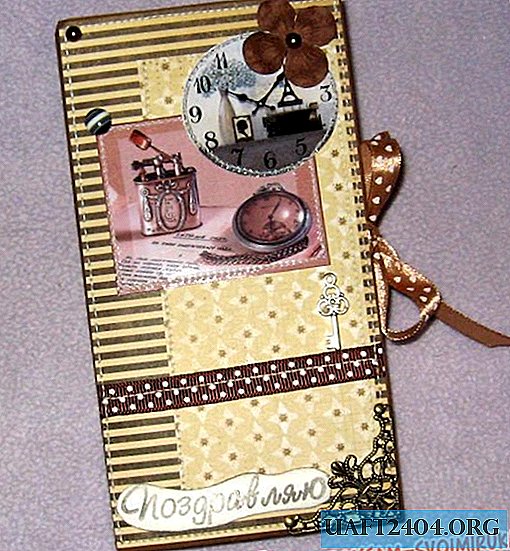
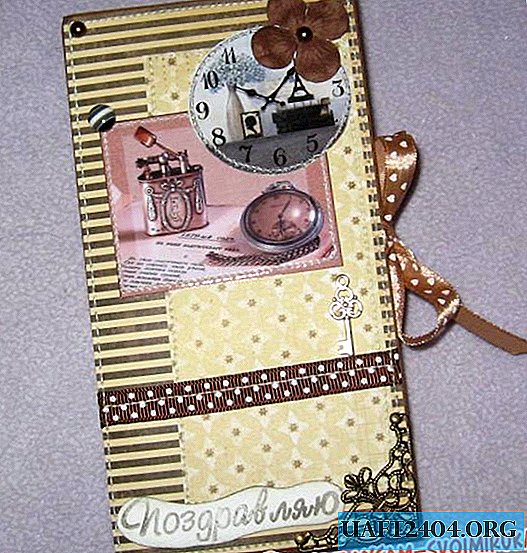
We wrap and glue tape on the back, then sew the tape on a typewriter. Also, with adhesive tape, we first glue the rectangular picture, sew it around the perimeter with the machine, then a little to the right and closer to the upper corner we glue the round picture with the clock and also sew it in a circle on the machine. Glue all the rectangles to the base.
Each individually sew machine.
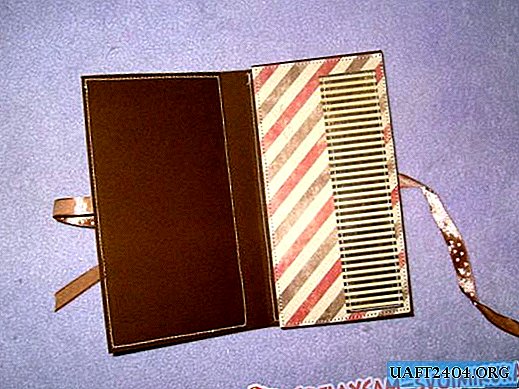
We wrap the inside and glue it with PVA glue, make a box. We close the card, tie a bow and glue the glue gun to glue the remaining decor, as in the photo.
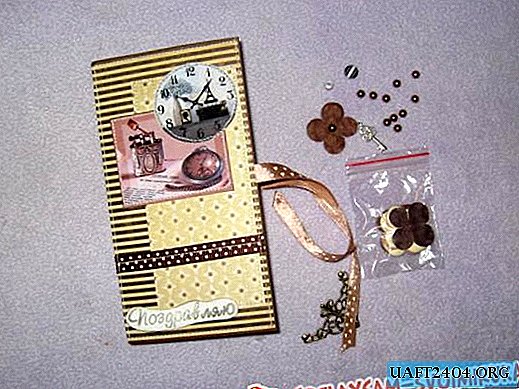
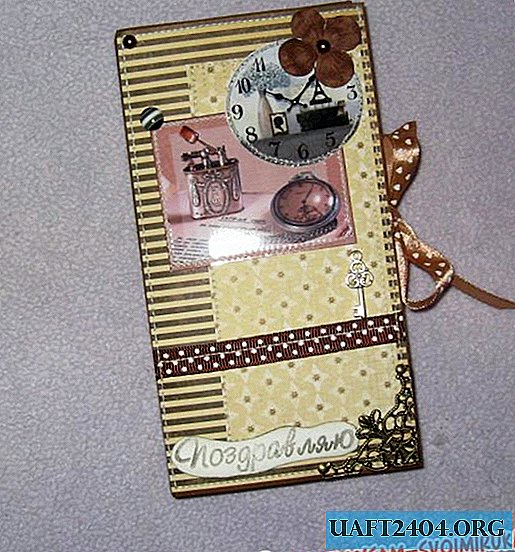
At the bottom we glue the inscription "Congratulations" previously cut and tinted along the edge with gold. It remains to invest money and a chocolate bar and a ready-made card Chocolate girl! Thank you all for your attention and the creation process!
Share
Pin
Tweet
Send
Share
Send