Share
Pin
Tweet
Send
Share
Send
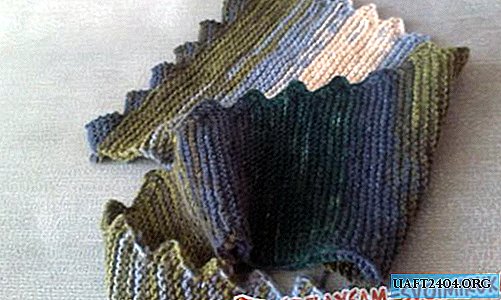
To knit this beret, double crochet and embossed purl will be used. To tie the embossed wrong side of the column, you need to hold the hook not in the loop, but around the crocheted column in the front to back direction.
Knitting a beret begins with knitting a chain of 6 air loops, which must be closed in a ring. This will be the first row.
The second row - in each loop of the chain you need to knit two double crochet columns.

Starting from the third row, you need to make increases with the help of embossed inside columns. That is, the embossed inside column must be knitted in every other double crochet.

The following rows must also be knitted with increments, increasing the distance between the embossed wrong columns by one column in each row.

The number of such series with increments depends on what diameter you want to knit. So I got 16 rows with increments per head diameter equal to 50 cm.

If the diameter of the head is larger, then, accordingly, there will be more rows.
After that, you need to knit rows with decreases.

To do this, double crochet stitches together, and the embossed stitch knits unchanged. I got four rows. You can get more rows if there are more rows with increments. Knitting of the beret ends with knitting of the elastic band by alternating the relief columns of the wrong and front ones.

In an elastic band you need to knit at least three rows. Again, the number of rows depends on the diameter of the head you are knitting on.

Share
Pin
Tweet
Send
Share
Send