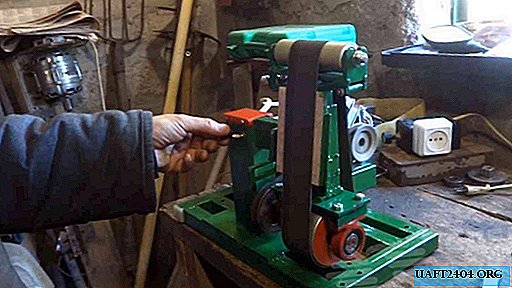
In this review, the wizard shows the manufacturing process of the tape grinder. Homemade handy in the workshop or garage.
As a drive for the grinder, an electric motor of a washing machine-automatic machine (collector type) is used.
For the main shaft, the author uses a rotor from an old electric motor.
For the upper shaft, the author uses a small piece of polypropylene pipe with a diameter of 32 mm.

In this case, a home-made tape grinder will consist of only two shafts.
The main stages of work
For the main shaft, the master makes home-made housings for bearings. This will require a piece of thick-walled pipe.
Cut two rings, literally cut 0.5 cm, narrow the diameter of the bearing, and then scald.

For lack of a lathe, this method is perhaps the easiest and most affordable for most people.
Finished cases will need to be cleaned with angle grinders and painted. Then we press bearings into them.

After that, we put on case bearings on the shaft with the rotor. We fix a pulley at the end of the shaft.

Construction Assembly Steps
At the next stage, the author makes a home-made stand. It will include a profile pipe, to which the upper grinder roller is attached.
Please note that you need to make sure that the pipe in the rack "walks" very tightly and does not hang out. The pipe itself will be spring loaded.
The rack is attached to the bracket to which the main shaft with housing bearings will be mounted.

The author himself makes the bracket rotary, so that in which case it can be adjusted.
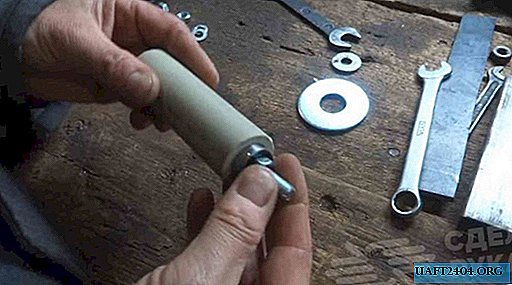
Next, you will need to make the top roller. The author presses the bearings into a piece of PP pipe, and throws a 8 mm diameter stud through their central holes.
At the last stage, the author welds the bed of a grinding machine from pieces of a profile pipe. Then it installs an electric motor, a main shaft and a tension upper roller on the base.


For more information on how to make a tape grinder with your own hands, see the video on our website.


