To make a practical hand clamp for a home workshop or garage, affordable and simple materials will be required. You can even use scraps of metal remaining after the manufacture of any structures. This homemade product will be useful in the process of performing locksmith, carpentry and even welding.

First of all, we take a suitable steel plate in size, make a marking and cut out four blanks with a grinder. We finally finish the contours of the resulting parts on a belt grinder or align them using angle grinders with a flap wheel.
At the next stage, in the pre-marked places of the four workpieces, we drill through holes: in two small parts, three holes, in large parts - four. After this, you can begin to assemble the manual clamp and fasten the movable jaws.

The main stages of work

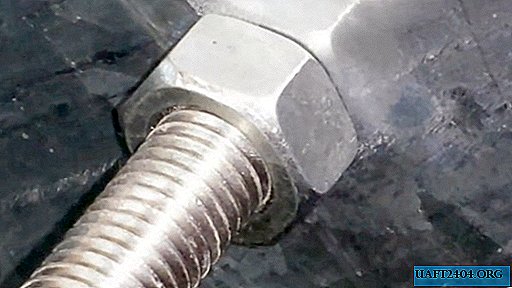
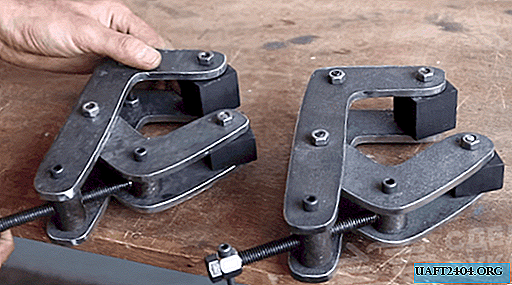
Using bolts and nuts, we connect all four plates into a single design. Next, we cut off two “barrels” of suitable sizes from the steel round timber and drill one through hole in them. Then we wind them on a hairpin, the end of which must be riveted, and fasten to a manual clamp.

At the last stage of work, we manufacture clamping jaws. To do this, cut four “cubes” (two wide and two narrow) from a wooden blank and drill holes in the center of them. Next, paint them with black paint and fasten to a hand clamp.

The result was a practical home-made, which is useful in the home workshop. The process of manufacturing a manual metal clamp, see the video on the site.