Even the oldest one, “eaten up” by time and rust, can be restored if desired and made into a good sledgehammer, which will serve faithfully for many years. Therefore, if you have old rusty hammers lying around in the yard or in the garage, give them a second life. The process of "resuscitation" will consist of several main stages.
Stage 1: hammer restoration
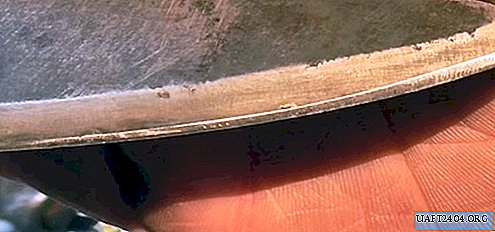
First of all, we protect the surface of the hammer with an ordinary metal brush, trying to remove the existing rust as much as possible. After machining, dip the “patient” for some time in a container with acetic acid and soak.
Then we clamp the hammer in a vice and carefully grind it using angle grinders, and then we remove surface irregularities on a belt sander. When the hammer is fully restored, it remains only to make a wooden handle. The material is better to use maple, beech, ash or other wood species.
Stage 2: handle manufacturing
Mark a piece of the board along the fibers and cut the handle on the band saw. Then we give the workpiece a slightly rounded shape, clamp it in a vice and plan it. Next, we put the hammer on a wooden handle, but first you need to make a longitudinal cut in the handle for driving a wedge.

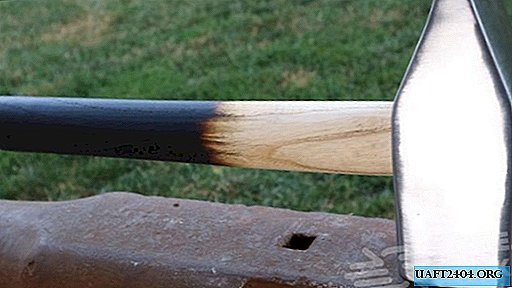
We also hammer into the handle of the hammer a metal three-toothed bracket. Then we burn the lower part of the handle with a gas burner (approximately to the middle) and apply two or three layers of linseed oil. Such an impregnation will not allow the wood to dry out, so that the sledgehammer will hold tightly on the handle. The detailed process of restoration work, see the video on the site.