Share
Pin
Tweet
Send
Share
Send
For this, we introduce the following parameters into our calculations:
- flooring thickness. The best option is tile. Its thickness is -1.1 - 1.5 cm.
- the adhesive layer on which the tile sits is 1 - 1.5 cm.
- a layer of concrete mortar under the main screed - 6 - 7 cm. If its thickness is less, there is a risk that the concrete will crack.
- an additional layer of foam with a reflector - 2.5 cm.
- the thickness of the foam layers is 5 + 5 cm.
- concrete thickness for rough screed - 7-8 cm.
So, we decided on the calculations. Plus them and get a figure - 29.5 cm. It is at such a depth that you should dig.
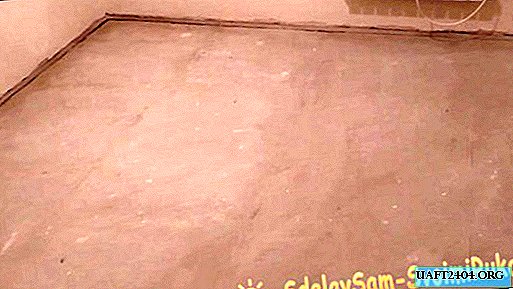
Level the surface. To do this, pull the beacons around the perimeter of the digging. It is best to check the evenness of the earth with a two-meter level. We remove all dimples and tubercles. Tamp the ground.
We cover the roof with a roofing material with an overlap on the walls of about 15 cm. We pay special attention to the corners of the house. The material must fit snugly against the corners, otherwise the concrete layer there will be thinner when casting.
Masonry mesh 3 mm thick. stacked on the entire perimeter of the floor. We set the beacons to a height of 7 cm and fill the first layer of concrete. When pouring, be sure to raise the masonry net up from the ground by about 3 cm.

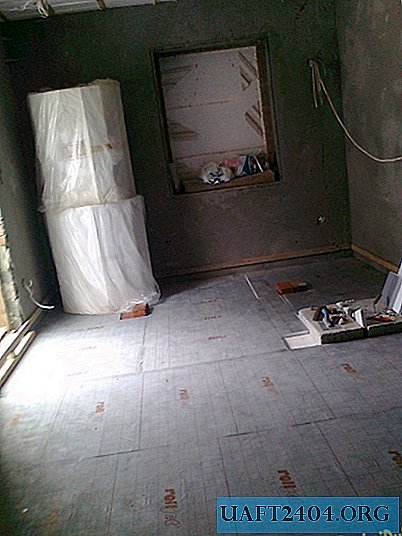
After a week or two, you can begin to lay foam on concrete. As we have already said, its thickness is 5 cm and its density is 35. We pay special attention to corners, making sure that the polystyrene fits tightly to them. The second layer of foam is laid with an offset, in order to overlap the cracks between the plates of the foam. The material should fit snugly against the walls of the house. If gaps remain, they must be foamed with mounting foam. The last layer of foam that we are laying is with heat reflectors. It has excellent thermal insulation performance.
Polyfoam 2 cm thick, cut into strips of 8-10 cm. Penetrate the joints between the heat reflector and the foam strips. We do not allow any gaps to remain there.
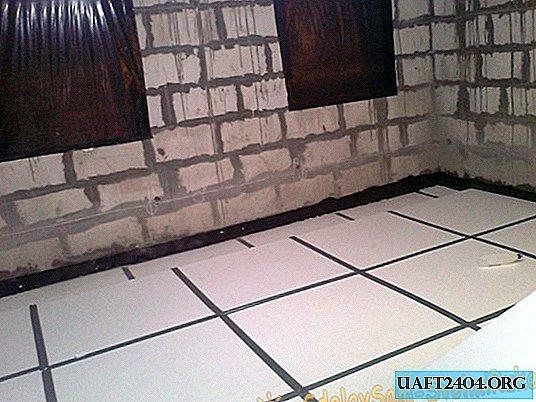
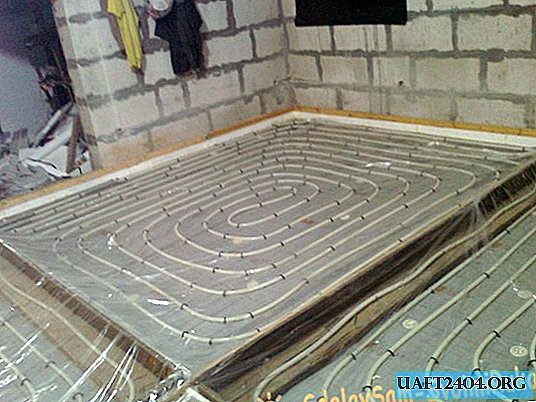
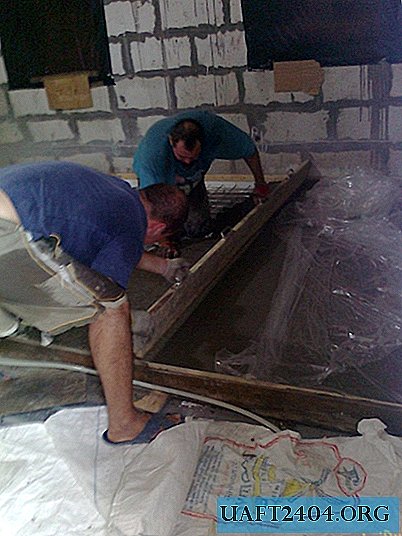
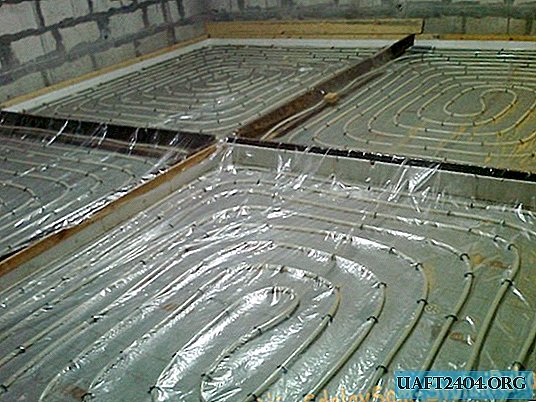
Divide the entire floor area into squares (heating circuits). The size of the squares is 6-8 m². We put beacons for concrete screed. The space between the squares must be covered with polystyrene foam.
We lay out the pipes for heating so that the distance between them is at least 12 cm. To date, the best option is PE-RT polyethylene brands. The pipes for supply and return are parallel to each other. We fix them with special studs.
Step 8. On the laid tubes we make a concrete screed. Its thickness should be at least 7 cm. Add fiber to the concrete mixture, for better reinforcement of concrete. Crushed stone for concreting is better to take fractions 3-5, and instead of sand add granotsev to the mixture. Using the ramming method (long ramming ram, the edges of which lie on the lighthouses), carefully pour concrete.
Having finished the screed, we cover the floor with plastic wrap and water it every day for a month or two. After that, we grind the concrete floor with a grinder with a diamond wheel.
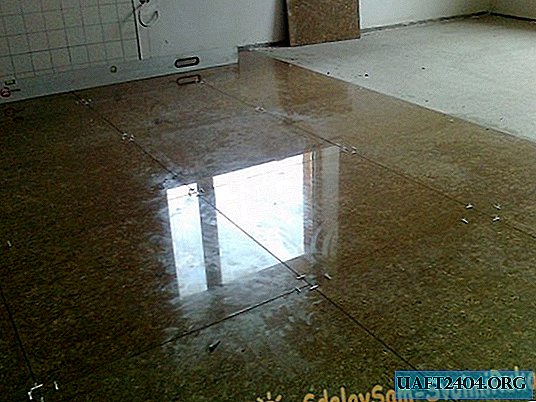
You can start laying tiles. To do this, we get special glue for a warm floor. Tiles must be laid from the center to the edges. This should be done carefully, slowly, making sure that the tiles adhere to the concrete quality. This will ensure good thermal conductivity of the floor. The joints between the marked squares should be coated with silicone. When laying tiles, do not forget to leave a gap near the walls by 0.5-1 cm.
Share
Pin
Tweet
Send
Share
Send