Share
Pin
Tweet
Send
Share
Send
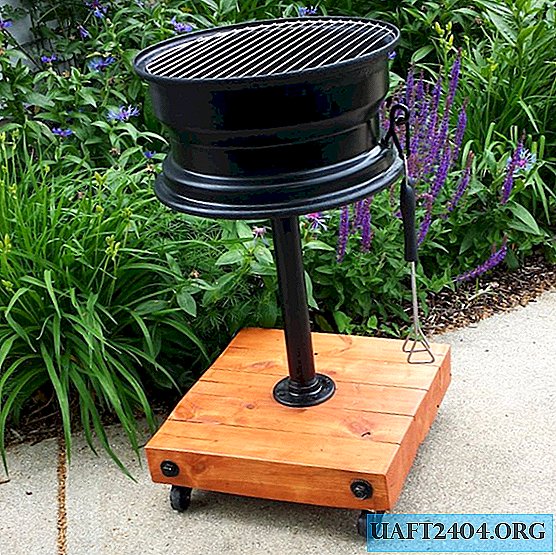
When I bought my SUV, I found that there was a “killed" spare tire in the trunk (they forgot to tell me about it before buying). I did not know what to do with her, and left her lying in the trunk until one day an interesting idea occurred to me - to make a brazier out of her. I did not know how to cook metal, so I needed to be creative, and I had to make sure that any components used for assembly could withstand the heat (that is, no nickel or galvanized coatings).
Here is a list of tools and materials that I personally used, but this project is easy to adapt to individual individual preferences. The base can be made of a wooden pallet or other wood lumber, and if you don’t have any desire to make it, you can pour the brazier with concrete, and adjust the height using a piece of pipe of the desired length. In general, there are many options.
Instruments:
- Sander.
- Miter saw.
- Electric drill.
- Planer (optional).
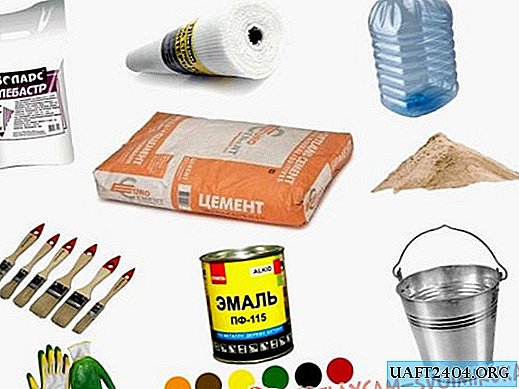
Material:
- Wheel drive
- High temperature paint - 2 cans
- Bars 100x100x2500mm
- M16 bolts - 4 pieces
- Set screw for wood M12 - 4 pieces
- Steel pipe with a diameter of 48 mm - 450 mm in length
- M12 threaded rods - 2 pieces
- Grill grill (various sizes) - 1 or 2 pieces
- Wheels - 4 pieces
The hardest part of the job


Without a doubt, this is the most unpleasant part of the job - removing the rubber from the disk. After watching several videos and trying to do everything according to theory, in the end I just took an electric hacksaw, cut the side of the tire, and then somehow removed it with a stud and a long screwdriver.
Having freed the disc from rubber, I drove it to the local sandblast, where I was allowed to process it myself. In time, it took about 11 minutes, and cost less than 600 rubles (800 rubles, if the work is done by the master).
Details and painting


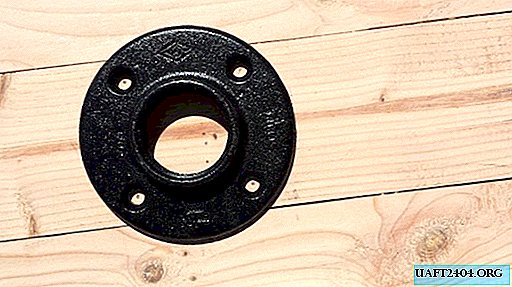
I purchased all the necessary components at a local hardware store. I bought a pipe and cut it there. The pipe flange, which will be installed on a wooden base, will not have to be modified, since here we will use the set screws of the desired diameter. But the flange that will mount the disk to the pipe should have holes of a slightly larger diameter (they will have to be drilled) so that bolts with a wider head fit into it.
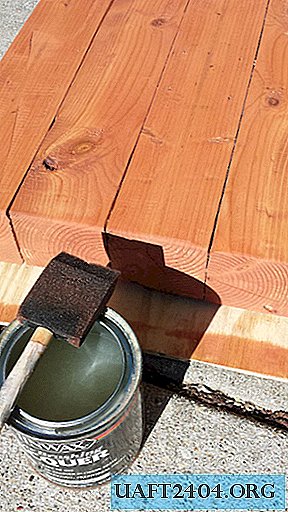
Next is painting. Personally, I used a special high-temperature paint Rustoleum High Heat. Coating takes place on the same principle as with any other spray paint. I painted all the details in two layers. I wrapped paper around the wheel bearings before painting so that they would not clog enamel.
Preparing the foundation


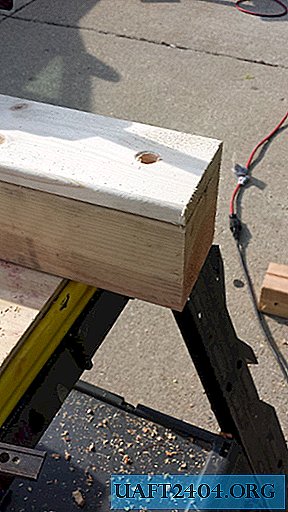


The drive itself is quite heavy, so the base should also be quite massive. I wanted to make its weight the same as that of the disk, while I had to keep compact, so I decided to use 100x100 mm bars. I cut them with a saw so that the bottom was square.
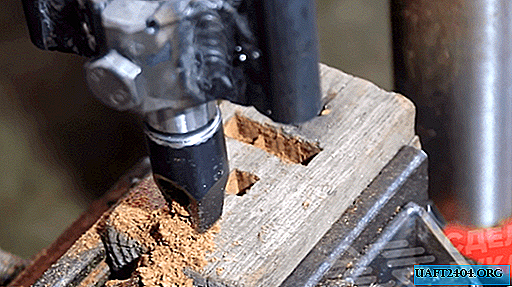
Then I drilled holes at the ends of the bars using a wooden guide plate with pre-drilled grooves. Ideally, I would like to use a drilling machine so that the holes are exactly the same, but since I did not have one, I took a conventional drill. Then I put the threaded rods through the holes, and then polished the finished base.
Then I put the gaskets on the threaded rods, twisted the washers on top and cut off all the excess with the grinder. After that, I drilled (and ground) the holes for the set screws on top and for the wheels below.
In the end, it remains only to cover the base with impregnation and a layer of protective varnish.
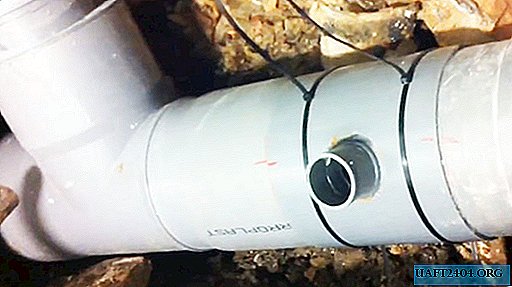
We connect the disk, pipe and base


To fasten the pipe flange to the disk, I used bolts with a smooth head (the widest possible diameter). It is necessary to make the caps of the bolts touch the central rim of the disk. It might seem that this mount is rather weak, but as soon as I tightened the nuts, it became clear that the design does not give backlash. I closed the hole in the pipe with a special plug for the size so that the ash would not get inside. I also processed the plug with high-temperature paint.
The pipe is screwed into the flange from one end, and into the base flange from the other. The base flange is secured with bolts and washers. I also covered them with paint.
Final chords


The grill turned out to be quite massive, so from the bottom I decided to fasten the wheels for more convenient movement of the structure.
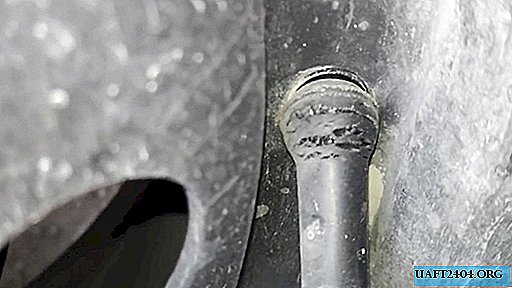
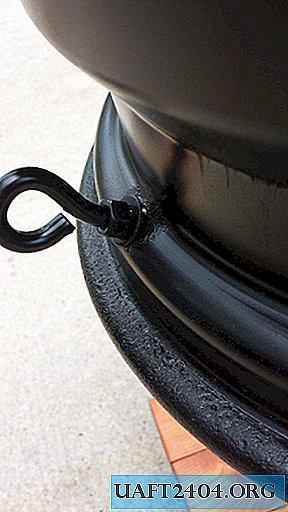
I used the hole for the valve on the disk to fix the hook in it, and then fastened a carbine on it - various auxiliary tools (tongs, a brush, a spatula) can be hung on it.
Finding the right size grilles was problematic, but I searched the Internet and found the options I needed. One grate should be compact enough to fit inside and hold charcoal, and the other should be wide enough to fit on top and hold food. In principle, one lattice may suffice, since coal can be stacked directly on the disc metal (only if it is stainless steel or ordinary steel, and not zinc or galvanized metal), but I thought that the coals could fall out through the holes from below and spoil the wooden base.
Conclusion


I liked both the functionality and the appearance of the resulting barbecue. As a person who has not yet learned to cook metal (but would really like to), I strove to create a fairly reliable structure using improvised means, and I think I succeeded. And also, if you remove the wheels and turn the grill upside down, you can get a pretty stylish table.
I hope you enjoyed my instruction and find it useful!
Original article in English
Share
Pin
Tweet
Send
Share
Send