Share
Pin
Tweet
Send
Share
Send
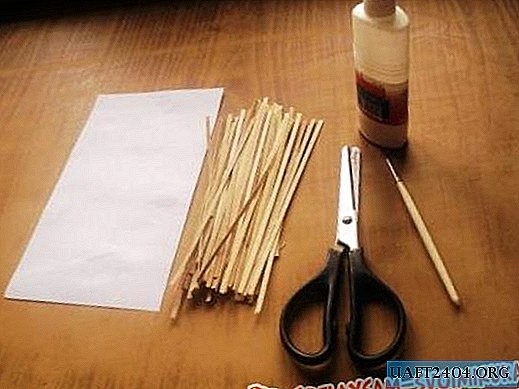
Would need:
• several sheets of any veneer (previously the sheet must be cut into thin strips);
• compass, ruler;
• black or green colored paper (preferably glossy);
• wax crayons of a light shade;
• PVA glue;
• wooden frame;
• glue brush (preferably made of hard bristles);
• scissors;
• 2 sheets of white cardboard.
Production Instruction:
1. The cardboard is covered with a thin layer of glue with a brush, and then on the surface lay strips of veneer close to each other. The resulting plate is leveled using scissors.


2. On the back of the cardboard draw details to create a picture. Each element is indicated by a number, and then carefully cut, trying not to damage the veneer.


3. An oval is cut from glossy colored paper and glued onto a piece of cardboard. On a colored background with the help of a light wax chalk, an image is drawn, marking the details with numbers corresponding to previously prepared elements. The drawing does not have to be very complicated, and the details are best made large.
4. The prepared base is cut out, and then the parts are gradually glued to it. During operation, it is very important to avoid glue getting on the free surface of the paper. The performer will need special care and caution.


5. The finished picture is placed under oppression for 2 or 3 hours, and then left on a flat surface for a few more hours for final drying.
6. Finally, the craft is placed in the frame.


You can decorate with such a picture any room. The craft will be an original holiday gift.
Share
Pin
Tweet
Send
Share
Send